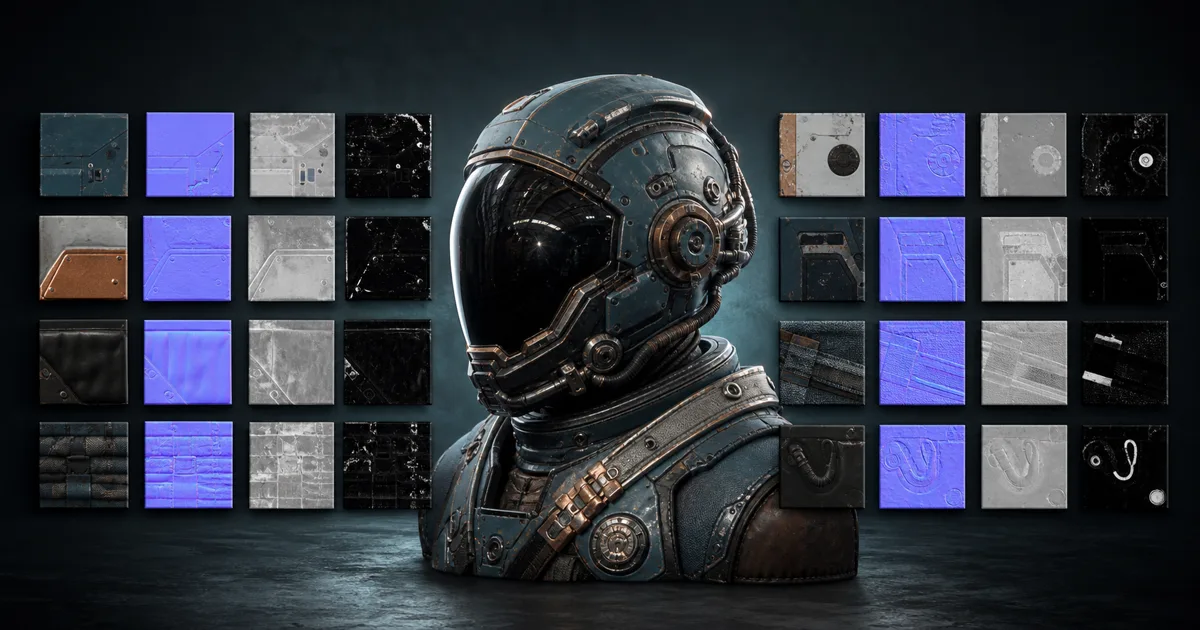
A creature head fills the frame. Its eye needs crisp veins, the lips need pores, the horns need chipped keratin, and the back of the neck merely needs to avoid public embarrassment. Packing every surface into one 0–1 UV square forces those regions to compete for the same pixels. UDIM textures let the asset use several adjacent UV tiles instead, with a separate image for each tile.
That extra space is useful, but it changes the contract. Tile positions become file identities. Every base-color tile needs matching roughness, normal, metalness, and height tiles. Naming must survive painting, rendering, version control, and export. A careless UDIM texture workflow does not remove texture limits; it distributes them across more files and gives each file a four-digit appointment.
What are UDIM textures, exactly?
UDIM textures are a multi-tile UV convention originally associated with Mari. Instead of restricting all UV shells to the first 0–1 square, an artist places shells across neighboring one-unit squares. Each square becomes a separate image, and a four-digit identifier connects that image to its location.
The first tile, covering U 0–1 and V 0–1, is 1001. Moving one tile to the right produces 1002. The next row starts at 1011. A renderer or painting application reads a token such as <UDIM>, finds the matching image sequence, and presents the set as one logical texture source.
This is not the same as one enormous bitmap. A ten-tile set is ten image files per map role. It is also not an extra UV set: the mesh still uses UV coordinates, but those coordinates extend beyond the first square. Autodesk describes Maya’s multi-tiled workflow as a single file node resolving several images across the UV grid through the UDIM tiling mode.
The practical benefit is density and organization. A face can own several tiles, clothing another row, and accessories their own region while all remain part of one material assignment. That makes UDIM textures common for film characters, digital humans, creatures, vehicles, and close-up products—not for a barrel seen from forty metres away. The barrel has suffered enough process already.
Read UDIM tile numbering before moving shells
The standard UDIM tile numbering formula is 1001 + U + (V × 10), using the tile’s zero-based lower-left grid coordinate. The first row therefore runs from 1001 through 1010, and the second begins at 1011.
| UV tile position | UDIM number | Example file |
|---|---|---|
| U 0, V 0 | 1001 | creature_basecolor.1001.exr |
| U 1, V 0 | 1002 | creature_basecolor.1002.exr |
| U 4, V 0 | 1005 | creature_basecolor.1005.exr |
| U 0, V 1 | 1011 | creature_basecolor.1011.exr |
| U 2, V 2 | 1023 | creature_basecolor.1023.exr |
Keep active tiles in the positive U and V grid unless the whole toolchain explicitly supports another layout. Do not span a UV shell across tile borders. A shell that crosses from 1001 into 1002 asks two images to describe one continuous island, complicating painting, dilation, filtering, and debugging.
The safest UDIM naming convention keeps a stable asset and map role around the tile token: asset_map.<UDIM>.ext. For example, pilot_jacket_roughness.1004.exr and pilot_jacket_normal.1004.exr clearly belong together. Pick dots or underscores according to the destination’s parser, then freeze the pattern. Renaming one channel differently is a small act with the energy of a production outage.
Build a UDIM UV layout around screen value
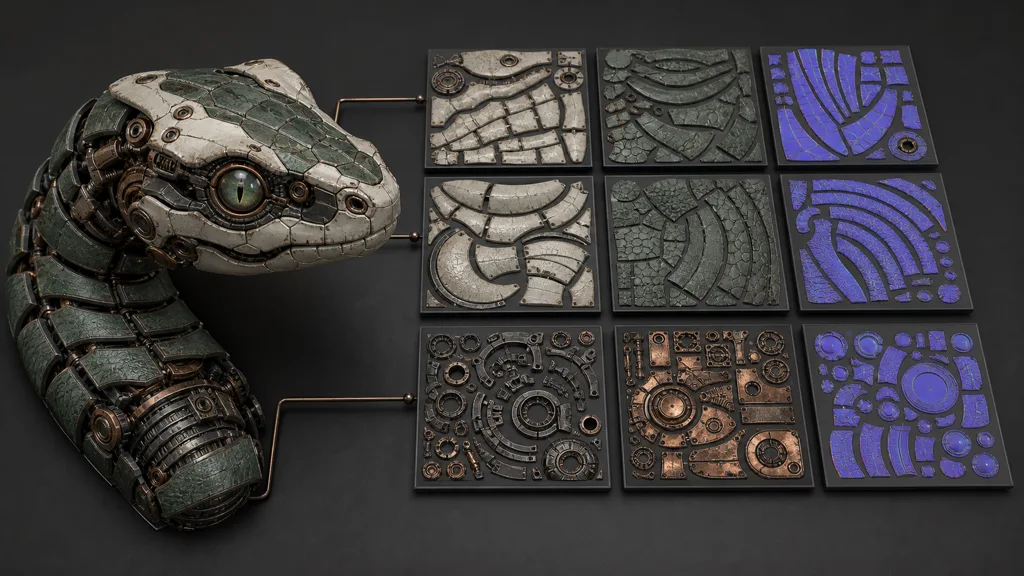
A useful UDIM UV layout begins with the shot list and asset ownership, not with an empty row of squares. List the surfaces seen closest to camera, the materials that need separate painting treatment, and the parts that can share density. Then unwrap with consistent scale inside those groups.
For a hero creature, tiles might be assigned to the face, mouth, eyes, horns, torso, limbs, and accessories. The division keeps painting and review legible when several departments need to answer why one cheek is blurry.
- Keep shells for one recognizable region together when practical.
- Maintain predictable texel density across adjacent visible surfaces.
- Give close-up regions more area only when the camera plan justifies it.
- Leave enough padding inside every tile for mipmaps, filtering, and dilation.
- Keep mirrored shells deliberate; unique dirt, scars, and lettering require unique UV space.
- Preserve the tile assignment after painting starts, or version the layout and rebake dependent maps.
The UV mapping guide covers distortion, seams, and texel density fundamentals. UDIMs extend that discipline; they do not repair a distorted unwrap by surrounding it with more squares.
Keep every UDIM PBR map synchronized
A complete set of UDIM PBR maps repeats the same active tiles for every required material channel. If base color includes 1001–1006 but roughness omits 1004, the renderer may use a fallback value, a black tile, or nothing useful at all. Missing data often looks like a shading problem until someone notices the absent file.
| Map family | Typical treatment | Cross-tile check |
|---|---|---|
| Base color | Color-managed image; no baked direct light | Hue and exposure remain continuous at seams |
| Roughness | Linear data | Reflection width does not jump between tiles |
| Metalness | Linear material identity | Painted and exposed-metal regions agree with base color |
| Normal | Linear vector data | Tangent convention and strength match on every tile |
| Height or displacement | Often higher bit depth | Border values and real-world amplitude stay continuous |
| AO or masks | Linear data | Tile list, crop, and padding match the material family |
Export every map role with the same tile bounds and orientation. Dilation must happen per tile so valid edge pixels extend beyond each shell. Do not let base-color export settings leak into normal or roughness data. The PBR workflow guide explains what each map means; the UDIM layer adds file coordination and border continuity.
Run a tile manifest listing the asset, active UDIMs, map roles, bit depth, color space, and normal orientation. It turns several dozen plausible files into a testable delivery.
How to use UDIM textures in a production handoff
The repeatable answer to how to use UDIM textures is a staged handoff with explicit checks:
- Define the destination. Confirm that the painter, renderer, interchange format, and runtime target support the planned tile set.
- Assign regions to tiles. Group UV shells by material, screen value, and ownership; keep each shell inside one tile.
- Approve density and seams. Apply a checker, inspect the closest camera, and lock the UV layout before detailed painting.
- Create the map family. Generate or paint matching base-color, roughness, metalness, normal, height, and mask tiles.
- Export with one naming rule. Use the same asset, role, tile token, extension, and version pattern across all channels.
- Load through the UDIM token. Point each material input at the tiled image sequence rather than building a separate shader node per tile.
- Validate in the destination. Inspect tile discovery, seams, color space, displacement, mip behavior, memory, and a representative final render.
Keep the editable source and manifest beside the published images. If UV tiles change, increment the material version and rebake dependent maps. Quietly sliding the mouth from 1002 to 1012 makes the new set correct and every cached dependency creatively wrong.
Budget UDIM texture resolution instead of counting tiles
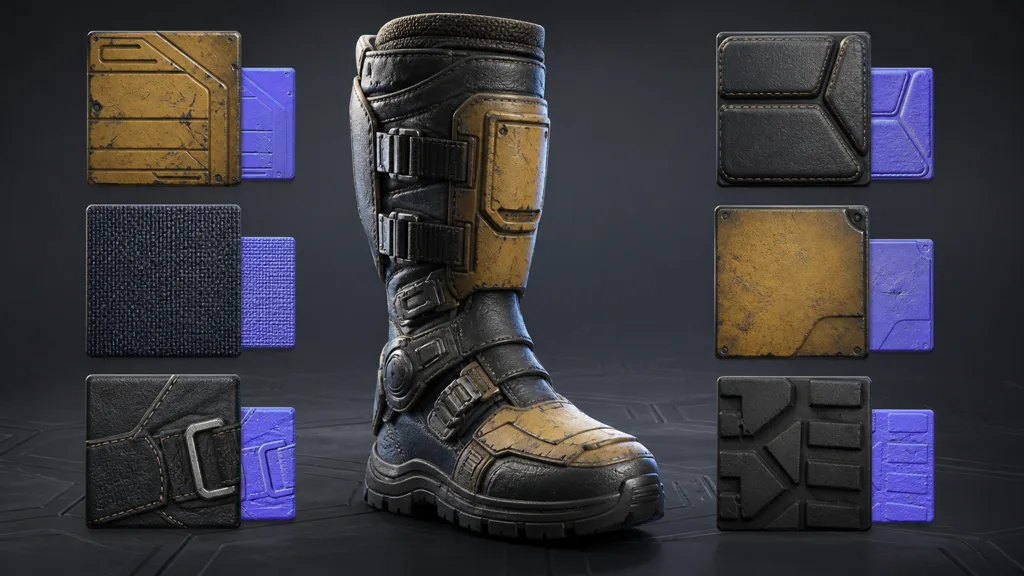
More tiles do not automatically create more useful detail. UDIM texture resolution should be chosen from surface area, camera distance, delivery format, and memory or render cost. Sixteen 4K tiles for one map contain about 268 million texels before mipmaps. Multiply that by base color, roughness, normal, displacement, masks, versions, and work files, and the asset has developed a storage department.
Start with a texel-density target for the closest approved shot. Give the face, hands, product label, or focal damage enough pixels to resolve. Reduce density on hidden soles, inner panels, and surfaces that never fill the frame. Some pipelines allow different tile resolutions, but mixed sizes must be supported and tested across the complete toolchain.
Draft at 1K or 2K to approve layout, masks, and material behavior, then raise only justified outputs. If higher resolution reveals only finer noise at delivery distance, the memory budget has funded static.
The texture resolution guide provides a camera-first way to choose 1K, 2K, and 4K outputs. Apply that reasoning per region, then confirm the total map family still fits the production and runtime budget.
Choose UDIM vs texture atlas vs tileable materials
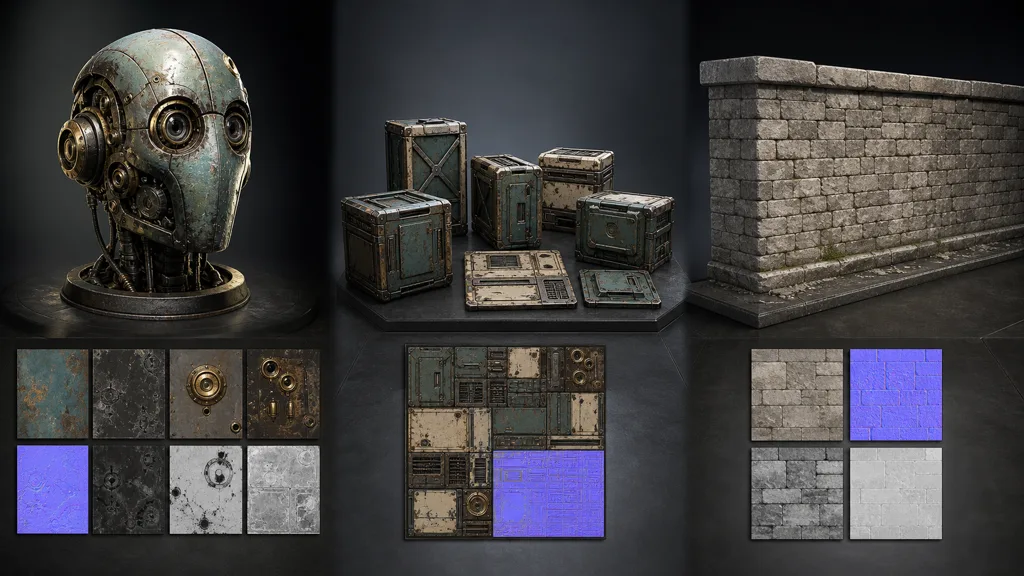
The UDIM vs texture atlas decision depends on reuse and destination. Both use multiple UV regions, but they optimize for different jobs.
| System | Best use | Main tradeoff |
|---|---|---|
| UDIM textures | One highly detailed asset spread across several image tiles | Many files and higher authoring, storage, and runtime complexity |
| Texture atlas | Several compatible assets sharing one packed image and material | Fixed shared resolution, gutters, and atlas update ownership |
| Tileable material | Large repeating surfaces such as walls, ground, and cloth | Needs repetition control and separate unique detail |
| Trim sheet | Modular edges, bands, panels, and architectural details | UVs must conform to reusable strips |
Choose UDIMs for unique hero detail, an atlas for several props sharing one material, and a tileable material for broad repeating surfaces. The texture atlas guide and trim sheet guide cover those alternatives.
Game assets deserve special caution. Desktop DCC and offline render support does not guarantee an efficient runtime path on every engine, platform, or shader. If the target cannot stream or sample the set economically, bake the finished look to a conventional atlas, trim, or tileable-plus-mask workflow.
Load UDIM textures in Maya, Blender, and Unreal Engine
For UDIM textures in Maya, create one File node per map role, select the UDIM (Mari) UV Tiling Mode, and point it at one tile. Maya replaces the tile number with <UDIM> and resolves the sequence. Generate a viewport preview at a sensible quality, because displaying every full-resolution tile can consume substantial memory.
For UDIM textures in Blender, create or open a tiled image, add the required tiles, and use the tiled image from one Image Texture node per map role. Keep base color in the appropriate color space and mark normal, roughness, metalness, height, and masks as data. Test painting, packing, external-file paths, and render export before the asset leaves the source machine.
For UDIM textures in Unreal Engine, current Unreal documentation describes importing a correctly named image group as one Streaming Virtual Texture asset. Files follow a pattern such as BaseName.1001.png; the importer scans for matching tiles, and the material uses a virtual sampler. Epic’s Streaming Virtual Texturing guide also notes that virtual textures add lookup cost and must be profiled rather than assumed cheaper.
Across applications, validate tile count, naming, color/data classification, normal orientation, displacement, borders, missing-tile behavior, and memory. The best UDIM workflow 2026 survives another workstation and the actual destination—not merely the UV editor.
FAQ
What are UDIM textures used for?
UDIM textures are used to give one detailed 3D asset several UV tiles and several corresponding image files per map role. They are common for film characters, digital humans, creatures, vehicles, and close-up products where one 0–1 texture would not provide enough unique detail.
How does UDIM numbering work?
The first UV tile is 1001, tiles increase from left to right, and the next row begins at 1011. The formula is 1001 + U + (V × 10) using the tile's zero-based grid coordinates.
Can a UV shell cross a UDIM tile boundary?
It is technically possible in some tools, but it is a poor production choice. Keep each shell inside one tile so painting, dilation, filtering, export, and missing-tile diagnosis remain predictable.
Are UDIM textures good for games?
They can be useful for high-detail game assets when the engine and target platform support an appropriate virtual-texture workflow. They also add file, sampler, streaming, and profiling complexity, so many assets are better baked to an atlas, trim sheet, or tileable material for runtime.
What resolution should UDIM tiles be?
Choose tile resolution from texel density, closest camera distance, surface importance, and the total memory budget. Use lower-resolution drafts, raise only tiles that reveal meaningful authored detail, and test mixed tile sizes if the pipeline supports them.
What is the difference between UDIMs and a texture atlas?
UDIMs give one asset multiple separately stored tiles that applications treat as a logical set. A texture atlas packs several regions—often from several assets—inside one image to share a material and improve batching or ownership.
Do all UDIM PBR maps need the same tiles?
Usually, yes. Base color, roughness, normal, metalness, height, and masks should use the same active tile list, orientation, and UV layout unless the shader and export manifest explicitly define an exception.
Try CraftPBR
CraftPBR can create and prepare the coherent material content behind a UDIM texture workflow:
- Text-to-PBR generates a coordinated material set from a physical surface description.
- Photo-to-PBR converts a controlled source photo into aligned base color, normal, roughness, height, AO, and metalness.
- Node workspace keeps masks, tiling, levels, layers, and variations editable before tiles are assigned or baked.
- Engine export prepares clear map roles, normal orientation, color/data handling, and packed channels for common destinations.
- Free tier lets you generate and test a complete material set before expanding the asset workflow.
- CC0 output lets you use, modify, tile, bake, render, and ship generated materials without attribution.
Give important surfaces enough pixels. Give every tile a name the next tool can understand.