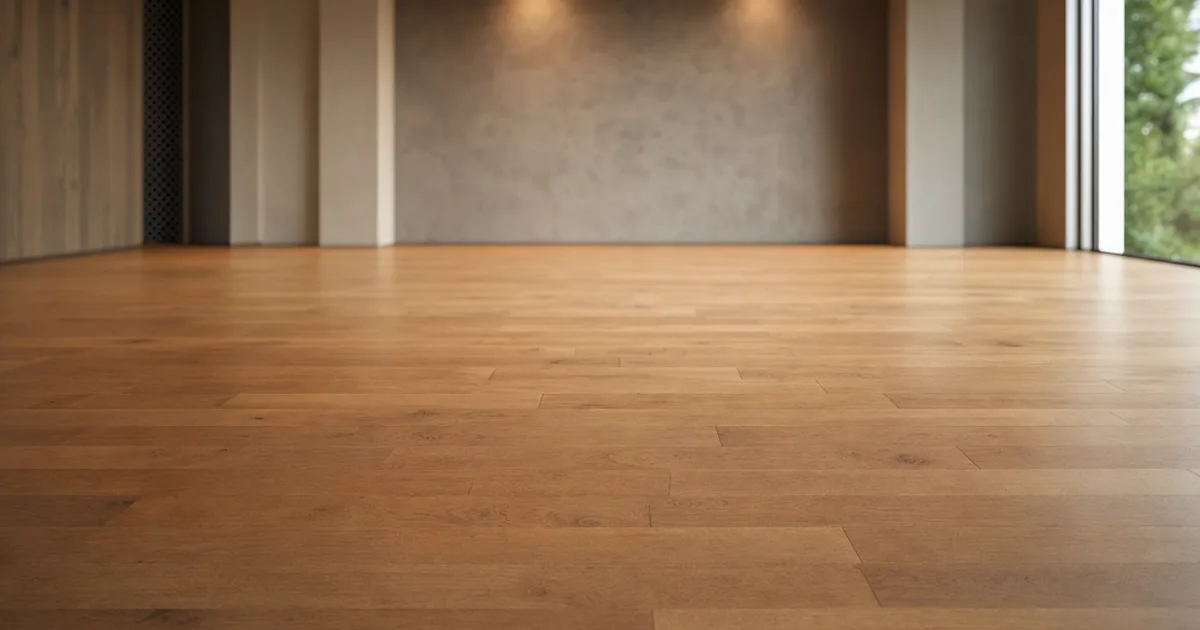
A floor is the one surface the player never stops looking at. Walls get glanced past; the floor fills the bottom of every shot, lit from above, tiled across the whole room. That combination is the hardest test a texture faces — which is exactly why a tileable floor texture that looks fine as a single swatch can fall apart the moment it covers a space. Here’s what a floor actually needs, and how to get one that holds.
What a floor texture has to survive
Two things make floors unforgiving. First, scale: a room is a large flat plane, so one tile repeats many more times than it would on a wall or a prop, and every repeat is a chance for the eye to catch the pattern. Second, angle: you look along a floor, not at it, so the surface relief has to read at a grazing angle. A flat base colour with a weak normal map looks painted-on the instant the camera drops low. A good floor texture matches its edges perfectly and carries enough height detail to catch raking light.
Pick the material before you pick the texture
“Floor” isn’t a material — it’s a job several materials do, and each tiles a little differently:
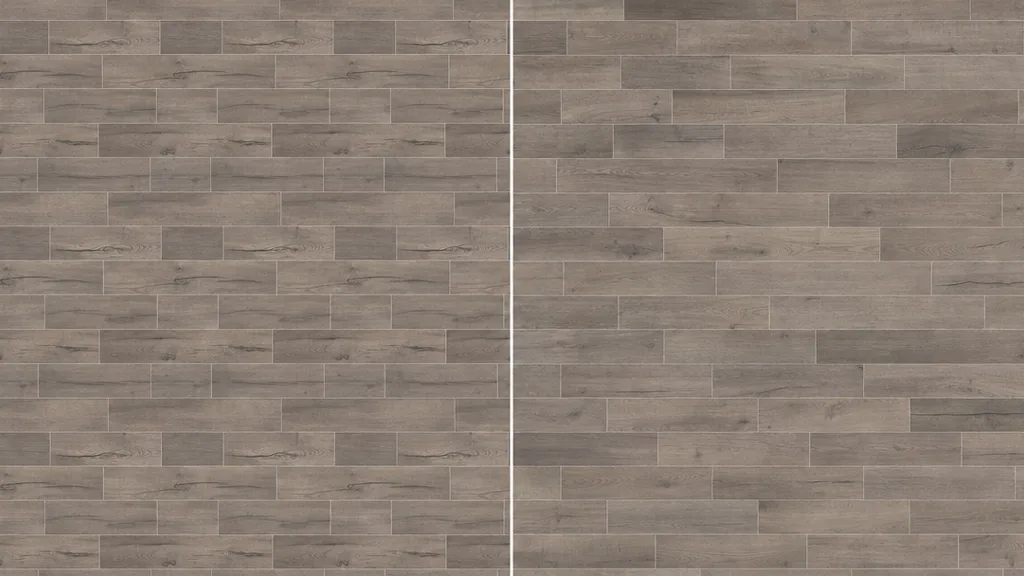
- Wood planks — interiors, cabins, decks. Directional: the plank length must stay continuous across the tile, so offset by a whole board. See the seamless wood texture guide.
- Stone & cobblestone — exteriors, courtyards, medieval scenes. Non-directional and forgiving, but needs real height for the gaps (cobblestone, stone).
- Tile & concrete — modern, industrial, clinical. Grout lines and control joints are regular, so a tiling repeat lines up with them and hides well; lean on the concrete approach.
- Dirt & sand — caves, terrain, paths. The most forgiving of all, because there’s no pattern to betray the repeat.
Choosing the material first tells you how hard the tiling job will be and which map matters most before you generate a single pixel.
Wear is what sells a floor
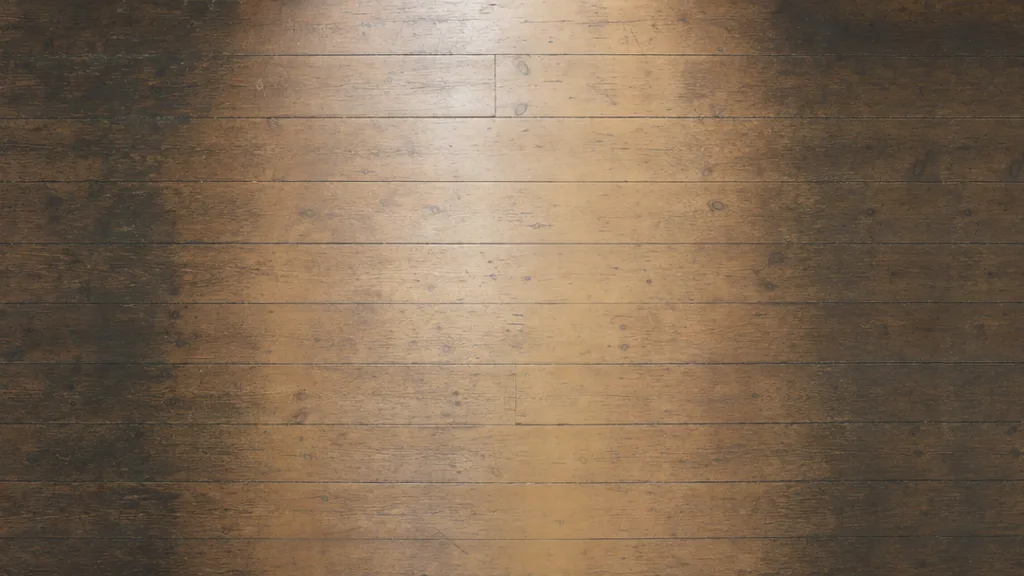
Real floors never wear evenly. People walk the same lines — through doorways, around furniture, down the centre of a hall — and those paths go smoother and slightly darker while the edges stay matte and untouched. The single most convincing thing you can do to a floor texture lives in the roughness map: drop it along the traffic path, raise it at the margins. Add scuffs to the normal, darken the grout and skirting edges in the AO, and the floor stops looking like a repeating sticker and starts looking lived-in.
Three ways to get a seamless floor texture
The routes are the same as any material, with one floor-specific caveat on the first:
- Repair a photo. Shoot or find a flat, top-down floor, then offset and heal the seams — but for planks and boards, offset by a whole plank width so no board breaks mid-length. The free seam editor does the offset-and-heal in your browser.
- Download a CC0 set. Poly Haven and ambientCG have excellent free floors with full PBR maps — great when one of theirs matches the space you’re building.
- Generate the exact floor. Describe it — “worn herringbone oak,” “wet slate flagstones,” “polished poured concrete” — and get a tileable PBR set back. That’s what CraftPBR is for.
Killing the grid on a big floor
Because floors tile so many times, breaking up the repeat matters more here than anywhere. Four things that work, cheapest first: choose a uniform texture with no celebrity feature; blend two variants of the floor with a low-frequency noise mask; randomise the tile offset or rotation per tile (stochastic or texture-bombing in the shader); and drop decals — stains, cracks, a rug — over the worst repeats. The seamless tileable textures guide goes deeper on the shader techniques.
Setting up a floor in your engine
- Unity — set material Tiling to cover the room (e.g. 8×8 for a large hall), Wrap Mode Repeat. For tile and stone floors, add a parallax or height-based effect so grout lines read at a low angle.
- Unreal — drive TexCoord by a scalar to tile all maps together; add a second sample at a different scale and blend to break the grid on big floors. Nanite tessellation gives real depth to stone.
- Blender — Mapping node scale on UV, Image Textures set to Repeat, base colour sRGB and the rest Non-Color. Adaptive subdivision + a displacement map makes tiled stone floors catch light correctly in Cycles.
Try CraftPBR
Everything you need to floor a scene without fighting the grid:
- Text-to-PBR — describe a floor, get all five maps, seamless by default
- Photo-to-PBR — turn a flat floor photo into a tiling material
- Free tools — seam editor, normal map, height map
- Engine export — Unity, Unreal, Blender, Godot, Three.js
- CC0 license — everything you make is yours