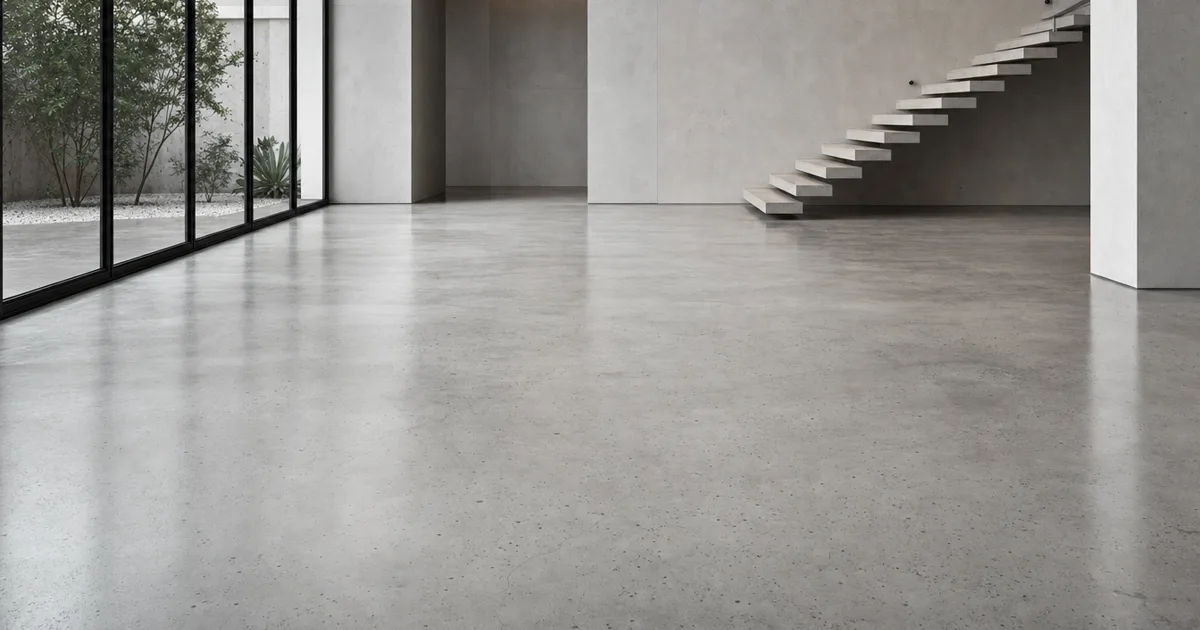
You know that feeling when you tile concrete across a warehouse wall and the same hairline crack shows up every two metres like wallpaper? A seamless concrete texture fixes that. It tiles in every direction with no edges and no repeating blemish, so a single 2K tile can cover an entire brutalist level and still read as real poured concrete.
But concrete has a second, sneakier failure mode: it goes too clean. A flat grey tile with even lighting reads as painted cardboard, because concrete’s entire character lives in its subtle imperfections. This guide covers both — making concrete tile, and making tiled concrete look poured instead of printed.
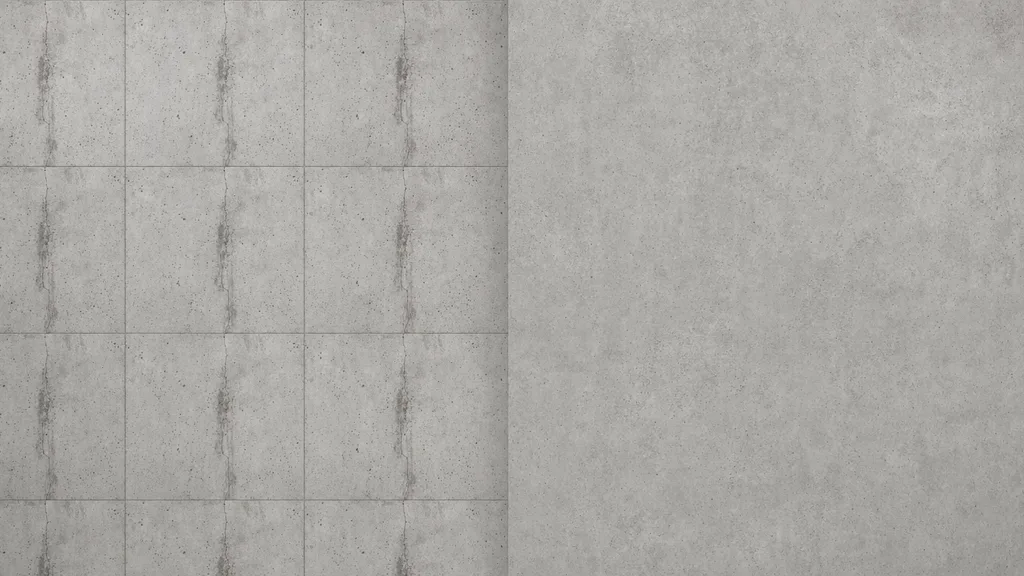
What makes a concrete texture seamless?
A texture is seamless when its opposite edges match — right continues into left, top into bottom. For concrete that means no visible join where tiles meet and no single crack or stain loud enough to track as it repeats. A proper tileable concrete texture is a full PBR set where every map wraps together: base colour, normal, roughness, and ambient occlusion all tile in lockstep, or the seam shows up in the reflections even when the colour looks fine.
Why concrete looks too clean (and how to fix it)
Most fake-looking concrete is technically seamless. It wraps fine. The problem is it’suniform, and real concrete never is. Here’s what kills it:
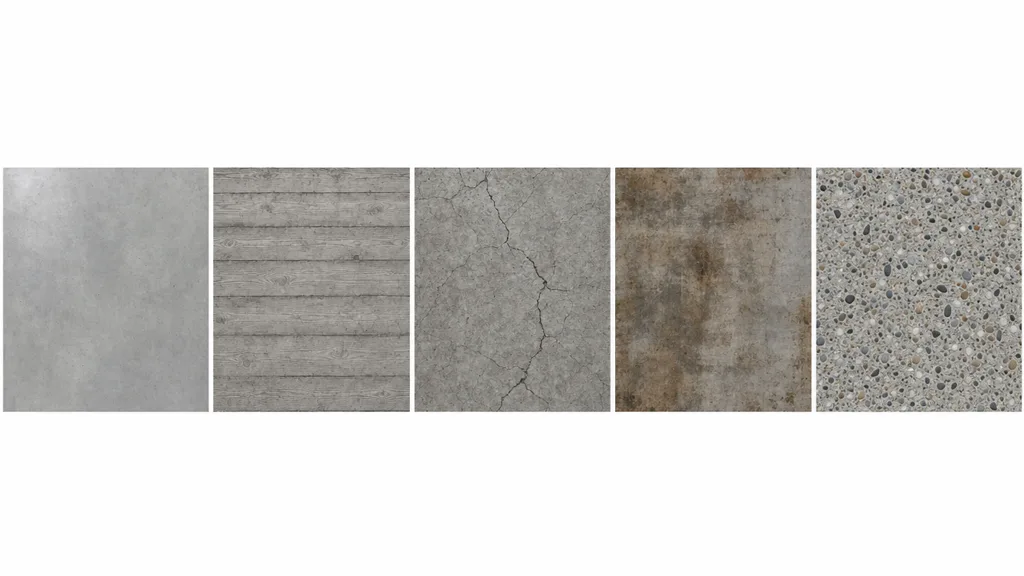
- One flat grey. Real concrete has tonal blotches from the pour, water staining, and patchy curing. A single hue reads as cardboard.
- Flat roughness. Concrete has matte patches and polished patches, wet spots and dry. A constant roughness value looks like plastic.
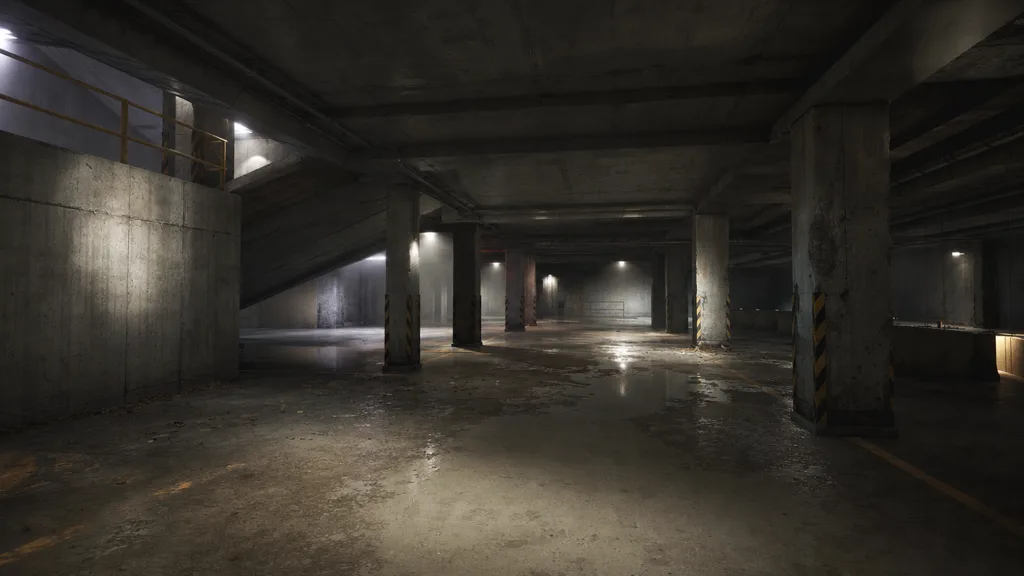
- No macro variation. At the wall scale, concrete drifts light and dark in big slow patches. Without that, tiling is obvious.
- No fine relief. Trowel marks, air pockets, aggregate bumps — without a normal and AO map, the surface is dead flat.
The fix is a full PBR set plus large-scale variation: vary the colour and roughness with a low-frequency noise blend, and add an AO map so the pits and cracks read as depth.
The maps concrete needs most
- Base colour (albedo) — the grey tone and blotching, lighting removed. Wants built-in tonal variation, not one flat grey.
- Roughness — where the surface is polished versus raw, wet versus dry. The single biggest fix for the “plastic concrete” look.
- Normal — trowel marks, air pockets, surface relief, faked without geometry. This is what catches raking light. (New to these? See what a normal map is.)
- Ambient occlusion — the shadow inside pits, cracks, and form lines. Gives flat concrete its depth.

Three ways to get a seamless concrete texture
1. Heal a photo by hand
Take a flat-on concrete photo, offset it by half (Photoshop: Filter › Other › Offset, wrap-around), and clone-stamp the cross seam that appears in the middle. Then hunt down every bold crack and dark stain that would repeat and paint them out. Free, slow, and you still have to derive the normal, roughness, and AO maps separately.
2. Download a CC0 set
Poly Haven, ambientCG, and similar libraries give you ready-made seamless concrete with full PBR maps under CC0. Fast and high quality, with one limit: you get the concrete that exists. A specific age, finish, board-form pattern, or stain may not be in the catalogue.
3. Generate it from a prompt
Describe the concrete — “raw board-formed concrete with water staining” — and let AI build a tileable PBR set already wrapped. CraftPBR generates the base colour and derives a matching normal, roughness, AO, and height, then makes the set seamless together. You get the exact concrete you described, in about a minute — the same text to texture workflow, pointed at concrete.
Killing the grid: break up the repetition
Even a perfect seamless concrete texture repeats across a surface bigger than the tile. The standard tricks:
- Add a macro variation map — a large, faint noise that drifts whole regions lighter and darker, the way real pours cure unevenly.
- Vary roughness separately — wet patches and polished spots break the uniform sheen.
- Blend a second concrete or decal layer — stains, cracks, water marks placed by hand where they read, not on a tiling grid.
- Use a stochastic/hex-tiling node (Unreal, Blender) that shuffles the tile so the eye can’t lock onto the grid.
For the full anti-repetition toolkit across every material, the seamless tileable textures guide goes deep.
Seamless concrete texture in Unity, Unreal, Blender, and Godot
- Unity — Wrap Mode Repeat, base colour sRGB, normal/roughness/AO as linear (Non-Color). Use Tiling on the material to scale the concrete to the surface.
- Unreal — drop the maps into a Material, wire roughness and AO, and remember Unreal expects DirectX normals — flip the green channel if yours are OpenGL. Add a macro variation node for big walls.
- Blender — Image Texture nodes set to Repeat, base colour sRGB and the rest Non-Color, into a Principled BSDF. Blender uses OpenGL normals.
- Godot — assign the maps in a StandardMaterial3D, enable AO, set UV1 scale to tile. Godot uses OpenGL normals like Blender.
Key takeaways
- Seamless means the edges wrap; the concrete also has to survive tiling without a crack or stain giving away the grid
- The “too clean” look is missing tonal variation and flat roughness, not a bad photo
- Every PBR map has to tile together — colour, normal, roughness, AO
- Flat roughness is why concrete looks like plastic; vary it
- Break up repetition with macro variation, roughness breakup, decal stains, or stochastic tiling
- It imports into any engine — just mind the OpenGL/DirectX normal convention