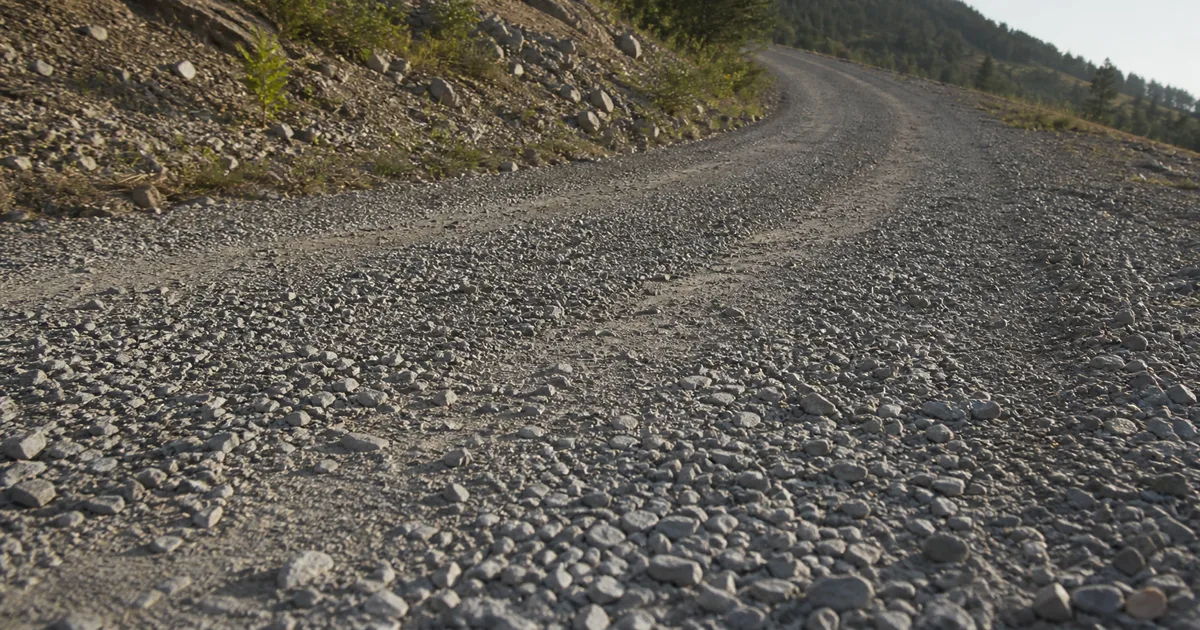
A gravel seamless texture has to describe thousands of separate stones while pretending that none of them is memorable. That is harder than making generic noise. Every pebble has a size, shape, orientation, mineral color, contact shadow, and relationship to the fines packed around it. One pale triangular stone can expose the repeat across an entire road.
The useful approach is to treat gravel as a distribution system. Define the aggregate, control the gaps, divide relief between texture and geometry, and reserve large history for layers that do not repeat. The result can cover a driveway, rail bed, garden path, quarry floor, or game terrain without turning into either flat gray cereal or a field of identical rocks.
A gravel seamless texture starts with an aggregate specification
“Gravel” is not a complete art brief. Crushed granite has angular fractured faces. River gravel is rounded by abrasion. Pea gravel has a narrow size range, while a road base mixes larger aggregate with fines that lock the surface together. Wet stones darken and sharpen reflections; dust fills gaps and raises the apparent roughness.
Write down five properties before authoring maps:
- size range: the smallest, typical, and largest visible stones in real units;
- shape: angular, sub-angular, rounded, flat, or mixed;
- gradation: uniform pebbles or a graded mix with compacting fines;
- mineral palette: narrow gray granite, warm limestone, multicolor river stone, or another specific source;
- condition: loose, compacted, dusty, muddy, wet, mossy, or recently spread.
A convincing crushed stone texture should show fresh planar breaks and sharp corners without turning every stone into a miniature gemstone. Rounded gravel needs softer silhouettes and smoother highlight transitions. If the same height field is merely recolored for both, the material description has lost the argument before the renderer begins.
Lock real stone scale before tuning detail
Scale is the first useful test because gravel carries familiar measurements. If the median stone is meant to be 20 mm across, a one-metre material preview should contain roughly fifty stones across, with variation around that average. Count a sample row.
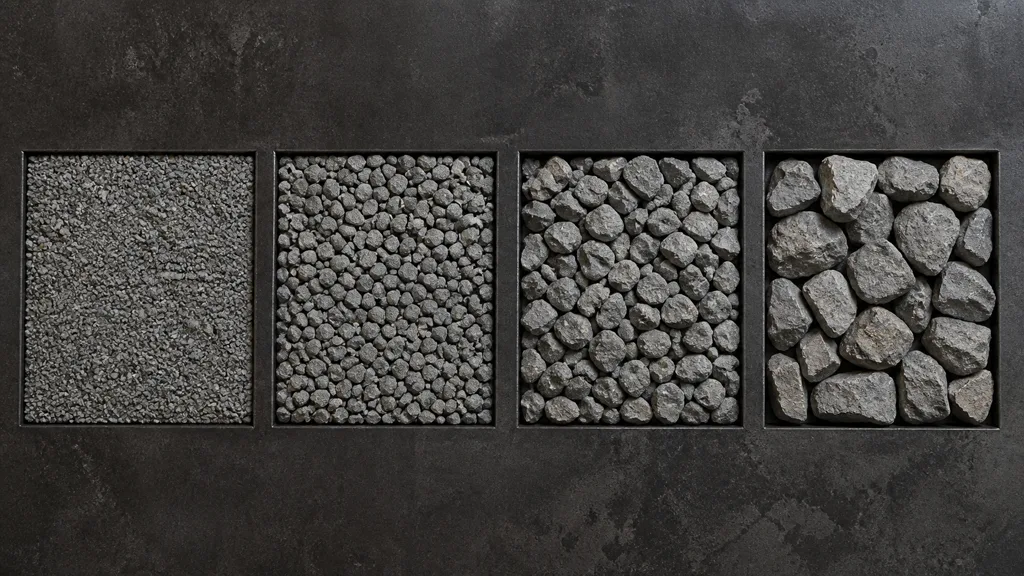
Keep texel density separate from physical tile size. A 2048-pixel image can represent half a metre or four metres; resolution does not define scale by itself. Store the intended coverage with the material and use a parameter named in metres or centimetres. GravelTileMeters is a contract. Scale 3.7 is an invitation to folklore.
Camera distance determines which scale deserves geometry. Fine grit and tiny chips belong in roughness and normals. Typical stones can use normal plus height or parallax for close shots. Large pieces that affect the silhouette, receive gameplay interaction, or cast visible shadows should become scattered meshes. A gravel seamless texture should not be asked to move the horizon with displacement.
Build coherent gravel PBR texture maps
A useful gravel PBR texture is a coordinated description, not six independently interesting images.
| Map | What it should describe | Common failure |
|---|---|---|
| Base color | Mineral color and dust, with direct lighting removed | Baked black gaps and white highlights |
| Roughness | Polish, fracture, dust, moisture, and fine surface grain | Copied grayscale albedo |
| Normal | Stone faces, edge direction, pits, and small gaps | Inflated blobs with no planar structure |
| Height | Relative stone tops, packed fines, ruts, and depressions | Every pebble raised to the same dome |
| Ambient occlusion | Restrained contact inside tight gaps | Permanent dark outlines around every stone |
| Metalness | Zero for ordinary stone and soil | Noisy values derived from color |
The gravel normal map needs readable planes and edges. Over-blurring makes stones look like bubbles; over-sharpening creates a purple-blue thicket that sparkles under motion. Derive it from clean height, then test under one broad light and one grazing light.
The gravel roughness map should distinguish mineral faces from powder and moisture. Dry fines are usually matte. Some stone faces may be slightly smoother, and wet patches can become much less rough, but brightness in base color does not decide any of that. Author roughness by material state.
Use the gravel displacement map for broad depth differences and compacted structure. Keep a neutral baseline and enough headroom for depressions and raised stones. Parallax or normal mapping is often the better runtime choice beyond the foreground.
Make the tile disappear without erasing character
Opposite borders matching is necessary, but it is only the administrative part of making a seamless gravel texture. Internal landmarks reveal repetition just as efficiently: one chalk-white rock, a crescent-shaped empty patch, a dark drainage streak, or a cluster aligned like a constellation.
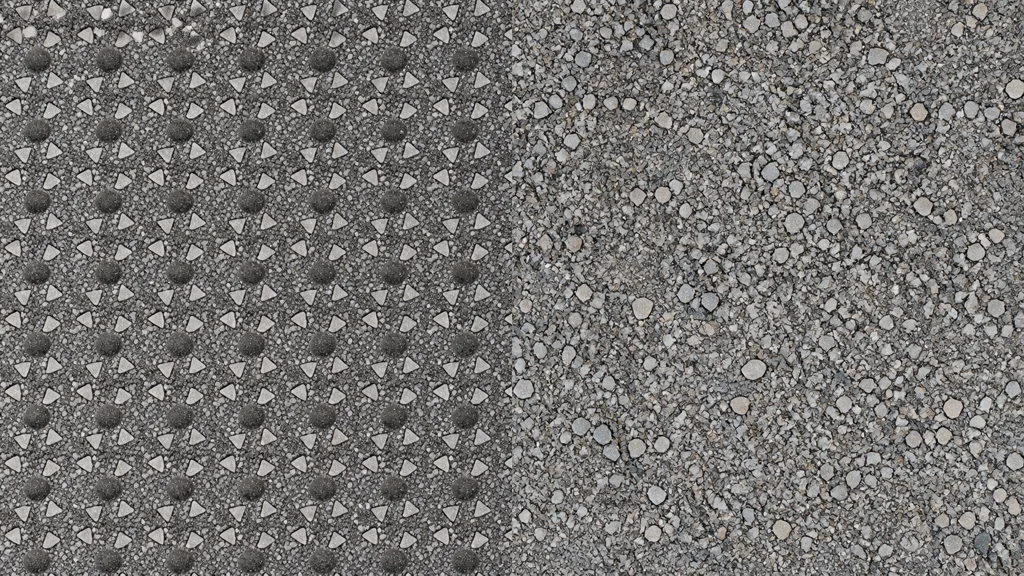
Work at three frequencies:
- Aggregate scale defines individual stones, chips, and gaps.
- Patch scale changes density, packing, fines, and restrained mineral mix across several stones.
- Terrain scale carries wheel compression, drainage, dampness, edge migration, and repairs across many tiles.
Keep the first two in the repeating set. Put terrain-scale history in vertex paint, splat masks, decals, procedural world masks, or a separate low-frequency texture. Randomized tile rotation and offset work well for mostly isotropic gravel, but rotate tangent-space normals through the matching basis and preserve directional features such as wheel bands.
Offset every map by half its width and height, repair the exposed cross, then view at least an 8-by-8 repetition. Display base color, roughness, normal lighting, and height separately. A seam hidden in color can remain perfectly legible in a grazing highlight.
How to make gravel texture seamless: a production pass
Use this sequence when asking how to make gravel texture seamless without sanding away the material’s identity:
- Choose the aggregate. Record source, stone shape, measured size range, fines, condition, and intended camera distance.
- Build or capture a top-down source. Use flat diffuse lighting for photography, or scatter procedural stones with collision and varied rotation for a synthetic source.
- Balance density and gaps. Prevent clusters from creating accidental paths unless that structure belongs in a separate non-repeating layer.
- Establish height first. Separate stone tops, side planes, embedded pieces, and fines; avoid giving every piece equal elevation.
- Derive and refine normals. Preserve planar fracture direction, soften subpixel noise, and inspect the result on a flat plane.
- Author color and roughness by cause. Remove captured lighting, keep mineral variation restrained, and separate dry dust from polished or wet stone.
- Repair all map borders together. Offset, heal, and confirm that features cross each edge with matching value and direction.
- Remove landmarks. Tile broadly, identify memorable stones or voids, then replace or redistribute them without making the surface uniform.
- Validate the material at target scale. Test close, gameplay, and distant cameras before adding unique ruts, weeds, puddles, or scattered rocks.
Blend the gravel into a place
A tileable gravel texture becomes convincing when it has boundaries. Loose pieces migrate onto neighboring soil. Fine dust collects where traffic compresses the surface. Weeds appear in quieter gaps. Water follows depressions rather than tinting random islands because a noise node had availability.
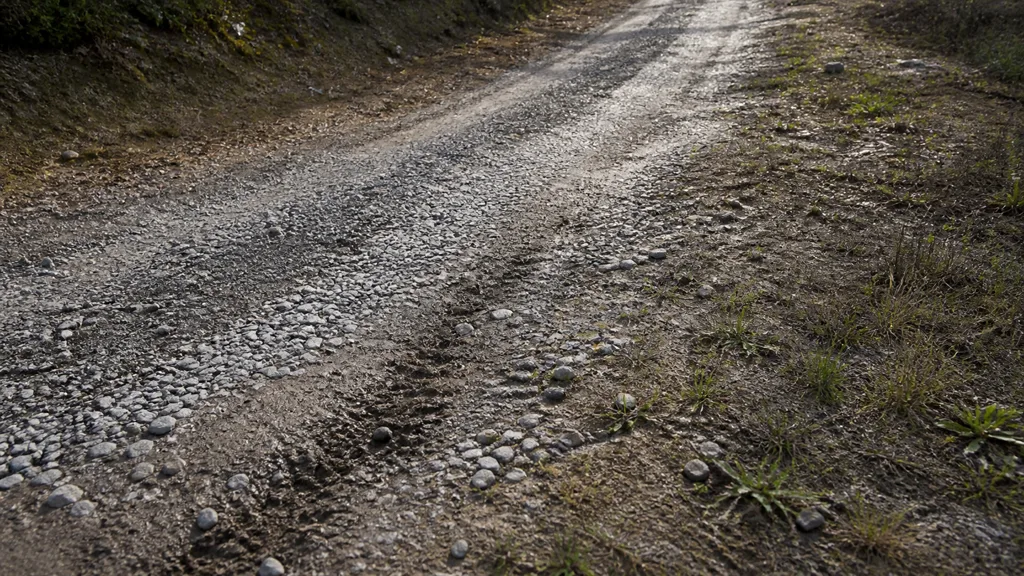
Blend a complete gravel layer with dirt or grass using vertex colors, terrain paint, or splat maps. Height-aware blending can let fines settle between stones and allow gravel to sit above softer soil, but clamp the transition so high stones do not create a noisy zipper at the boundary. The vertex painting guide covers local material masks, and the triplanar mapping guide helps on cut banks or procedural terrain where ordinary UVs stretch.
Scatter a modest set of real stone meshes near the camera, along silhouettes, and beyond path edges. Match their color and roughness to the texture; otherwise they look borrowed from a different quarry. Use density falloff and size variation, then cull or simplify them with distance. Geometry should reinforce the tile, not carpet every texel with a corresponding pebble.
Gravel texture setup in Unity, Unreal Engine, and Blender
For a gravel texture Unity terrain, create a Terrain Layer with the diffuse, normal, and supported mask data, then set tile size in world units. Unity’s Terrain Layers manual documents diffuse, normal, mask, tiling, and offset controls. Keep ordinary gravel nonmetallic, convert roughness to smoothness when the selected shader expects it, and blend compacted gravel with dirt or grass instead of stretching one layer across every slope.
For a gravel texture Unreal Engine landscape, reuse one coordinate path for every map and expose physical scale through material parameters. Epic’s Landscape Materials documentation describes weight, alpha, and height layer blends; height blending can place fines into low areas at transitions, but test several meeting layers for black or invalid-normal spots. Import masks as linear data and verify the normal convention used by the source.
For a gravel texture Blender material, map the tile at a known real size, set base color to sRGB and normal, roughness, height, and masks to Non-Color, then connect them through the appropriate shader nodes. Use bump or normal detail for general shots. Reserve true displacement for a subdivided foreground surface and pair it with scattered stones when the silhouette matters. The displacement map guide explains where geometry becomes necessary.
Across all three, inspect texture filtering and anisotropy at shallow road angles. Gravel contains many small high-contrast edges, so an impressive still can shimmer badly in motion. The texture filtering guide covers the camera-angle problem, while the texture resolution guide helps set a useful texel budget.
Diagnose why a gravel texture looks flat or fake
When asking why does gravel texture look flat, isolate the signals instead of increasing all of them.
| Symptom | Likely cause | Fast test |
|---|---|---|
| Gravel reads as colored sand | Stones are too small or height lacks separation | Compare against a one-metre scale marker |
| Stones look like bubbles | Smooth height domes and blurred normals | Render one strong side light and inspect face breaks |
| Surface sparkles in motion | Excessive micro-normal contrast or poor filtering | Inspect lower mips and reduce subpixel relief |
| Every gap is black | AO or captured lighting baked into base color | Replace base color with a flat neutral value |
| The road shows a checkerboard | Landmark stones or patch density repeat | View an 8-by-8 tile from above |
| Displacement tears or spikes | Bad baseline, low subdivision, or extreme range | Test height as grayscale on a dense flat grid |
| Scatter stones float | Mesh base and height field disagree | Disable texture relief and inspect contact points |
| Gravel becomes glossy plastic | Roughness is flat or wetness affects every pixel equally | Sweep a broad light across dry and wet variants |
Validate on a flat one-metre plane, a banked road, and a large overhead terrain. Use daylight and a low grazing light, then walk the camera forward and review the mip chain. The best gravel texture 2026 is the one that holds its scale and surface response while the camera moves far enough to expose the system.
Try CraftPBR
CraftPBR helps create the coordinated surface set behind a gravel seamless texture:
- Text-to-PBR generates gravel from a physical description such as compacted gray granite road base with fine dust and sparse larger chips.
- Photo-to-PBR converts a controlled top-down gravel reference into aligned material maps.
- Node workspace keeps scale, tile cleanup, height, roughness, map balance, and material variations editable.
- Engine export prepares normal orientation, roughness or smoothness, channel packing, and filenames for common destinations.
- Free tier lets you build and validate a complete gravel material before committing it to a terrain.
- CC0 output lets you modify, render, and ship generated textures without attribution.
Let the small stones repeat. Keep the road from doing the same.