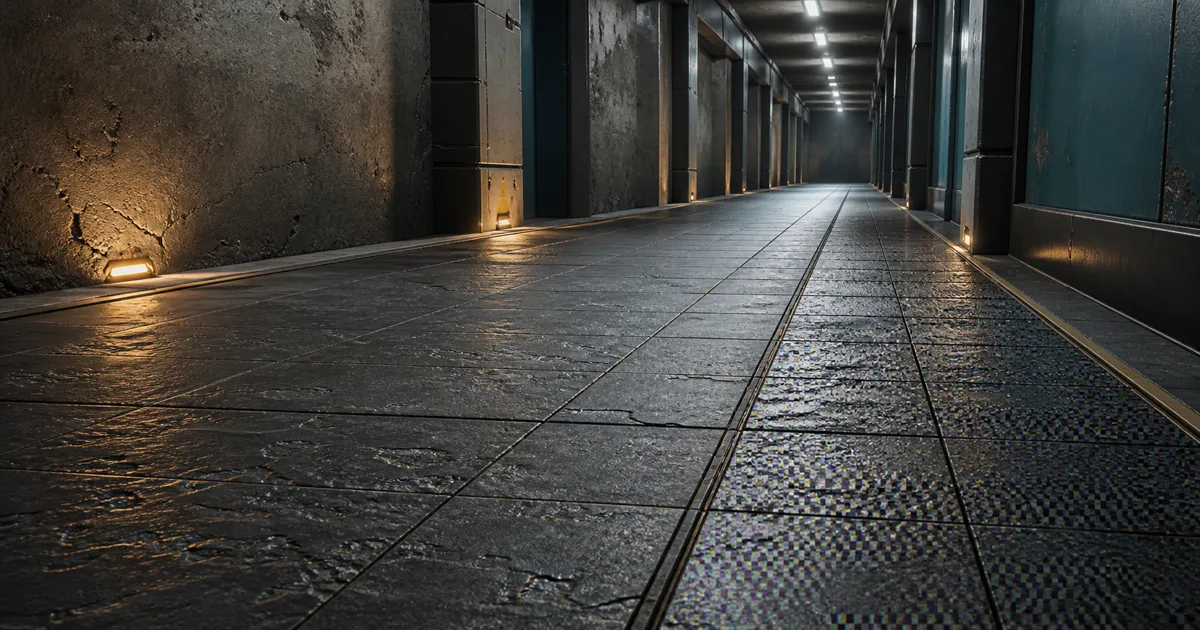
Lower the camera until it nearly touches a tiled floor, then move forward. Fine grout lines compress into a few screen pixels. The normal map fires tiny highlights between frames. A distant painted stripe alternates between sharp, missing, and surprisingly musical. This is where texture filtering stops being an import-menu footnote and becomes visible art direction.
The source image is not necessarily wrong. The renderer is trying to estimate one screen pixel from an uneven footprint across many texels. Good texture filtering in games reduces flicker and preserves useful surface information without turning every oblique road, roof, and wall into soup. The job is reconstruction under motion, not a contest for the sharpest paused screenshot.
Texture filtering reconstructs a signal, not a smaller image
A texture sampler receives UV coordinates and must return a value for the shader. The requested coordinate rarely lands exactly on one texel center. Even when it does, a screen pixel may cover a broad or stretched region of the texture because of distance, perspective, UV scale, camera resolution, and surface angle.
Nearest neighbor texture filtering chooses the closest texel. It is cheap, crisp, and deliberately blocky. That is correct for pixel art, indexed-looking UI, some data textures, and styles designed around hard texel boundaries. On a realistic PBR floor, nearest sampling usually converts camera movement into crawling edges.
Linear filters combine nearby samples. Mipmaps provide prefiltered versions for smaller screen footprints. Anisotropic sampling handles footprints that are much longer in one direction than the other. These mechanisms answer related but separate questions:
- Which neighboring texels contribute at this coordinate?
- Which mip level represents the projected size?
- Does the footprint stretch across the surface at a grazing angle?
- How many samples are worth spending to preserve directional detail?
The best answer is the least expensive one that stays stable in the shipped camera. A still image can flatter a bad setting. Motion conducts the interview.
How does texture filtering work at grazing angles?
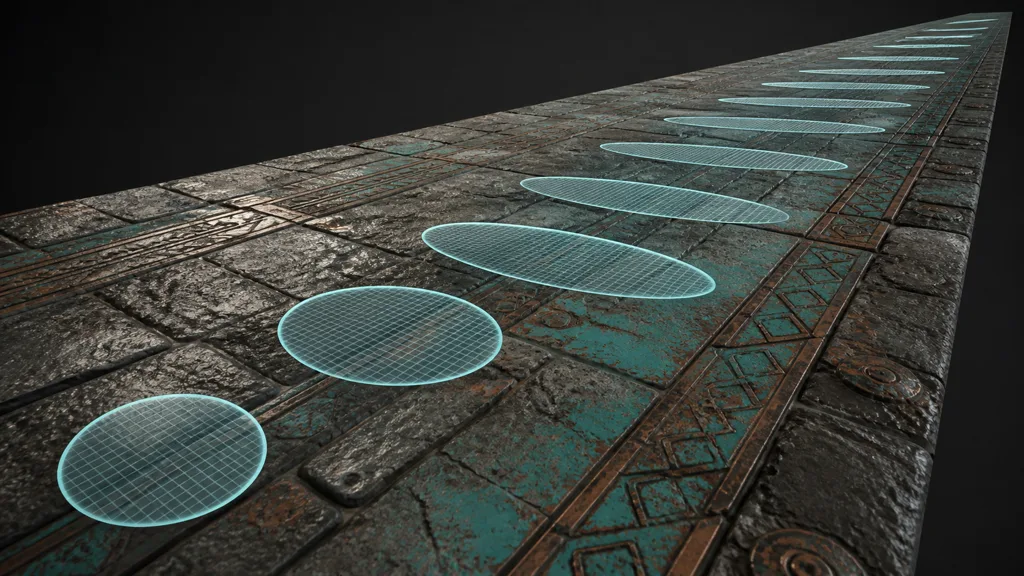
To understand how does texture filtering work, imagine projecting one screen pixel back onto a textured surface. On a wall facing the camera, the footprint may be compact and roughly square. On a floor viewed nearly edge-on, the same pixel can cover a long, narrow region in texture space.
An isotropic filter treats the footprint as though its width and length were similar. It may choose a coarse mip that suppresses aliasing across the long axis but throws away detail across the short axis. The result is a safe but visibly blurred road, runway, roof, or terrain patch.
Anisotropic filtering takes additional samples along the stretched direction. It can retain more detail on oblique surfaces while keeping the signal stable. It is especially useful for:
- ground materials seen toward the horizon;
- long walls and corridors viewed at shallow angles;
- decals or painted lines receding in perspective;
- repeating fabric, grates, roof tiles, and planks;
- roughness and normal detail whose highlights reveal instability.
Higher anisotropy is not a texture-detail invention machine. It cannot restore information missing from the source, correct bad UV density, or make microscopic noise useful at a distance. It samples the available signal more appropriately for the projected footprint.
Compare the four practical texture filtering modes
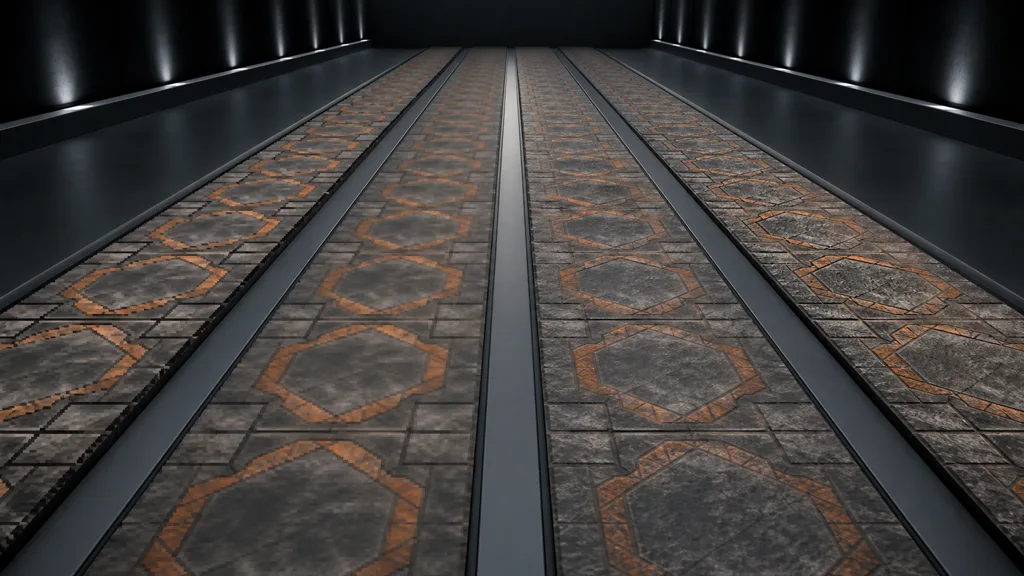
Most real-time texture filtering modes can be understood through four common behaviors:
| Mode | What it samples | Useful for | Typical failure |
|---|---|---|---|
| Nearest | One closest texel | Pixel art, hard masks, deliberate retro style | Pixel steps, crawling edges, noisy motion |
| Bilinear | Four texels within one mip | General smoothing, simple UI, moderate surfaces | Visible transitions between mip levels |
| Trilinear | Bilinear samples from two mips, then blends | Smooth mip transitions in ordinary 3D scenes | Oblique surfaces can still blur |
| Anisotropic | Multiple directional samples across a stretched footprint | Roads, floors, terrain, long walls, detailed PBR surfaces | Higher sampling cost and diminishing returns |
The bilinear vs trilinear filtering decision is mainly about mip transitions. Bilinear filtering smooths within the selected level, but a level change can appear as a moving band. Trilinear filtering blends between adjacent levels, making that transition less obvious. Neither alone solves a highly elongated footprint; that is the anisotropic case.
Do not set every asset to the maximum by reflex. A small prop seen front-on may show no production-relevant difference. A huge runway can advertise the difference across half the frame. Filter the camera problem, not the file extension.
Mipmap filtering decides when detail should retire
Mipmaps are successively smaller, prefiltered versions of a texture. A full chain usually adds about one third to the top-level pixel storage, but it reduces minification aliasing and lets the sampler choose a signal closer to the pixel footprint.
Good mipmap filtering starts during mip generation. Base color should be reduced with correct color handling. Tangent normals should remain valid vectors. Alpha-tested foliage may need coverage preservation. Roughness and packed masks need filtering that does not casually move material boundaries.
At runtime, level-of-detail selection determines which mip participates. A negative LOD bias forces sharper levels longer and can produce texture shimmering. A positive bias chooses coarser levels sooner and can produce stable blur. Both can be deliberate, but global bias is a blunt instrument.
Test these conditions before changing bias:
- Confirm the texture has a valid mip chain.
- Check that its UV scale and texel density suit the approved camera.
- Verify the sampler and import settings actually enable the intended mode.
- Inspect temporal anti-aliasing or upscaling interactions separately.
- Compare a moving camera, not only a stationary capture.
The texture resolution guide helps determine whether the source contains justified detail. The texture compression guide covers block artifacts that filtering may reveal but does not cause.
Filter PBR channels by what their values mean
A PBR material is a coordinated set of signals. Applying identical assumptions to every channel creates texture filtering artifacts that look like shading bugs.
- Base color: wants stable color and correct sRGB handling. High-frequency photographic noise may need authoring-side cleanup before filtering.
- Normal: contains vector direction, not color. Use the engine’s normal-map path, correct tangent convention, and normal-aware mip treatment where available.
- Roughness: controls reflection width. Fine contrast that looks harmless in grayscale can sparkle strongly under moving highlights.
- Metalness: represents material class in a metalness workflow. Soft filtering across a thin boundary creates transition pixels that are neither clean coating nor clean exposed metal.
- AO and masks: may tolerate smoothing, but packed channels should be inspected individually. One sampler setting serves all packed channels.
- Height or displacement: can staircase, blur, or change silhouette depending on how it is sampled and applied.
- Opacity: cutout coverage can collapse in lower mips; smooth transparency has separate sorting and edge concerns.
Keep map crops, UVs, and mip logic aligned so a distant scratch does not survive in roughness after disappearing from color and normal. The PBR workflow guide explains the role of each map. Filtering should preserve that shared material story at the pixel scale the camera can see.
Diagnose texture filtering artifacts with a moving test
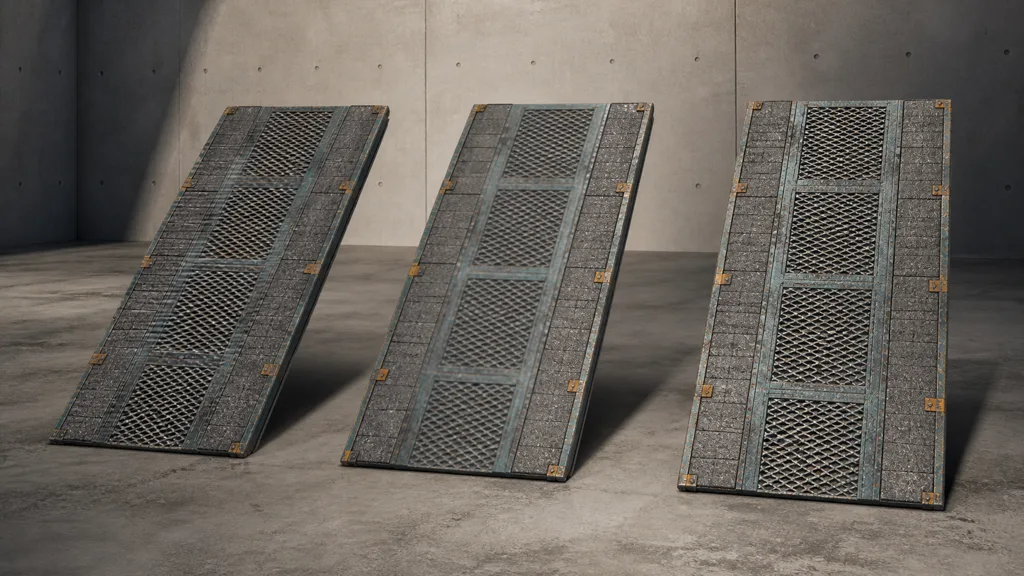
Use one controlled material test instead of changing five project settings and hoping the floor becomes cooperative:
- Freeze the source. Keep resolution, compression, UV scale, material parameters, and lighting constant.
- Choose hostile geometry. Test a floor, ramp, grate, or long wall at the steepest production viewing angle.
- Move at production speed. Dolly forward, strafe, rotate, and test the target frame rate and display resolution.
- Change one filter control. Compare nearest, bilinear, trilinear, anisotropy, or LOD bias one variable at a time.
- Inspect every PBR response. Watch color edges, normal highlights, roughness sparkle, metal boundaries, and alpha coverage.
- Capture cost and evidence. Save matching clips or frame sequences with GPU timing and target-hardware notes.
| Symptom | Likely cause | Next useful test |
|---|---|---|
| Crawling pixel edges | Nearest or insufficient minification filtering | Enable mipmaps and compare trilinear sampling |
| Moving bands across a floor | Abrupt mip transitions | Compare bilinear with trilinear |
| Blurry oblique road | Isotropic footprint on a grazing surface | Raise anisotropy in measured steps |
| Sparkling roughness | Signal too fine, aggressive bias, or unstable mips | Filter the source and compare neutral roughness |
| Wavy normal highlights | Normal imported as color or badly reduced | Use normal-map import and inspect the mip chain |
| Halo around cutout foliage | Color bleed or alpha coverage loss | Dilate color and test coverage-preserving mips |
This loop separates filtering from compression, streaming, temporal reconstruction, and bad source frequency. Several can fail at once, which is why random checkbox archaeology takes so long.
Set texture filtering in Unity, Unreal Engine, and Blender
For texture filtering Unity projects, start with the texture importer’s Filter Mode, mipmap generation, wrap mode, and anisotropic level. Confirm quality settings and platform overrides on the built target. Unity’s default texture import settings document filtering and mip controls; the result should still be inspected in motion on representative hardware.
For texture filtering Unreal Engine, review the texture asset’s Filter, Mip Gen Settings, LOD Bias, texture group, and anisotropy-related project settings. Texture groups are useful for policy, but an override should have a measurable camera reason. Epic’s texture properties reference describes sampling and mip controls available on texture assets.
For texture filtering Blender, the Image Texture node’s interpolation mode changes how image samples are reconstructed. Use Closest for deliberately hard texels, Linear for general work, and test the cubic options when offline rendering quality justifies them. Blender’s Image Texture node documentation covers interpolation and projection behavior.
Engine names differ, but the validation remains consistent: correct map role, valid mips, appropriate footprint filtering, moving camera, final resolution, and shipped hardware. An editor viewport is evidence, not a verdict.
Budget the best texture filtering settings 2026 can justify
For the best texture filtering settings 2026 can offer, define quality tiers from scenes rather than adjectives. Pick a worst-case terrain view, a dense interior corridor, reflective props, foliage, and one stylized or pixel-art exception. Measure each on the lowest supported GPU and memory configuration.
Anisotropic filtering consumes additional texture samples and bandwidth, but the visible return depends on angle, surface frequency, and cache behavior. Raise it where oblique detail matters; accept lower settings where the camera or art style hides the difference. Profile the complete frame because a material that is cheap alone may share the scene with shadows, particles, post-processing, and a heroic number of decals.
Preserve explicit exceptions:
- nearest filtering for authored pixel art;
- lower anisotropy for inconsequential small props;
- higher anisotropy for large ground planes and roads;
- adjusted mip generation for normal maps and alpha cutouts;
- carefully tested bias for a specific camera or art direction.
The goal is stable material identity in motion. Maximum sharpness is not the goal; maximum blur is merely aliasing wearing sensible shoes.
FAQ
What is texture filtering in games?
Texture filtering is the process a renderer uses to estimate texture values when screen pixels do not align one-to-one with texels. It combines neighboring samples, mip levels, and sometimes directional samples to reduce blockiness, shimmer, blur, and visible level transitions.
Is anisotropic filtering worth enabling?
Yes for oblique surfaces such as roads, floors, terrain, roofs, and long walls where isotropic filtering becomes blurry. Increase it in measured steps on target hardware because the visual improvement and cost depend on the scene, texture frequency, and GPU.
What is the difference between bilinear and trilinear filtering?
Bilinear filtering blends neighboring texels within one mip level. Trilinear filtering performs that work in two adjacent mip levels and blends between them, reducing visible bands as the selected level changes.
Why do textures shimmer when the camera moves?
Texture shimmering occurs when fine texture detail changes faster than the pixel grid can represent, often because mipmaps are missing, LOD bias is too sharp, minification filtering is insufficient, or the source contains excessive high-frequency detail. Test under motion and isolate temporal anti-aliasing, compression, and normal-map issues separately.
Does anisotropic filtering reduce FPS?
It adds texture-sampling and bandwidth work, so it can affect performance. Modern desktop GPUs often handle moderate levels well, but large scenes, mobile hardware, high resolutions, and heavy material sampling still require measurement.
Should pixel art use texture filtering?
Usually pixel art uses nearest-neighbor sampling to keep intentional texel boundaries crisp. Disable unintended smoothing, control camera scaling, and test mip behavior because subpixel movement can still cause instability.
Can texture filtering fix a low-resolution texture?
No. Filtering can reconstruct and stabilize available data, but it cannot create missing authored detail. If the material is genuinely under-resolved at its approved camera distance, revise resolution, texel density, UV allocation, or material layering.
Try CraftPBR
CraftPBR gives texture filtering a coherent PBR source set to sample:
- Text-to-PBR generates aligned material maps from a physical surface description.
- Photo-to-PBR turns a controlled photo into coordinated base color, normal, roughness, height, AO, and metalness.
- Node workspace keeps tiling, levels, masks, layers, and frequency cleanup editable before engine delivery.
- Engine export prepares map roles, color/data handling, normal orientation, and packed channels for common targets.
- Free tier lets you build and motion-test a complete PBR material before settling quality tiers.
- CC0 output lets you modify, filter, render, and ship generated materials without attribution.
Create a PBR material for a moving-camera test →
Judge the surface while the camera moves. Paused frames are excellent at keeping secrets.