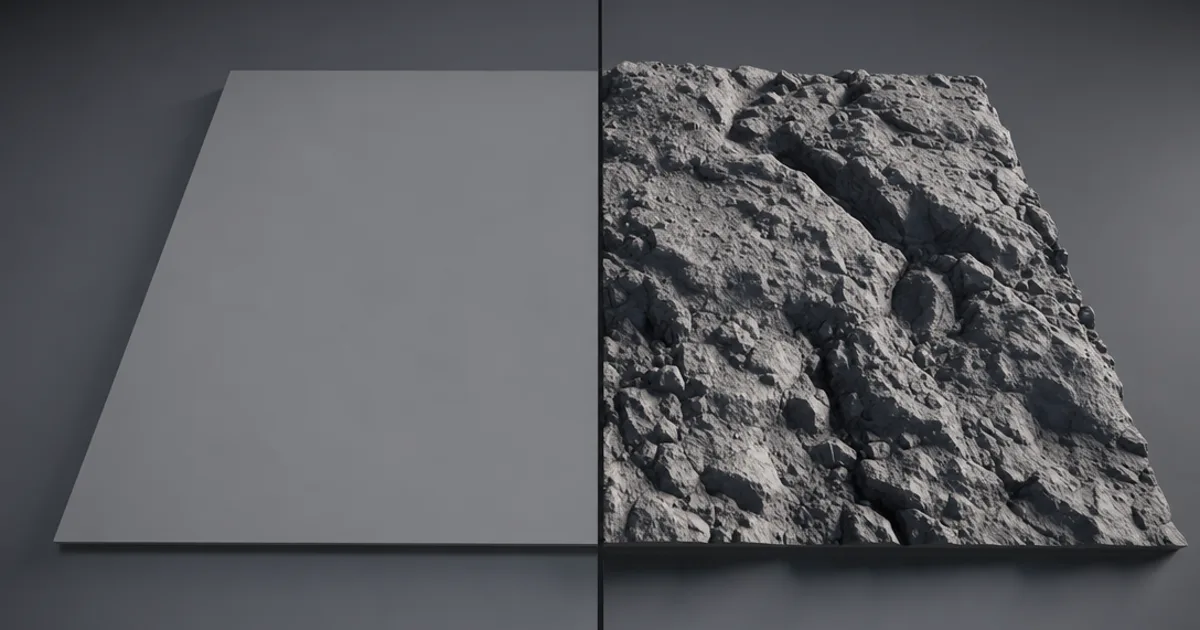
You know that feeling when your cobblestones look perfect head-on but turn into a flat sticker the moment the camera tilts? That’s the limit of faked detail. A displacement mapfixes it by doing something normal and bump maps can’t: it physically moves the geometry, so the bumps are real — real outline, real shadows, real depth.
Displacement is the most powerful and the most expensive way to add surface detail. This guide explains what it actually does, how it differs from the maps it’s often confused with, and when the extra cost is worth it.
What a displacement map actually does
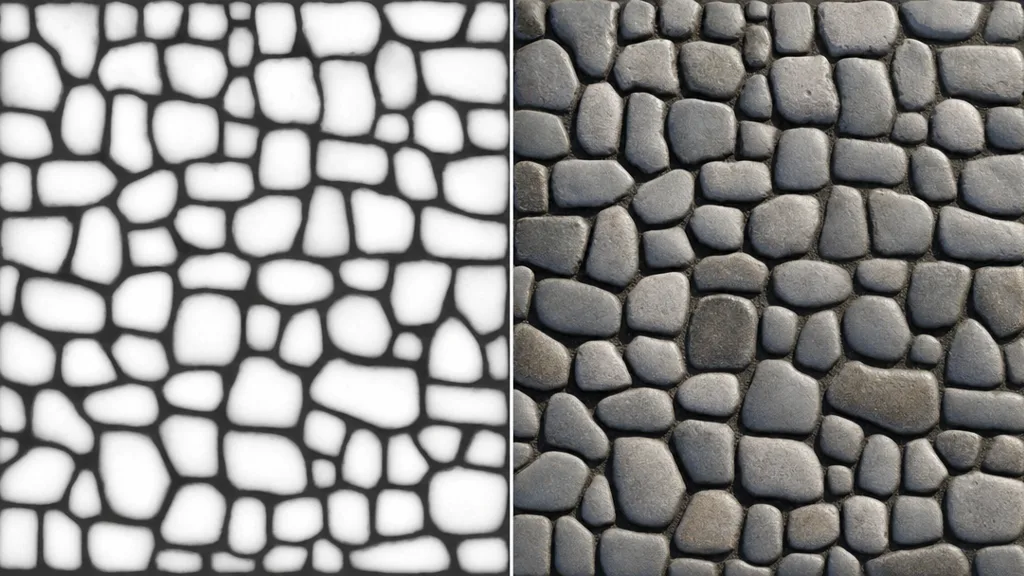
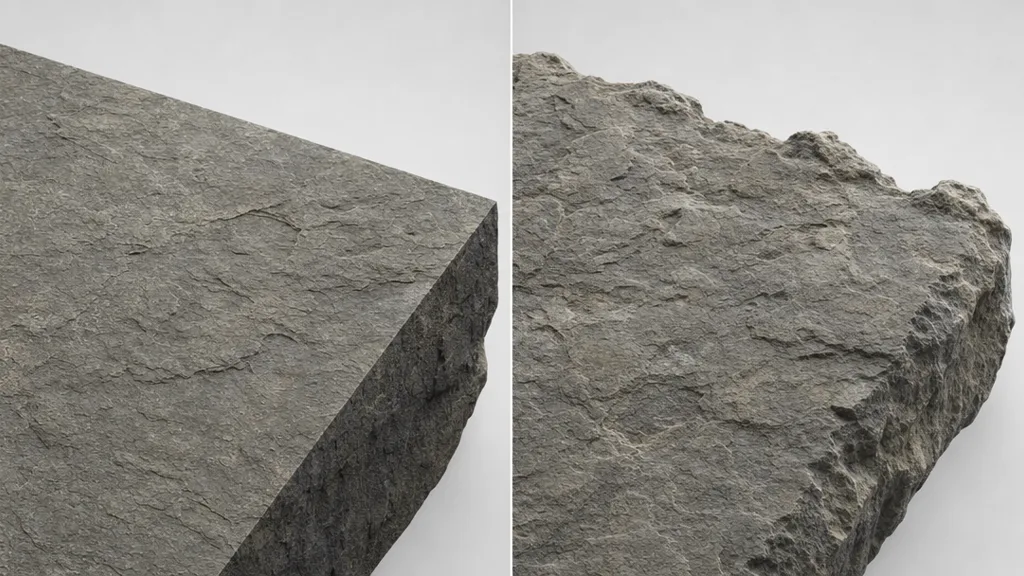
A displacement map is a greyscale heightfield: each pixel stores a height. White pushes the surface outward, black pulls it inward, mid-grey stays put. The renderer reads those heights and moves the actual mesh — which means the surface needs real polygons to move, and the result has a correct silhouette and casts real self-shadows.
That last part is the whole point. A normal map can make a brick wall look deep from the front, but its edge stays razor-flat. Displacement makes the bricks genuinely stick out, so the wall’s outline is bumpy and the mortar lines shadow themselves.
Displacement vs normal vs bump vs height
Four maps people mix up constantly. The difference is what they move and what they cost:
- Bump map — greyscale. Fakes lighting only. Cheapest, flattest, oldest.
- Normal map — RGB directions. Fakes detailed lighting without moving geometry. Cheap and convincing from most angles, but the silhouette stays flat. (See what a normal map is.)
- Height map — greyscale. The same data as displacement, but often used cheaply for parallax/bump rather than real geometry.
- Displacement map — greyscale heightfield used to actually move the mesh. Most accurate, most expensive, correct silhouette and self-shadowing.
In practice you ship a normal map for fine detail and add displacement on top only where the silhouette matters — the two work together, they’re not either/or.
The catch: displacement needs geometry
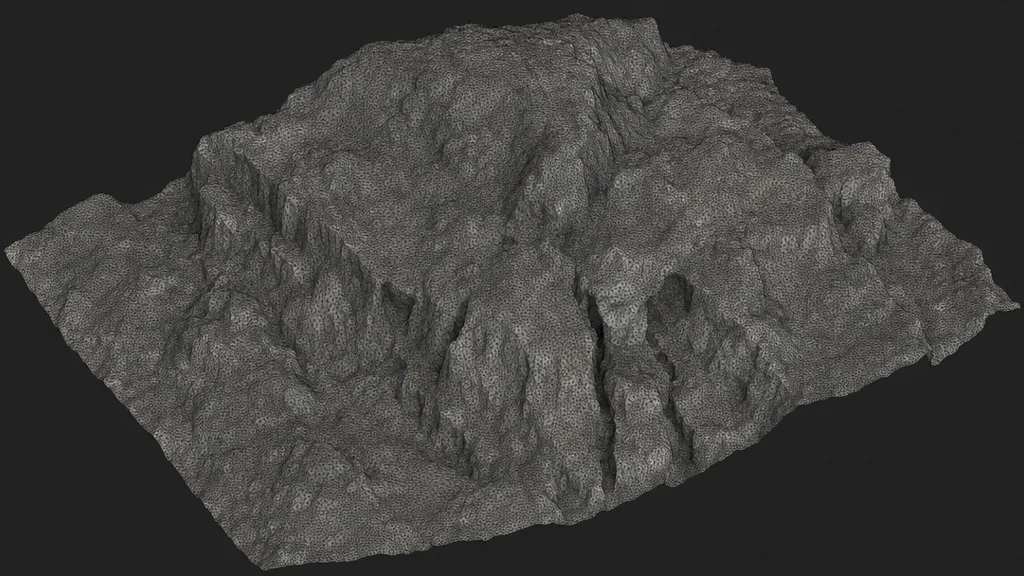
You can’t move a surface that has no polygons to move. Displacement only works if the mesh is densely subdivided — which is why it’s expensive. Three ways engines handle that:
- Subdivision — add polygons before rendering. Simple, heavy, predictable.
- Tessellation — add polygons on the GPU at render time, often based on camera distance.
- Adaptive / virtualised geometry — systems like Unreal Nanite and Blender adaptive subdivision add detail only where needed, making displacement far more practical than it used to be.
Vector displacement (going further)
Standard displacement only moves the surface along its normal — straight out or in. Vector displacement stores a full 3D direction per pixel (like a normal map, but for movement), so it can create overhangs, curls, and undercuts a heightfield can’t — think a sculpted ear or a mushroom cap. It’s heavier still, and used mostly for baked hero assets.
When to use displacement
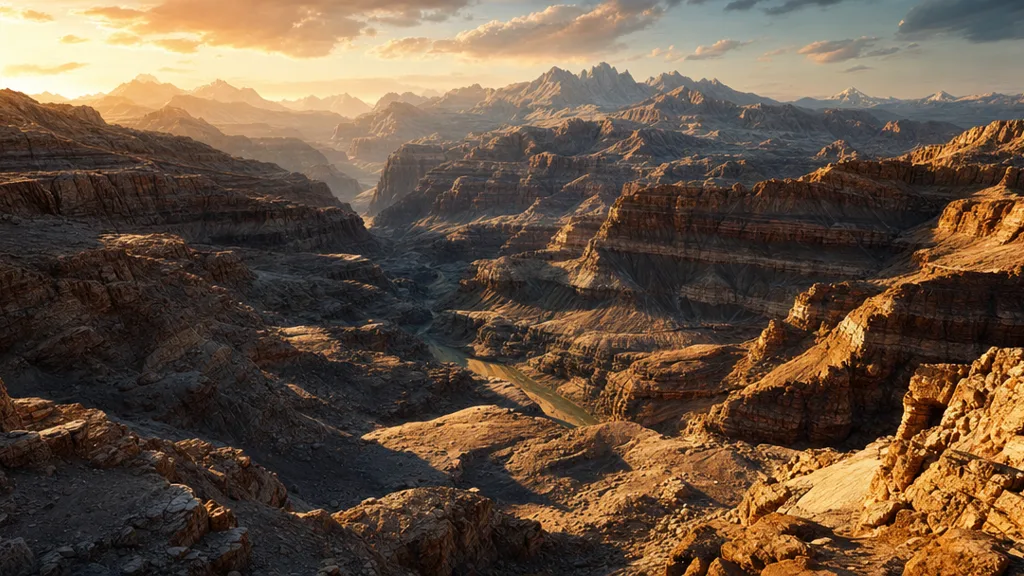
- Terrain — hills, dunes, riverbeds where the ground shape is the point.
- Ground underfoot — cobblestones, gravel, deep brick seen at glancing angles.
- Hero close-ups — anything the camera gets close enough to see the edge of.
- Not — distant props, flat walls seen head-on, mobile budgets. A normal map wins there.
Displacement in Unreal, Blender, Unity, and Godot
- Unreal — Nanite displacement (recent versions) or traditional tessellation; feed the heightfield into the material’s displacement input and set magnitude.
- Blender — the Displace modifier for simple cases, or Cycles adaptive subdivision with the height map in the Displacement input of the Material Output for render-quality results.
- Unity — displacement via tessellation shaders (HDRP supports it); URP/Built-in often fake it with parallax occlusion instead.
- Godot — height/depth via parallax occlusion mapping in most cases; true displacement needs a subdivided mesh.
How to make a displacement map
It’s a greyscale heightfield, so you can bake it from a high-poly sculpt, paint it, derive it from a photo, or generate it. The easiest path is to get it as part of a full PBR set so the height agrees with the colour and normal. CraftPBR produces a height/displacement map alongside base colour, normal, roughness, and AO from a text prompt or photo — the same text to texture workflow, with depth included.
Key takeaways
- A displacement map is a greyscale heightfield that physically moves geometry — white out, black in
- Unlike normal and bump maps, it gives a correct silhouette and real self-shadowing
- Height and displacement are usually the same data; the difference is whether it moves the mesh
- It needs dense geometry — subdivision or tessellation — which makes it expensive
- Use it where the silhouette matters: terrain, ground underfoot, hero close-ups
- Ship a normal map for fine detail and add displacement only where the edge would give the fake away