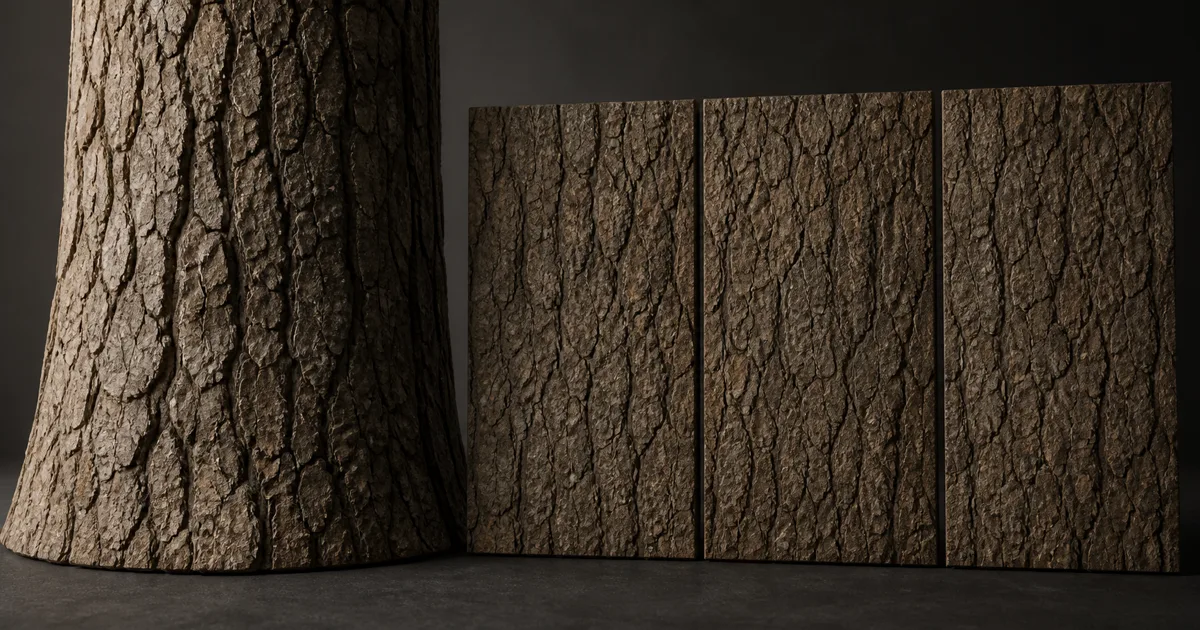
A bark texture seamless at its borders can still fail the moment it wraps around a trunk. One memorable plate appears every quarter-turn. Deep cracks form tidy horizontal bands. The roots inherit the same scale as thin branches. From a distance, the whole tree turns into evenly spaced dark stripes.
Bark records growth, weather, damage, and species. Its plates overlap, fissures taper, lenticels follow characteristic directions, and relief changes as the trunk expands. A useful seamless bark texture preserves enough of that structure to identify the surface while leaving broad growth changes to the mesh, masks, and secondary materials.
This guide treats bark as a layered field rather than brown crack noise. It covers reference choice, physical scale, neutral source creation, coordinated PBR maps, edge repair, trunk and fork mapping, engine setup, and validation from macro lens to gameplay camera.
Read bark as a growth record, not generic noise
Before authoring a bark texture seamless, identify the bark morphology. Smooth bark can carry horizontal lenticels, scars, and restrained color shifts. Plated bark breaks into scales with lifted edges. Furrowed bark forms vertical ridges separated by deep, tapering channels. Fibrous bark peels into strips. Exfoliating bark sheds flakes and exposes younger layers beneath.
Separate the observations into three groups:
- Species identity: plate shape, ridge direction, lenticel pattern, exfoliation, color family, and typical relief.
- Age and location: young branch, mature trunk, root flare, exposed side, shaded side, healed wound, or cut limb.
- Temporary surface state: moisture, dust, soot, lichen, moss, sap, snow, or scorching.
Only the first group belongs broadly in the base tileable bark texture. Age and location need larger masks or variants. Baking one heroic knot, a bright lichen island, and a black wet streak into the tile guarantees that the forest will remember the same three events with suspicious discipline.
Choose species and bark texture scale before maps
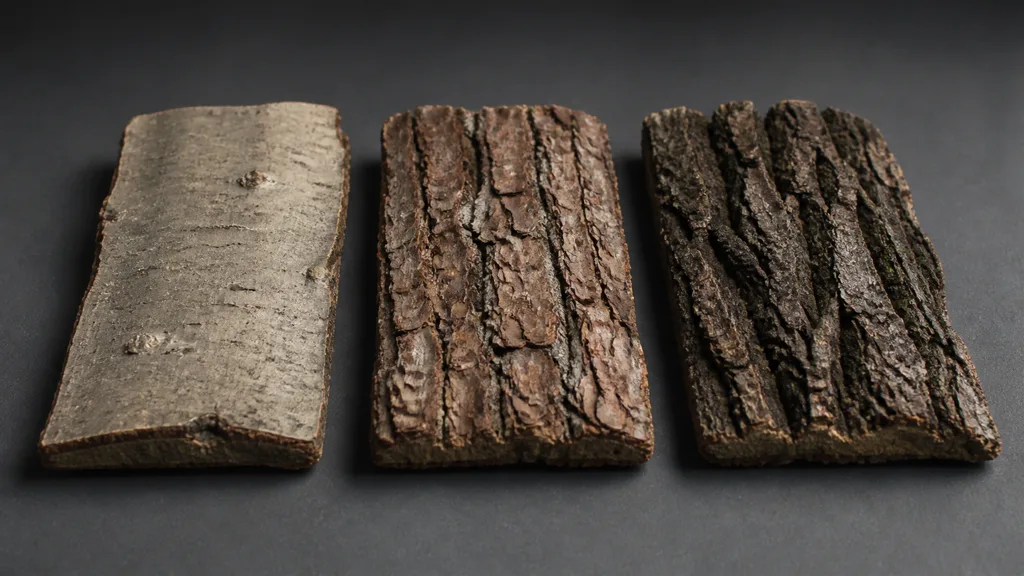
Bark texture scale is the first production number, not a final tiling slider. Record how many centimetres or metres the source image represents. Measure typical plate width, fissure spacing, ridge height, and the minimum feature that should survive at the target texel density.
A mature trunk texture mapped onto a sapling produces palm-sized armor. A young smooth-bark sample enlarged across an old tree looks airbrushed. Branches often need a second material or a scale-aware blend because shrinking the trunk tile preserves frequency but not morphology. The bark itself changes with age; UV multiplication cannot manufacture that change.
| Property | Record | Why it matters |
|---|---|---|
| Species or morphology | Smooth, plated, furrowed, fibrous, exfoliating | Controls the structural vocabulary |
| Represented width | Metres per texture tile | Keeps plate and fissure dimensions stable |
| Dominant direction | Vertical, horizontal lenticels, diagonal peel | Guides crop, UVs, and variant rotation |
| Relief range | Millimetres or centimetres | Sets normal, height, and geometry split |
| Moisture state | Dry baseline plus optional wet layer | Prevents permanent false roughness |
| Camera range | Hero close-up to distant canopy | Determines each frequency band |
Match references under neutral lighting. For a photo, shoot the flattest region with the camera parallel to the tangent plane, include a scale marker outside the crop, and remove broad curvature shading without flattening structural relief into color. For a generated source, specify species, age, scale, plate hierarchy, direction, dryness, and exclusions. Start with more area than the tile, then avoid central landmarks and uninterrupted fissures. The photo-to-PBR guide covers lighting removal, and the scanned textures guide covers controlled capture.
Build a tree bark PBR material from layer evidence
A tree bark PBR material needs maps that agree on structure without repeating the same grayscale interpretation. Bark is dielectric, so metalness stays at zero. Its response comes from layered color, porous roughness, shallow and deep relief, and localized moisture.
| Map | Describe | Avoid |
|---|---|---|
| Base color | Dry outer bark, exposed younger layers, restrained mineral staining | Baked highlights, black cavity shadows, green everywhere |
| Roughness | Fiber, dust, exposed smooth layers, damp patches, worn ridges | A simple inverted color image |
| Normal | Fine fibers, pores, small flakes, plate-edge orientation | Trying to carry the full fissure depth |
| Height | Major ridges, furrows, lifted plates, missing flakes | Equal depth for every dark line |
| AO | Only stable small cavities after geometric relief is chosen | Thick black outlines around every plate |
Build the bark height map first from large structure: broad ridge mass, fissure depth, and lifted plate edges. Use it to derive or guide the medium normal signal, then add separate micro-normal for fibers and pores. If height is just a contrast-stretched photograph, pale lichen may rise like foam while genuinely deep but bright cracks remain flat.
The bark texture normal map should preserve edge direction and fine breakup without turning every ridge into a knife. Deep bark may justify displacement or tessellation on hero assets, but normal maps still handle the smaller response. Keep the micro layer subtle enough to survive mip filtering instead of becoming silver noise under motion.
Author the bark roughness map by surface process. Dry fibrous bark is usually broad and rough, newly exposed inner layers may be smoother, and wet regions produce darker color with tighter reflections. These effects correlate, but not perfectly. A pale dry plate can remain rough; a dark dry fissure does not automatically become glossy. The roughness map guide explains why reflectance must describe finish rather than color value.
Make bark texture seamless without cutting vertical flow
To answer how to make bark texture seamless, offset every aligned map by half its width and height. Repair the new central joins while continuing ridge width, plate overlap, height, roughness, and color. Work on the map set together. A plate that crosses in base color but stops in height will reveal the seam as soon as light moves.
Vertical flow creates a special problem. If top and bottom borders contain dominant grooves at incompatible positions, repair can create sideways hooks or horizontal bridges. Plan the crop so several features naturally enter and leave each border. Split long ridges, merge smaller ones gradually, and avoid a single crack that travels from bottom to top unchanged.
After border repair, tile the result across a tall field at least four tiles wide and six tiles high. Look for:
- one pale plate returning in columns;
- a dark fork-shaped fissure forming a lattice;
- equal ridge spacing creating vertical wallpaper;
- broad color shading repeating as rectangular bands;
- normal or roughness landmarks visible only under grazing light.
Replace memorable features near the center as well as the edges. Prepare compatible variants with identical physical scale and average values. Blend them with low-frequency object-space masks, vertex colors, or per-instance choices. Rotating bark by 90 degrees is rarely a free variation; it turns growth direction sideways and the tree begins wearing corduroy incorrectly.
Map tileable bark around trunks, forks, and roots
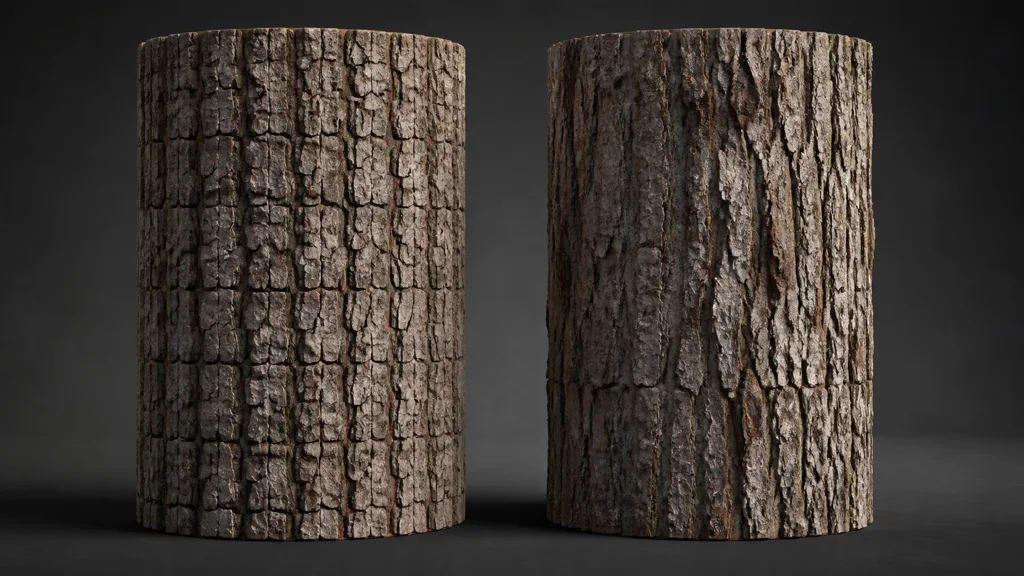
A tileable bark texture needs a mapping strategy for the tree, not only a clean square. Cylindrical UVs work well on straight trunks when the seam sits on a less visible side and the circumference receives enough texture width. Keep texel density consistent along the trunk, then allow deliberate scale change for age rather than accidental stretching.
At branch forks, ordinary cylindrical unwraps pinch and rotate. Place seams along occluded inner angles, relax the UVs, and use a localized blend or triplanar layer where topology becomes difficult. The triplanar mapping guide covers projection blending, but directional bark needs orientation controls; three world projections without direction awareness can make ridges collide around the fork.
Root flares need larger forms than the trunk tile can provide. Use geometry for the silhouette, a broad mask for stretched growth flow, and the bark texture seamless set for surface continuity. Add unique scars, branch collars, cuts, and peeling slabs as decals, geometry, or secondary masks.
A production checklist for bark texture seamless
- Define the bark. Choose species or morphology, age, dryness, represented tile width, and camera range.
- Collect scale-aware references. Capture close structure, broad distribution, and trunk-to-branch transitions under neutral light.
- Prepare a larger source. Remove perspective, curvature shading, and unique temporary features before choosing the crop.
- Separate structural bands. Isolate macro ridges, medium plates, micro fibers, color layers, and temporary overlays.
- Author coordinated maps. Build base color, causal roughness, restrained normal, major height, and limited AO.
- Repair all borders together. Offset the aligned maps and continue feature shape and response across every join.
- Remove internal landmarks. Inspect a large tall repeat in flat, lit, and moving views.
- Map the complete tree. Resolve trunk seams, forks, branch scale, roots, scars, and per-instance variation.
- Validate distance and export. Check displacement, mips, compression, channel conventions, and target hardware.
The best bark texture workflow 2026 keeps those stages editable. If represented scale changes, plate masks, height, normals, and instance controls should update together. A folder containing six unrelated grayscale guesses is not a material system; it is an escape room with filenames.
Bark texture in Unity, Unreal Engine, and Blender
For a bark texture Unity material, connect base color and tangent-space normal to the chosen Lit shader, keep metallic at zero, and convert roughness to the pipeline's smoothness convention. Mark roughness, height, masks, and packed numeric data as linear. For close trunks, use mesh geometry, height blending, or an appropriate displacement option rather than driving normal strength until ridges look inflated.
For a bark material Unreal Engine, connect Base Color, Roughness, Normal, and optional AO to their matching inputs. Use material instances for metres per tile, normal strength, height range, wetness, macro color, and variant selection. Virtual textures or landscape blends can help where roots meet terrain, while Nanite geometry may carry hero-scale silhouette relief. Keep the base material useful on ordinary meshes too; not every background tree needs geological ambitions.
For a bark material Blender, set color textures to sRGB and roughness, height, normal, and masks to Non-Color. Feed the normal texture through a Normal Map node. Use a Bump node for modest height or true displacement with enough subdivision for close renders. Test the same material on a plane, cylinder, forked form, and full tree before deciding that the shader sphere has approved it.
Validate bark from contact shot to forest distance
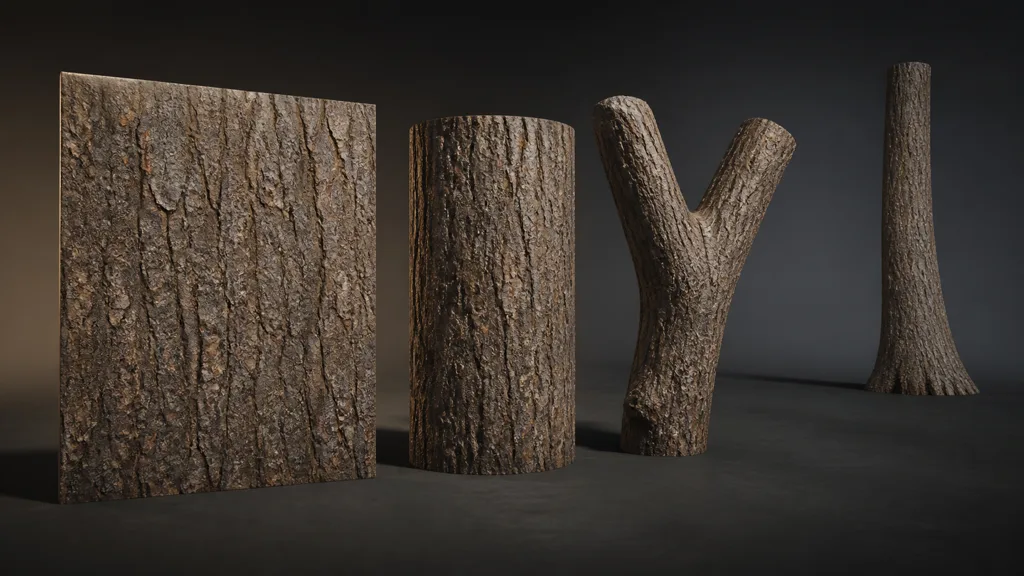
Test the bark texture seamless material in four views. A cylinder reveals circumference repeats and tangent seams. A forked form exposes UV pinching and projection direction. A distant trunk shows whether narrow cracks collapse into a stable tone.
Rotate a long light across the surface. If the material only works under frontal diffuse lighting, normal, height, or roughness errors are hiding. Then move the camera. Shimmer usually means excessive micro-normal, contrast that survives too long, or unsuitable mips. A plastic look usually means narrow roughness range combined with exaggerated broad normals. A carved-stone look means fissures have uniform depth and plate edges are too hard.
Try CraftPBR
CraftPBR helps turn a species brief or controlled reference into a coordinated bark texture seamless material:
- Text-to-PBR generates a complete map set from species, age, plate structure, scale, dryness, and color.
- Photo-to-PBR converts a neutral bark photograph into aligned material maps.
- Node workspace keeps ridge masks, plate layers, microdetail, roughness, tile cleanup, and variants editable.
- Engine export prepares normal orientation, roughness or smoothness, channel packing, filenames, and destination-specific files.
- Free tier lets you build and test a complete bark material before filling a scene with it.
- CC0 output lets you modify, render, and ship generated textures without attribution.
Create a seamless bark material
Build the coordinated maps, inspect the repeat, and export them for your engine.
Open CraftPBR →Build one convincing square. Then make sure the tree never admits where it starts again.