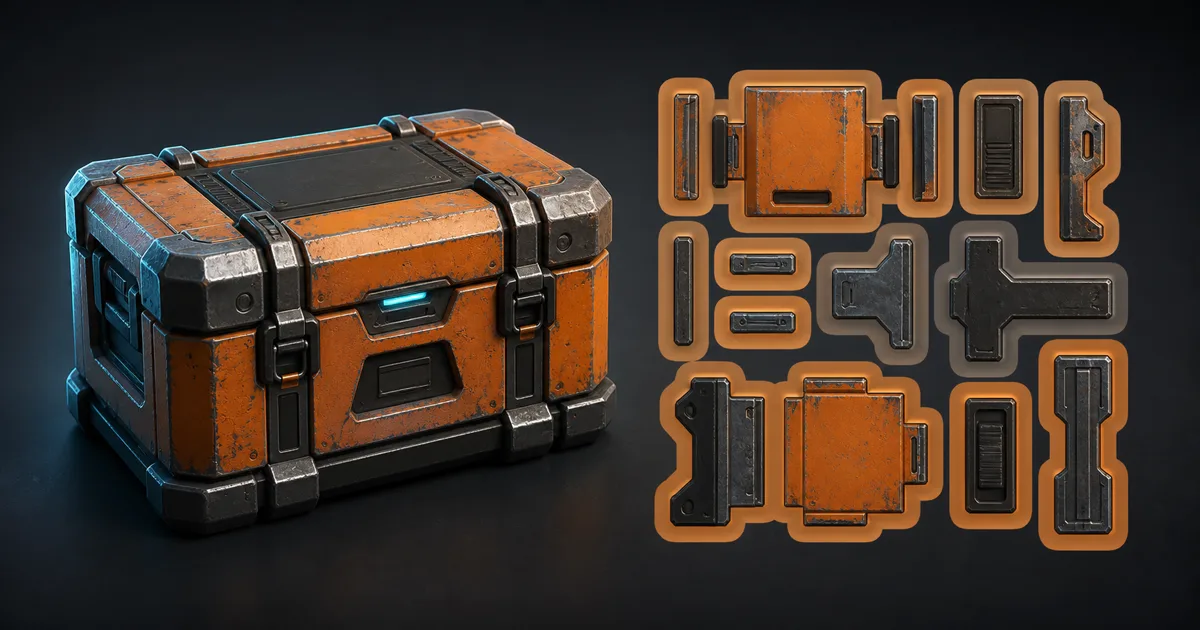
UV padding is empty space with a job. It keeps one UV island’s pixels from being filtered together with a neighbour, the atlas background, or the opposite edge of a texture. At full resolution, a two-pixel gutter can look perfectly respectable. A few mip levels later, it has been averaged into a suggestion.
That is why texture seams often appear only when the camera moves away. The source bake is clean, the close screenshot is clean, and then a red stripe crawls across a gray panel at gameplay distance. The renderer is not inventing damage. It is sampling the wrong neighbourhood because the useful texels stopped before the filter footprint did.
This guide treats UV padding as a pipeline contract between UV layout, bake dilation, mip generation, compression, and runtime sampling. Occupancy matters, but a 94% pack that bleeds is merely efficient evidence that the islands are too close.
UV padding has two separate distances
Artists often use “padding” for two related controls:
- Island spacing is the empty UV distance between polygon islands.
- Texture dilation extends valid edge colors beyond each baked island into that empty distance.
You need both. Spacing without dilation leaves black, transparent, or unrelated background pixels in the gutter. Dilation without spacing makes neighbouring extensions collide immediately. A safe atlas gives each island enough geometric room, then fills that room with copies of the nearest valid surface values.
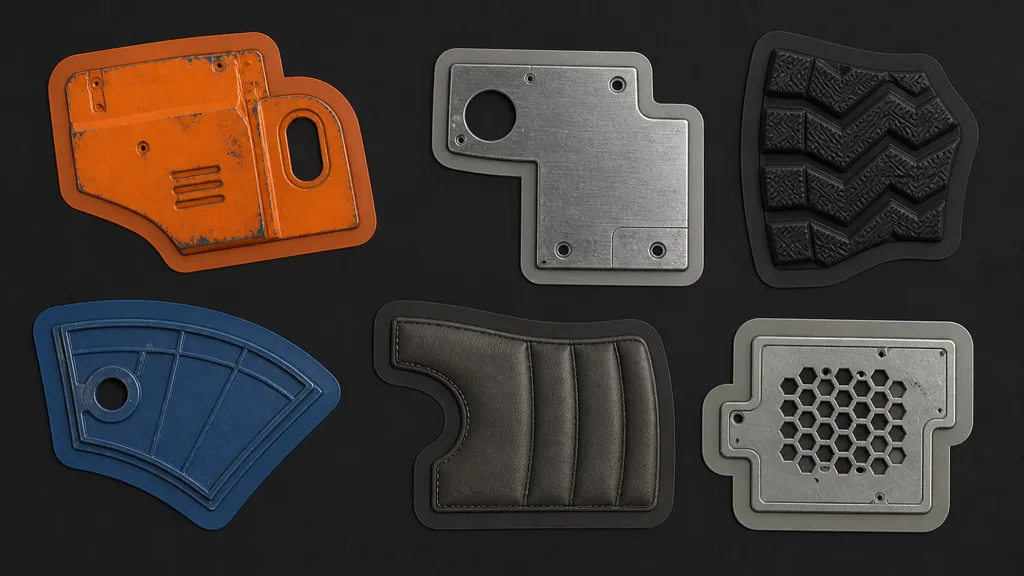
The two numbers are not always expressed in the same units. A UV packer may ask for a fraction of the 0–1 square, a percentage, or pixels at a declared resolution. A baker may ask for dilation in output pixels. Record the intended texture resolution beside both settings. “Margin 0.01” is not documentation until someone states what the tool means by it.
Do not count the full distance between two islands as padding for each one. If two island boundaries are 16 pixels apart, each side effectively owns about eight pixels before their dilated colors meet. Asymmetric packing and dilation can change the exact boundary, but the budget still has two claimants.
Filters consume the gutter one mip at a time
A mip chain repeatedly downsamples the texture. A 2048-pixel map becomes 1024, 512, 256, and so on. Padding shrinks with it: 16 source pixels become roughly eight at mip 1, four at mip 2, two at mip 3, and one at mip 4.
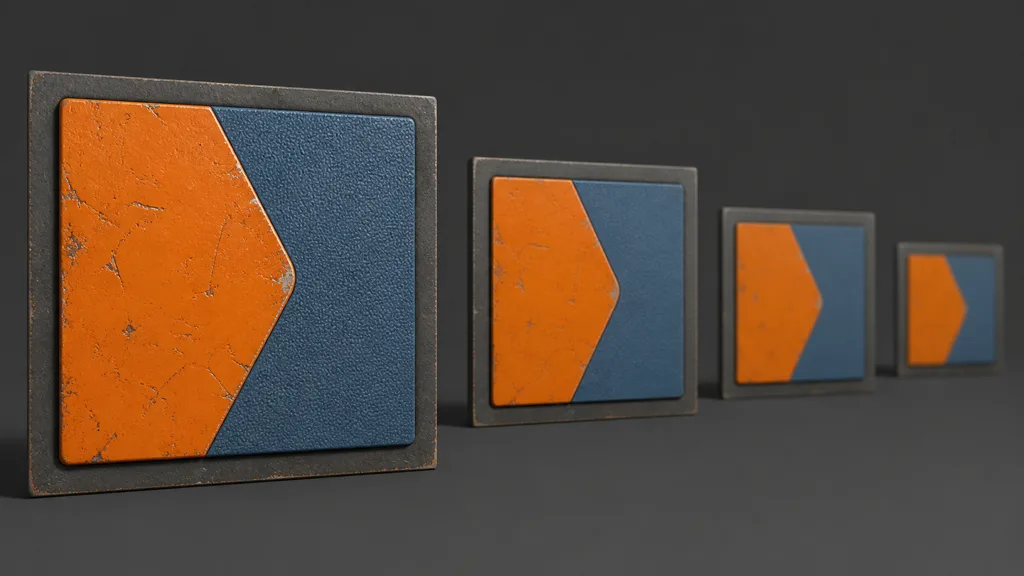
Bilinear filtering blends nearby texels inside one mip. Trilinear filtering blends results from two mip levels. Anisotropic filtering can use a wider, elongated footprint at grazing angles. Block compression adds another neighbourhood, commonly working in fixed-size blocks. None of these systems knows that the black space outside a UV island was intended to be ignored.
| Symptom | Likely source | Useful check |
|---|---|---|
| Dark fringe around every island | Bake background entered the filter | Inspect dilation under the UV wireframe |
| Neighbour color appears at distance | Islands share too little gutter | Force lower mips and find the first failure |
| Normal seam becomes a lighting ridge | Invalid or mismatched normal dilation | View decoded normals under grazing light |
| Atlas tile leaks from an outer edge | Wrap mode samples the opposite side | Inspect border padding and address mode |
The first broken mip matters more than the source texture. If an asset must remain correct down to mip 4, the source gutter needs enough pixels to leave valid coverage after four halvings, plus room for the active filter and compression. The smallest mip that still shows distinct islands is the real client.
How much UV padding is enough?
There is no universal magic number because the answer depends on source resolution, minimum used mip, filter mode, compression, atlas layout, and whether the texture can wrap. Use a target-driven estimate instead:
source padding per island ≈ required texels at minimum mip × 2^mipLevel
If you want two valid texels around an island at mip 4, begin with about 32 source pixels per island side. Two neighbouring islands therefore need roughly 64 pixels between their boundaries. Treat that as a starting budget, then test the real import path. Anisotropic views or harsh compression may need more.
For a UV-space margin, divide source pixels by texture dimension. Eight pixels on a 2048 map equals 8 / 2048 = 0.00390625 UV units per island side. Be careful with packers that define their margin as total island-to-island distance rather than distance around each island.
Resolution changes break pixel assumptions. A layout packed for a 4K map with 16 source pixels per side keeps only eight when exported at 2K and four at 1K. If the same UVs serve several quality tiers, calculate UV island padding from the smallest shipped resolution, not the artist’s largest source.
Tiny islands may become smaller than the requested gutter. At that point, packing harder is not the cure. Merge islands, simplify hidden parts, raise resolution, move the detail into a trim sheet, or accept that the feature cannot survive the target mip. UV efficiency is useful; UV claustrophobia is not.
How to add UV padding without guessing
A dependable how to add UV padding workflow has eight passes:
- Declare output sizes. List the largest authoring texture, each shipped size, and the lowest mip that must remain distinct.
- Choose the runtime contract. Record wrap mode, filtering, anisotropy, compression, and whether the texture is an atlas, UDIM set, lightmap, or standalone map.
- Calculate a source gutter. Work backward from the valid texels needed at the minimum mip.
- Pack islands at the smallest target. Convert the pixel budget to the exact unit expected by the UV tool.
- Bake with matching dilation. Extend every channel to the planned boundary rather than leaving transparent or black gutters.
- Generate production mips. Use the same import path and compression that the build will ship.
- Inspect the mip chain. Force each level on the asset and identify the first contaminated boundary.
- Fix the owner. Increase spacing, extend dilation, alter the atlas border, or change sampling; do not paint over a runtime filter fault.
Keep the layout and baker settings versioned together. If repacking moves an island but cached textures keep the old dilation, the result can look like a seam problem while actually being stale data. Re-bake the complete aligned PBR set after a UV change.
The same rule applies to generated materials. Text-to-PBR and photo-to-PBR tools create coordinated maps, but a unique prop bake still needs a destination UV layout and enough gutter. Material quality cannot negotiate with a one-pixel border.
Texture dilation must respect each channel
Base color dilation copies nearby surface color. That is intuitive. Data maps need the same geometric coverage but not necessarily the same pixel operation.
For tangent-space normals, extend valid vectors from the island edge. Do not fill unused space with black, because black is not a neutral tangent normal. A flat normal is commonly encoded near (0.5, 0.5, 1.0), but simple neutral fill can still create a visible transition when the actual boundary normal is tilted. Nearest valid edge dilation usually preserves the seam better.
Roughness, metalness, AO, height, opacity, and packed masks should dilate as linear data. Keep channel meaning intact. Blurring a packed mask as one color image can let one channel’s edge treatment influence decisions made for another. Inspect channels separately after export and compression.
Opacity needs special care. Transparent pixels can still contain RGB values, and those hidden colors enter filtering near cutout edges. Extend plausible color under the transparent area while keeping the alpha transition intentional. Otherwise foliage and decals gain dark or bright halos even when the alpha silhouette itself is correct.
Height dilation should not invent cliffs outside the island. Extend the boundary value far enough for filtering, but validate any downstream displacement or parallax process that samples beyond the visible polygon. The texture-baking guide covers aligned mesh-map output; the sRGB versus linear guide covers why scalar gutters must remain linear.
Atlases, UDIMs, and lightmaps need different borders
A standalone repeating material may intentionally wrap across the outer texture edge. Padding that edge would break the tile. Internal islands in the same texture, however, still need protection unless their boundaries are designed to continue.
A texture atlas cannot assume every cell wraps. Each subtexture needs an internal safe border, and the atlas itself needs a sampler contract that prevents the far edge from appearing. The texture atlas guide explains why atlas packing, mip generation, and per-tile gutters must be planned together.
UDIM tiles separate high-resolution regions into addressed texture tiles. Islands still need safe margins within each tile, while boundaries intentionally crossing tiles require renderer and baker support. The UDIM guide covers tile numbering and export constraints.
Lightmaps are another system. They store baked lighting rather than surface PBR channels, so bleed becomes a light or shadow leak. Epic’s lightmapping documentation relates chart padding to texels and block compression. Do not reuse a tightly overlapped texture UV set as a lightmap layout and hope the baker admires the efficiency.
UV padding in Blender, Substance Painter, Unity, and Unreal Engine
For UV padding Blender work, Pack Islands can express margin in several ways. Blender’s UV editing documentation describes Fraction as a share of the UV square; that makes pixel conversion explicit when the output resolution is known. Average island scale first, pack for the smallest target, then verify the actual pixel gap in the image editor.
For UV padding Substance Painter, set bake dilation to cover the planned gutter and export all maps with consistent edge coverage. Recheck when export resolution differs from bake resolution. Infinite dilation can be convenient for isolated texture sets, but it does not replace adequate island spacing and can let competing islands meet in the wrong place.
For UV padding Unity, test the imported texture rather than only the source file. Compression, max-size overrides, mip generation, filtering, and wrap mode can change the result per platform. Use the smallest quality tier and a grazing camera to find bleed early.
For UV padding Unreal Engine, inspect the mip chain and material on the target compression setting. Surface textures, virtual textures, atlases, and lightmaps do not share one universal border rule. For lightmaps, use the dedicated lightmap UV workflow; for PBR atlases, protect each sampled region through the mips the material will reach.
Validate UV padding where it usually fails
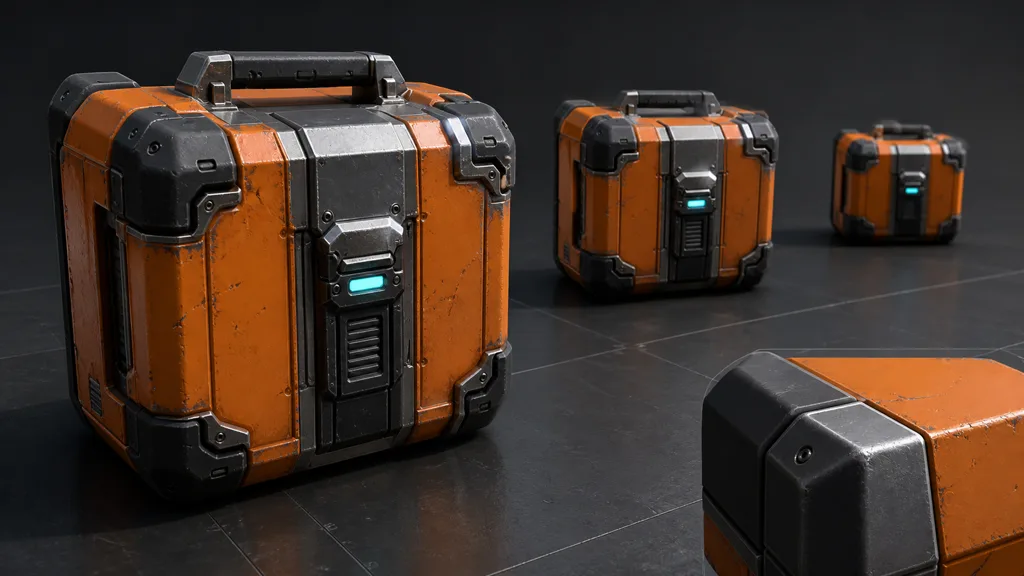
The best UV padding workflow 2026 ends with an ugly test scene, because attractive lighting is excellent at granting temporary pardons. Use a hard-surface prop with bright neighbouring materials, a thin alpha cutout, a tangent-space normal seam, and an atlas edge. Make the failure colors obnoxious.
- Test source resolution and every shipped downscale.
- Force full resolution and each mip level.
- Use frontal and grazing camera angles.
- Enable production filtering, anisotropy, and platform compression.
- Verify clamp and repeat modes where each is expected.
- Move the camera slowly; crawling contamination can hide in still images.
- Inspect base color, normals, and packed masks separately.
To fix texture bleeding between UV islands, identify the first mip and channel that fail. If source mip 3 already contains the neighbour’s color, add spacing or dilation. If the mip is clean but runtime output bleeds, inspect sampler address mode, atlas coordinate math, derivative behaviour, or compression. Fixing the correct stage saves the ritual of adding two pixels everywhere until the problem becomes shy.
Try CraftPBR
CraftPBR supplies the coordinated material data that a clean UV padding pipeline protects:
- Text-to-PBR generates aligned base color, normal, roughness, height, AO, and metalness from a material brief.
- Photo-to-PBR converts a controlled surface reference into an editable PBR set without treating baked light as material color.
- Node workspace keeps levels, masks, roughness, height, tiling, and map relationships editable before bake or export.
- Engine export prepares normal orientation, scalar color space, channel packing, filenames, and target conventions.
- Free tier lets you generate and test a full PBR set before assigning it to production UVs.
- CC0 output lets you modify, bake, combine, render, and ship generated textures without attribution.
Give filters valid neighbours. They are going to sample something.
Create a padding-ready PBR material in CraftPBR →