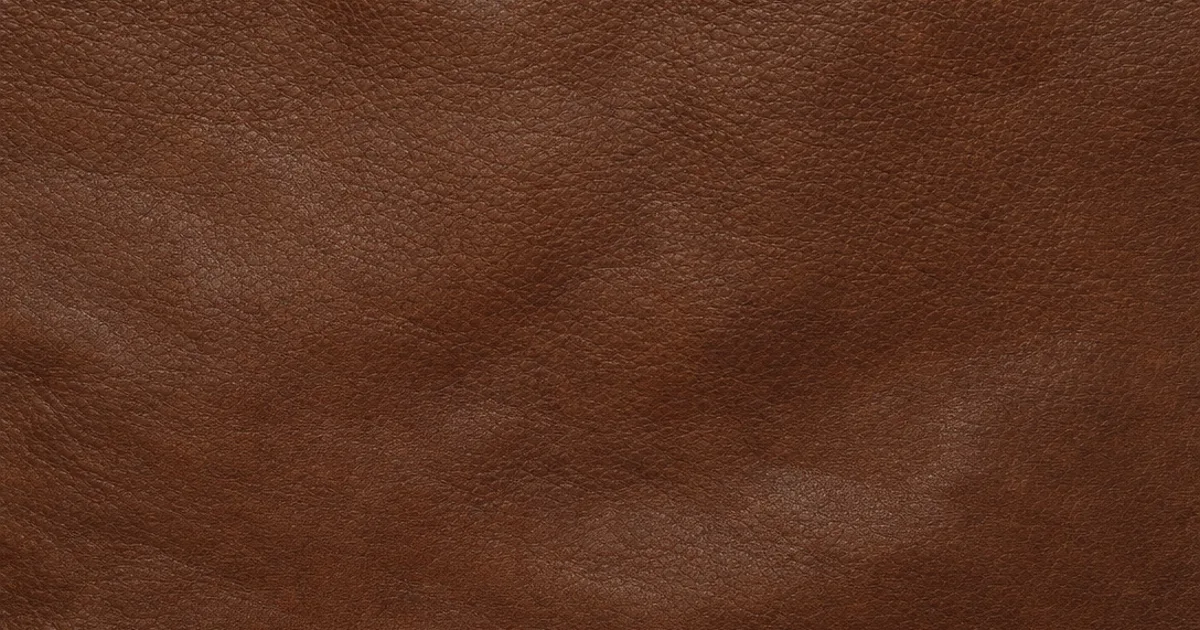
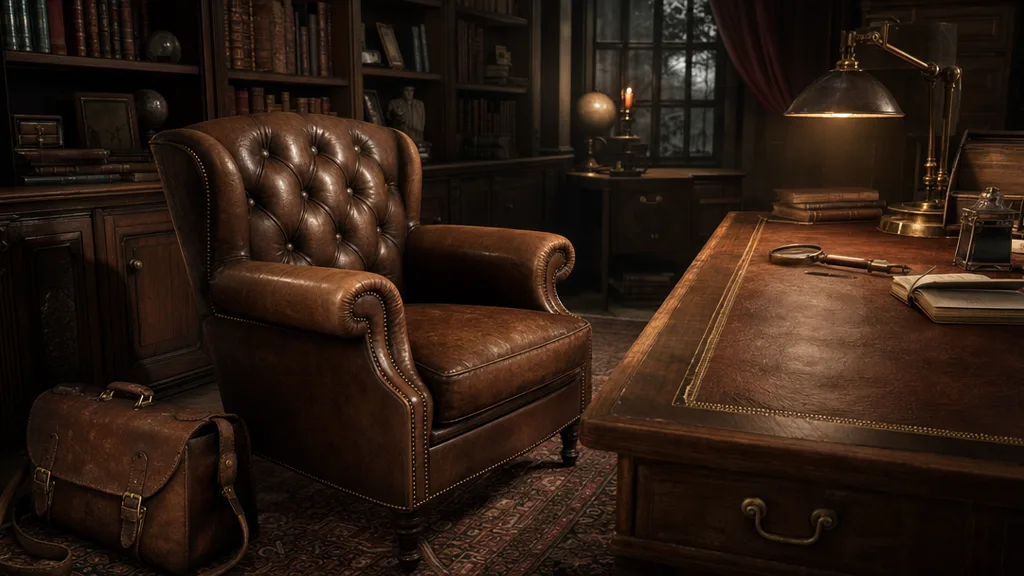
You know that feeling when your character’s jacket or that armchair looks less like leather and more like shiny plastic? A seamless leather texture fixes the tiling — but leather has a second problem: it has to look soft and worn. Get the grain and the uneven sheen right and a single 2K tile covers an entire couch and reads as real hide.
Leather is all about subtle imperfection — pebbled grain, soft creases, a sheen that’s never perfectly even. This guide covers what makes leather seamless, why it goes plastic, and three ways to get a proper PBR leather set.
What makes a leather texture seamless?
A texture is seamless when its opposite edges match — right continues into left, top into bottom. For leather the catch is the grain and any standout mark: a deep crease, a scar, a stitch line can’t repeat or the eye locks onto it. A proper tileable leather texture is a full PBR set where every map wraps together — base colour, normal, roughness, and AO — or the seam shows in the sheen even when the colour tiles fine.
Why leather looks like plastic (and how to fix it)
Most fake-looking leather is technically seamless. It wraps fine. The problem is it has no life. Here’s what kills it:
- Flat roughness. Real leather has a soft, uneven sheen — matte in the creases, slightly glossy on the raised grain. One constant value reads as vinyl.
- No grain relief. Leather is pebbled and creased. Without a normal map the surface is dead flat.
- No AO. Without shadow nestled in the deep wrinkles and between panels, leather loses its depth.
- Flat colour. Real hide has subtle tonal variation and worn highlights on the raised grain. One flat brown looks printed.
The fix is a full PBR set: a normal map for the pebbled grain, varied roughness for the uneven sheen, an AO map for the wrinkle shadow, and a touch of colour variation so it doesn’t look sprayed on.
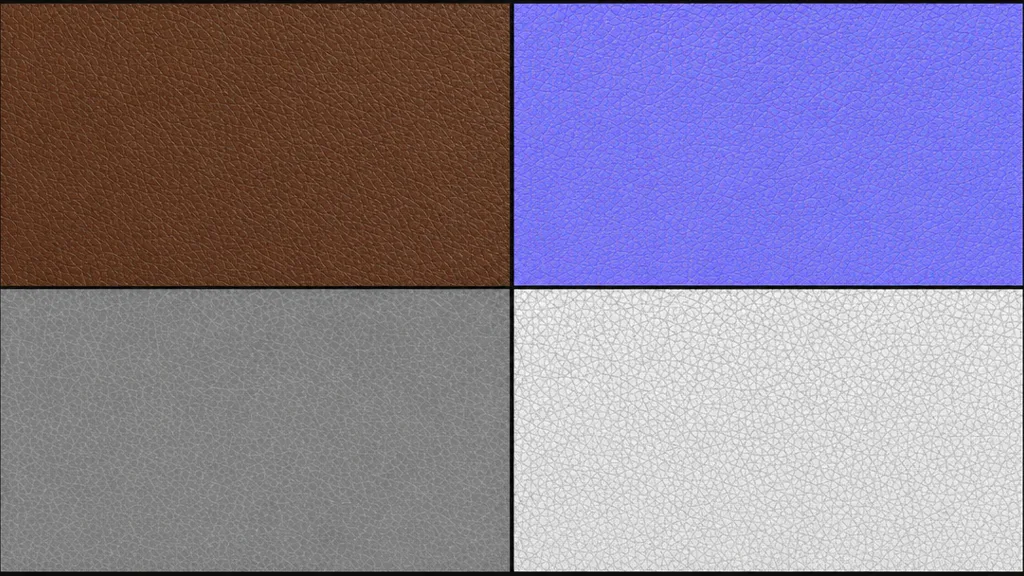
The maps leather needs most
- Base colour (albedo) — the hide tone with subtle variation, lighting removed.
- Normal — the pebbled grain and soft creases, faked without geometry. This is what makes leather look supple. (New to these? See what a normal map is.)
- Roughness — the soft, uneven sheen: matte creases, glossier grain. Carries most of leather’s character. (See what a roughness map is.)
- Ambient occlusion — the shadow in the deep wrinkles and seams, for depth.
Three ways to get a seamless leather texture
1. Heal a photo by hand
Take a flat-on leather photo, offset it by half (Photoshop: Filter › Other › Offset, wrap-around), and heal the seam. Then paint out any standout crease, scar, or stitch that would repeat. Free, fiddly, and you still derive the normal, roughness, and AO maps separately.
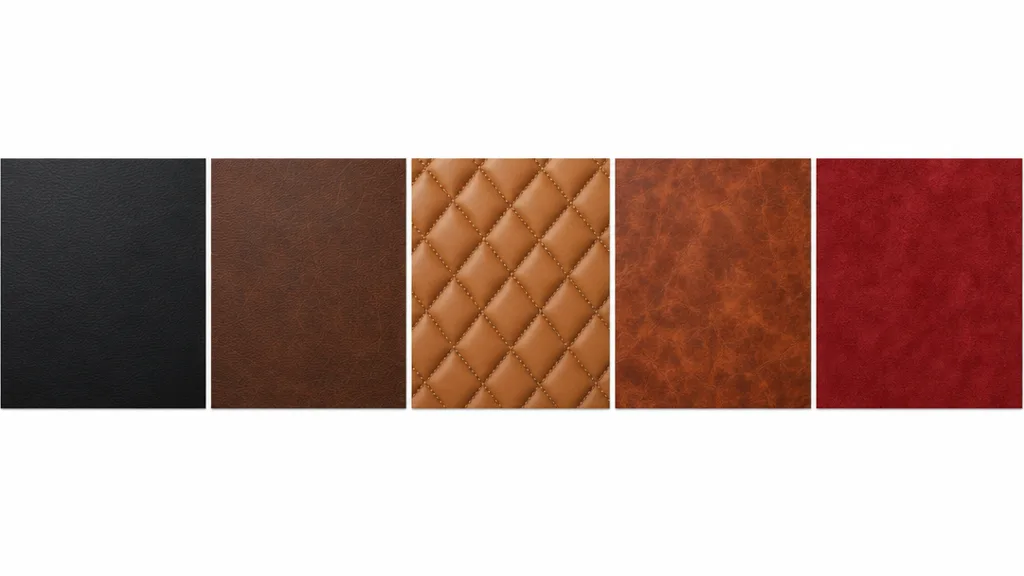
2. Download a CC0 set
Poly Haven, ambientCG, and similar libraries give you ready-made seamless leather with full PBR maps under CC0. Fast and high quality, with one limit: you get the leather that exists. A specific grain, colour, or wear pattern may not be in the catalogue.
3. Generate it from a prompt
Describe the leather — “worn cognac full-grain leather” — and let AI build a tileable PBR set already wrapped. CraftPBR generates the base colour and derives a matching normal, roughness, and AO, then makes the set seamless together. You get the exact leather you described, in about a minute — the same text to texture workflow, pointed at hide.
Killing the grid: break up the repetition
Even a perfect seamless leather texture repeats across a surface bigger than the tile. The standard tricks:
- Add a macro variation map — large, faint noise that drifts whole regions lighter and darker, like worn and polished areas.
- Blend a wear decal layer — scuffs, scratches, polished spots placed by hand, not on a tiling grid.
- Vary UV scale per object so the grain doesn’t line up across panels.
- Let creases and folds do the work — draped leather geometry hides tiling naturally because the surface curves.
For the full anti-repetition toolkit across every material, the seamless tileable textures guide goes deep.
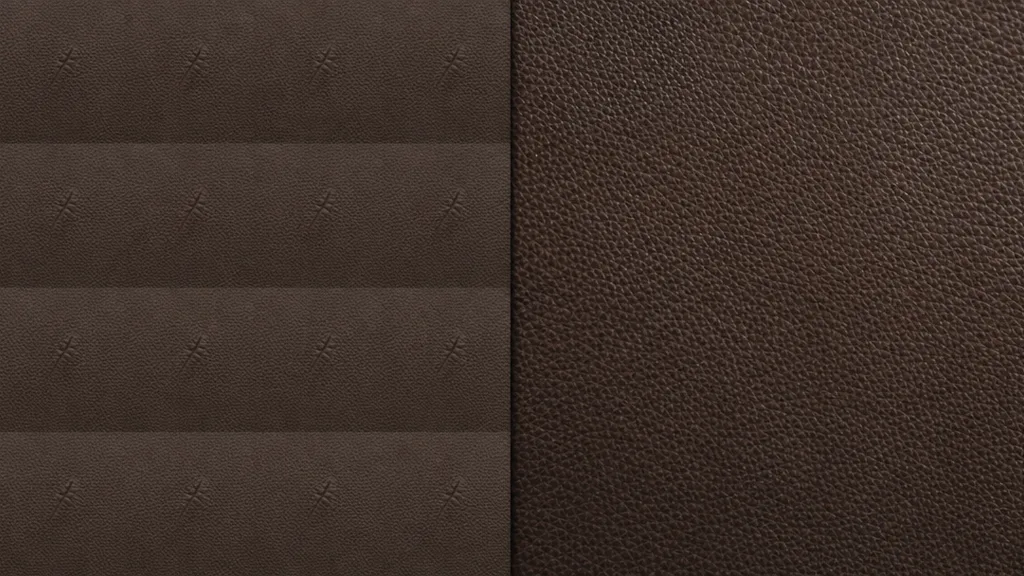
Seamless leather texture in Unity, Unreal, Blender, and Godot
- Unity — Wrap Mode Repeat, base colour sRGB, normal/roughness/AO as linear (Non-Color). Use Tiling on the material to scale the grain to the surface.
- Unreal — drop the maps into a Material, wire roughness and AO, and remember Unreal expects DirectX normals — flip the green channel if yours are OpenGL.
- Blender — Image Texture nodes set to Repeat, base colour sRGB and the rest Non-Color, into a Principled BSDF. Blender uses OpenGL normals.
- Godot — assign the maps in a StandardMaterial3D, enable AO, set UV1 scale to tile. Godot uses OpenGL normals like Blender.
Key takeaways
- Leather’s seam shows up in the sheen — a standout crease or scar gives the grid away
- The “plastic leather” look is flat roughness, missing grain, and no AO, not a bad photo
- Every PBR map has to tile together — colour, normal, roughness, AO
- The grain lives in the normal map; the soft uneven sheen lives in the roughness
- Break up repetition with macro variation, wear decals, UV variation, and draped folds
- It imports into any engine — just mind the OpenGL/DirectX normal convention