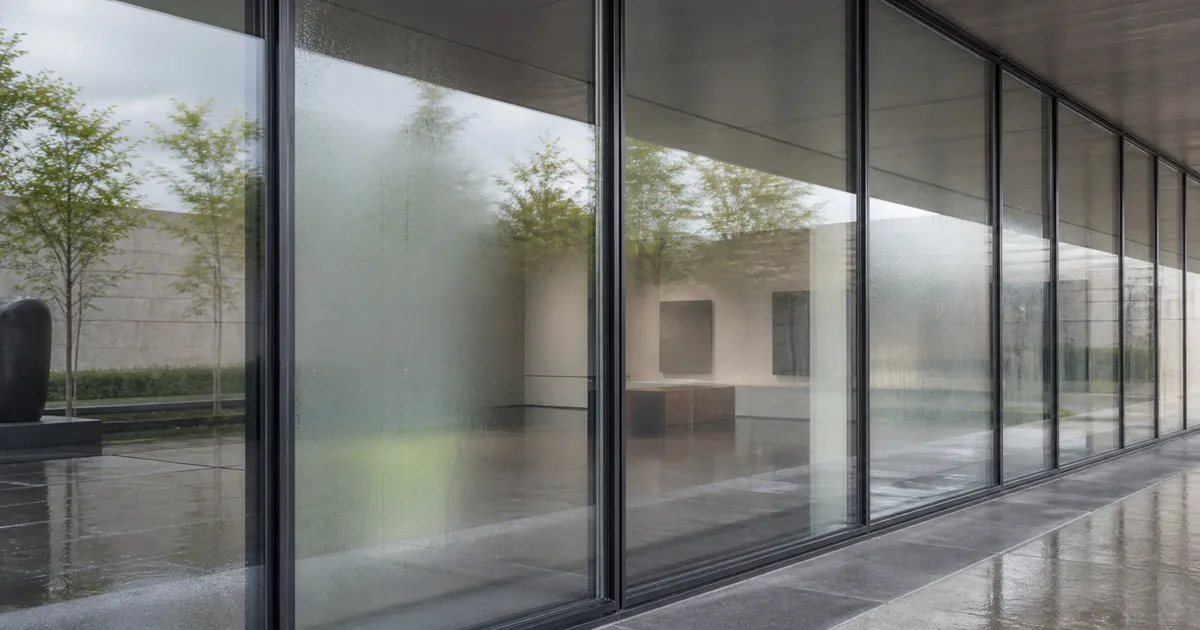
A glass seamless texture is only the surface evidence on glass. It can describe scratches, dust, dried rain, frosting, fingerprints, and subtle waviness. It cannot, by itself, make a material transmit light, refract a background, reflect at grazing angles, or acquire thickness. Those jobs belong to the shader and the mesh.
That distinction prevents the most common digital-glass failure: a gray transparent card with white scratches painted on top. It is technically see-through and emotionally closer to a sandwich bag. Good glass starts with an optical model, then adds a quiet, tileable texture to explain how the surface was made, handled, cleaned, and weathered.
A glass seamless texture is the surface, not the substance
Ordinary clear glass is a dielectric. It reflects some light, transmits much of the rest, and bends transmitted rays according to its index of refraction. At normal viewing angles the reflection can be restrained; at grazing angles it becomes much stronger. A physically based shader handles that Fresnel response. The texture maps should not paint a permanent white reflection into base color to imitate it.
For a thick object, geometry provides the entry and exit surfaces needed for refraction and absorption. A drinking glass, lens, glass block, or solid ornament needs believable wall thickness and closed geometry. A large architectural window may use a thin-surface model for performance, but the shader still needs a deliberate thin-glass path rather than ordinary alpha blending with hopeful settings.
This gives a useful division of labor:
- the mesh supplies shape, thickness, bevels, and silhouette;
- the shader supplies transmission, reflection, refraction, absorption, and render mode;
- the glass seamless texture supplies local surface variation;
- the scene supplies something useful to reflect and see through.
Choose the kind of glass before authoring maps
“Glass” is a family, not a complete material brief. Decide what made the pane and what happened to it before opening a map editor.
| Glass type | Dominant visual cues | Texture priorities |
|---|---|---|
| Clean float glass | Sharp transmission, strong grazing reflections, faint edge tint | Very low roughness variation, rare fine marks |
| Frosted or etched glass | Blurred transmission and broad highlights | High, even roughness with fine micro-normal breakup |
| Rolled or patterned glass | Distorted shapes and directional relief | Structured normal or height, moderate roughness |
| Weathered exterior glass | Rain trails, mineral spots, dust at sheltered edges | Multi-scale roughness, sparse normal detail, placement masks |
| Smoked or tinted glass | Controlled absorption through thickness | Shader absorption or transmission tint, restrained surface maps |
| Wired or laminated glass | Internal layers or embedded structure | Geometry or a dedicated internal layer, not a painted surface shortcut |
A window glass texture seamless across a tower facade should be quieter than a dirty glass texture seamless for an abandoned workshop. Camera distance matters too. Fine micro-scratches may shape a close highlight but disappear correctly at gameplay distance. Large cleaning arcs and rain trails survive longer, so they must be sparse enough not to reveal the tile.
What belongs in the glass texture maps
The most important map is often the glass roughness texture. Clean areas keep reflections sharp; etched, dusty, greasy, or mineral-marked areas broaden them. Roughness should describe microscopic surface scattering, not simply copy grayscale brightness from a photograph. A dark speck in the reference is not automatically glossy, and a pale water spot is not automatically rough.
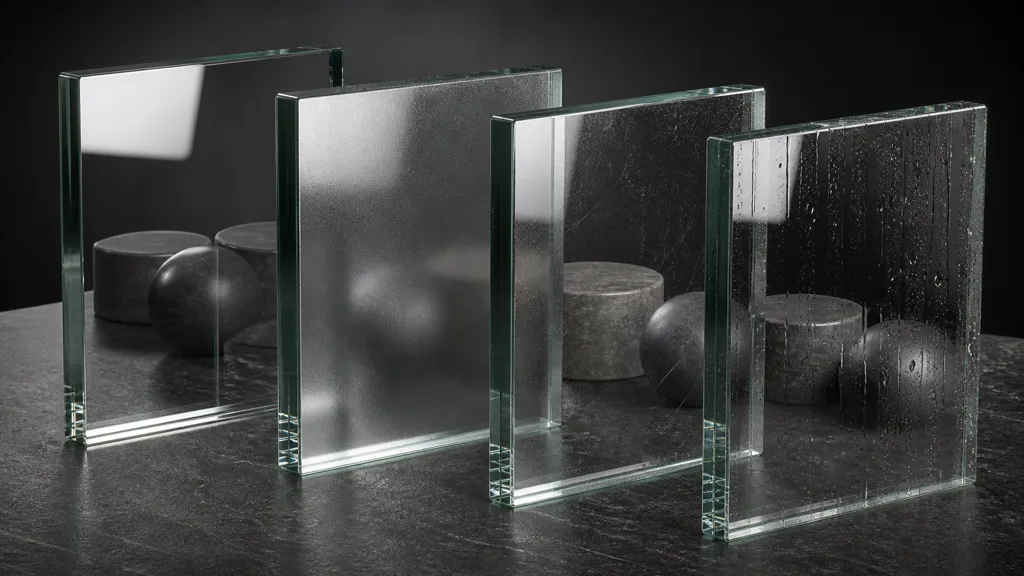
A glass normal map can carry fine scratches, shallow waviness, hammered relief, or dried residue with actual height. Keep ordinary cleaning haze and dust mostly in roughness. If every smudge bends the background like a shower-door pattern, the normal map is doing the roughness map’s job with theatrical enthusiasm.
Base color should usually remain close to neutral for clear glass. Tint belongs in transmission or absorption when the renderer supports it, because real colored glass becomes denser with path length. A flat green overlay makes a thin edge and a thick block equally green. Absorption lets thickness explain the difference.
Opacity is not dirt intensity. Use it only when the chosen shader model expects opacity or transmission weighting. Metalness stays zero for ordinary glass. Ambient occlusion is generally unhelpful on an isolated transparent pane and can produce soot-dark edges when multiplied carelessly. Height or displacement suits pronounced patterned glass, not microscopic scratches that should remain shading detail.
Make glass tile without cloning every stain
A file can wrap perfectly at its edges and still fail as a seamless glass texture. Glass is unusually unforgiving because large panes are visually quiet. One distinctive fingerprint, diagonal scratch, or mineral ring can repeat across a facade like a small logo that nobody approved.
Build variation in three frequency bands:
- Micro scale: fine roughness grain and hairline scratches that shape highlights nearby.
- Material scale: faint cleaning haze, small spots, and subtle waviness spread across a pane.
- Assembly scale: edge dust, sill runoff, handling zones, and weather exposure placed per pane or window bay.
Only the first two should live entirely inside the repeating tile. Put assembly-scale history in vertex paint, decals, object-space masks, trim masks, or a second low-frequency texture. This lets identical panes share one efficient glass seamless texture without sharing the same biography.
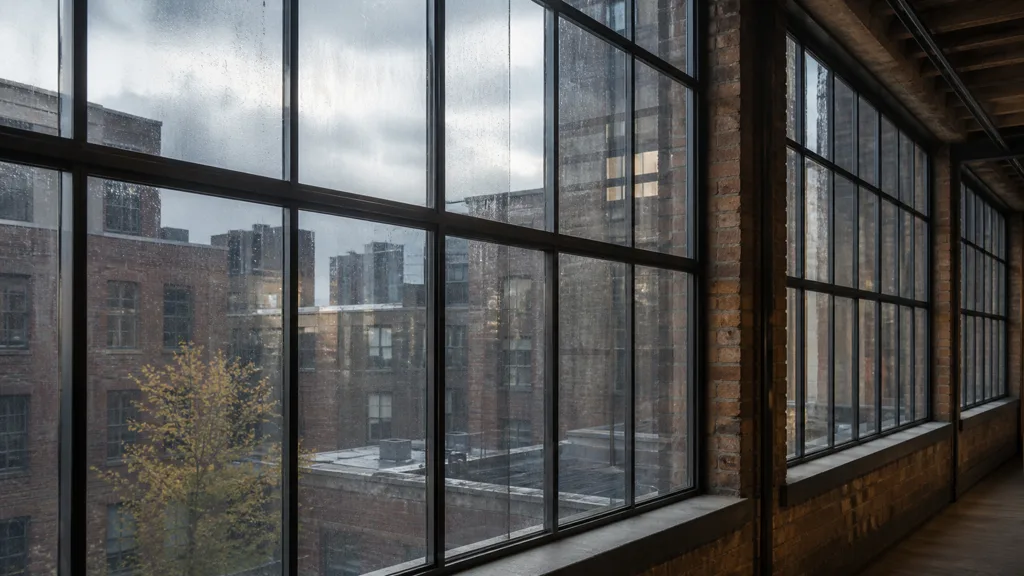
Remove obvious landmarks before offsetting and healing the edges. Test the roughness tile under a moving grazing light, then cover a much larger surface and step back. Random rotation can help scalar masks, but use caution with directional rain trails and tangent-space normals. For pane-based architecture, vary UV offset, rotation where plausible, and intensity per instance while keeping physical scale fixed.
The seamless tileable textures guide covers edge repair and repetition checks. For local history, the decal textures guide provides a better home for singular handprints, labels, cracks, and leaks.
How to make a glass seamless texture workflow
Use this production sequence for how to make glass texture seamless without confusing the texture with the entire material:
- Write the optical brief. Choose clear, frosted, patterned, tinted, laminated, clean, or weathered glass; record thickness and camera distance.
- Build suitable geometry. Use closed thickness and bevels for solid glass, or a documented thin-surface setup for panes.
- Establish clean glass first. Configure dielectric reflection, transmission, refraction or thin-glass behavior, and appropriate rendering mode before adding maps.
- Author roughness by cause. Separate polish, etching, dust, grease, and mineral deposits instead of deriving one map from image luminance.
- Add restrained normal detail. Reserve the normal map for relief that should actually bend reflections or transmission.
- Repair the tile. Offset every repeating map, remove edge discontinuities, and eliminate memorable features near the boundaries and center.
- Split unique history from the tile. Put large runoff, handprints, cracks, stickers, and edge buildup in decals or placement masks.
- Create controlled variants. Vary offset, orientation, roughness strength, and residue amount per pane without changing texel scale.
- Validate in motion. Inspect multiple shapes, thicknesses, light angles, backgrounds, sorting cases, and the target performance tier.
Create maps as linear data where required. Roughness, normal, height, and masks should not receive color-style gamma correction. If a packed texture stores several masks, document the channels and disable sRGB sampling. The texture channel packing guide explains the contract and compression tradeoffs.
The best glass texture 2026 is not the dirtiest 4K image available. It is a quiet set of surface signals that remains stable under mipmapping, works with the renderer’s glass model, and leaves unique storytelling to non-repeating layers.
Glass texture setup in Unity, Unreal Engine, and Blender
For a glass texture Unity material, choose the pipeline and shader before preparing maps. URP and HDRP do not expose identical transparency and refraction features. Set the surface type to transparent where appropriate, use smoothness rather than roughness when the shader expects it, and test depth sorting, screen-space refraction limits, reflection probes, and transparent-pass cost. Unity’s material documentation is the starting point; match the instructions to the render pipeline package used by the project.
For a glass texture Unreal Engine material, transparency requires an appropriate translucent path, and refraction is enabled by the material configuration. Epic’s transparency documentation covers translucent setup and sorting concerns, while its refraction guide describes the Refraction input. Import roughness and masks with sRGB disabled, keep glass nonmetallic, and profile overlapping panes; translucent overdraw is an invoice, even when the window looks free.
For a glass material Blender setup, use Principled BSDF transmission or a Glass BSDF according to the rendering goal, provide actual thickness for solid objects, and keep IOR physically plausible. Blender’s Principled BSDF manual notes that transmission is intended for glass-like materials. In Eevee, enable and test the features required by the current version; in Cycles, check transmission bounces, caustic expectations, shadow behavior, and normals on closed geometry.
Validate the glass PBR material from four angles
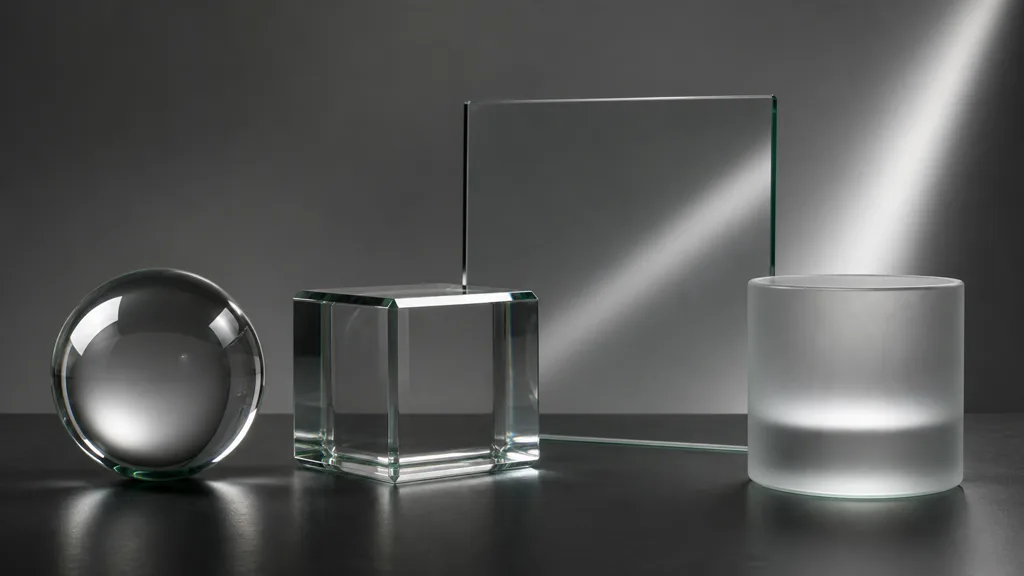
Test the glass PBR material on a flat pane, a beveled cube, a sphere, and a frosted curved object. Use a bright background with hard edges, a dark background, broad soft lights, and a narrow grazing light. The background tests transmission and refraction; the lights test reflection and roughness.
| Symptom | Likely cause | Fast test |
|---|---|---|
| Glass looks opaque or smoky | Base color is too dark, transmission is low, or reflection environment is poor | Set maps to neutral constants and place a bright card behind the glass |
| Surface looks like clear plastic | Weak Fresnel response, missing thickness, or implausible IOR | Compare a beveled solid with a thin plane |
| Background bends too much | Excessive IOR, strong normal detail, or wrong thickness model | Disable the normal map and compare thin versus solid refraction |
| Smudges look painted on | Residue exists mainly in base color | Move the signal into roughness and inspect a moving highlight |
| Every pane repeats | Unique marks are baked into the tile | Render a large facade and display only the residue mask |
| Pane order pops while moving | Transparent sorting limitation | Orbit the camera around overlapping panes |
| Frosting sparkles at distance | High-frequency roughness or normals alias in mips | Inspect successive mip levels and reduce contrast |
| Glass disappears completely | Scene has nothing useful to reflect or refract | Add light and dark cards around and behind the object |
When asking why does glass material look opaque, remove the texture maps first. Confirm that clean shader glass works, then reintroduce roughness, normals, tint, and residue one at a time. Transparent shading already contains enough moving parts; they do not need a group disguise.
FAQ
What is a glass seamless texture?
A glass seamless texture is a repeatable set of surface maps describing roughness, scratches, frosting, dust, and water marks without visible tile edges. Transmission, reflection, refraction, and thickness still come from the shader and geometry.
How do you make a glass texture seamless?
Author low-contrast surface variation, offset each map to expose the borders, heal edge discontinuities, and remove memorable features. Test across many panes and move large unique stains into decals or placement masks.
Why does my glass material look opaque?
Common causes include dark base color, insufficient transmission, excessive roughness, double surfaces, the wrong blend mode, or a scene with nothing bright behind the glass. Reset to clean constants and restore features one at a time.
Does glass need a normal map?
Clean float glass often needs little or no normal detail. Use a normal map for real shallow relief such as fine scratches, rolled patterns, waviness, or dried residue.
What roughness value should glass use?
There is no single value because polished, dusty, etched, and frosted glass scatter light differently. Start smooth for clean glass, then add physically motivated variation and judge the highlights under grazing light.
How do I make glass in Unity?
Use a transparent material supported by the project render pipeline, configure smoothness, reflection, and available refraction features, then test sorting and performance before adding texture maps.
Can you use a glass texture on a single plane?
Yes for windows using an intentional thin-surface approximation. Solid glass objects need closed geometry or a renderer-specific thickness model.
Try CraftPBR
CraftPBR creates the coordinated surface maps for a glass seamless texture while leaving optical behavior to the destination shader:
- Text-to-PBR generates a glass surface treatment from a physical description such as lightly etched privacy glass or weathered industrial glazing.
- Photo-to-PBR converts a controlled surface photo into aligned maps for real scratches, frosting, residue, or patterned glass.
- Node workspace keeps tiling, roughness levels, normal strength, cleanup, and variants editable.
- Engine export prepares normal orientation, roughness or smoothness, channel packing, and filenames for common destinations.
- Free tier lets you generate and test a complete surface set before committing it to a renderer setup.
- CC0 output lets you modify, render, and ship generated textures without attribution.
Create a tileable glass surface in CraftPBR →
Make the texture quiet. Give the light something interesting to say.