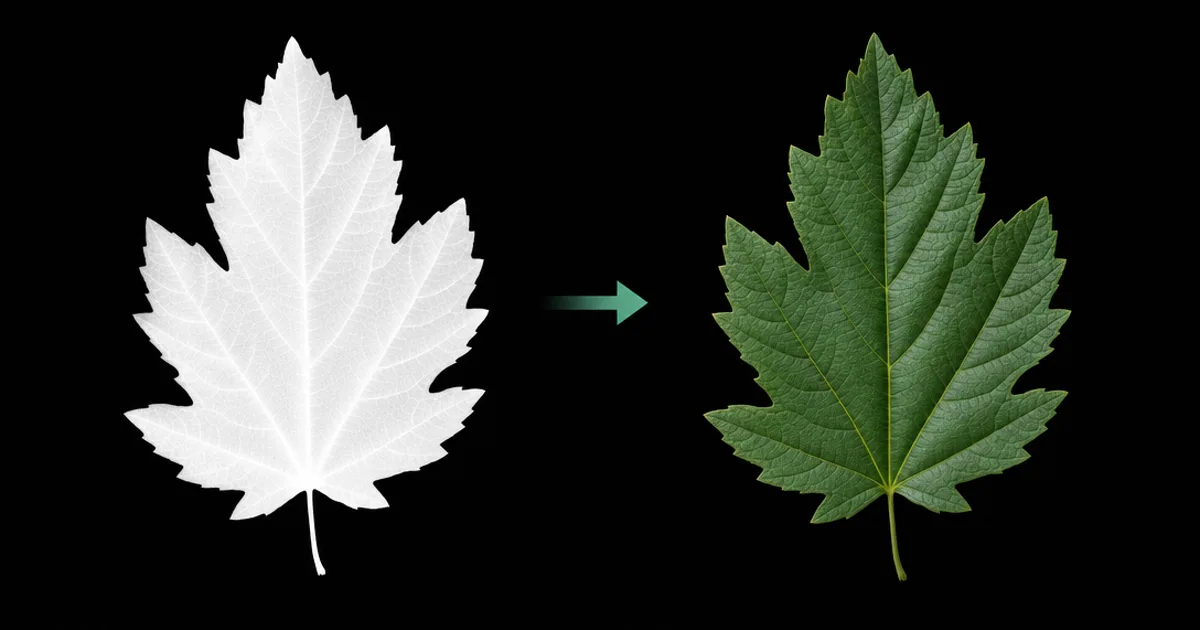
Most of the transparency you see in a game is not transparency at all — it is a mask deciding which pixels to skip. Every leaf on every tree, every link in a chain fence, every ragged hole in a battle-torn banner is a flat surface with an opacity map telling the renderer where the geometry isn’t. Get the map and its blend mode right and it is nearly free; get the mode wrong and you get flickering, wrong-order transparency that has ruined many an afternoon.
What an opacity map stores
An opacity map — also called an alpha or transparency map — is a single grayscale channel where brightness means visibility. White pixels stay fully opaque, black pixels vanish, and greys are partially see-through. It carries no colour of its own; it is a stencil laid over the base colour, deciding what survives to the screen. That is the entire idea, and it is why one flat quad can become a fern frond or a bullet hole.
Cutout vs blend — the choice that matters
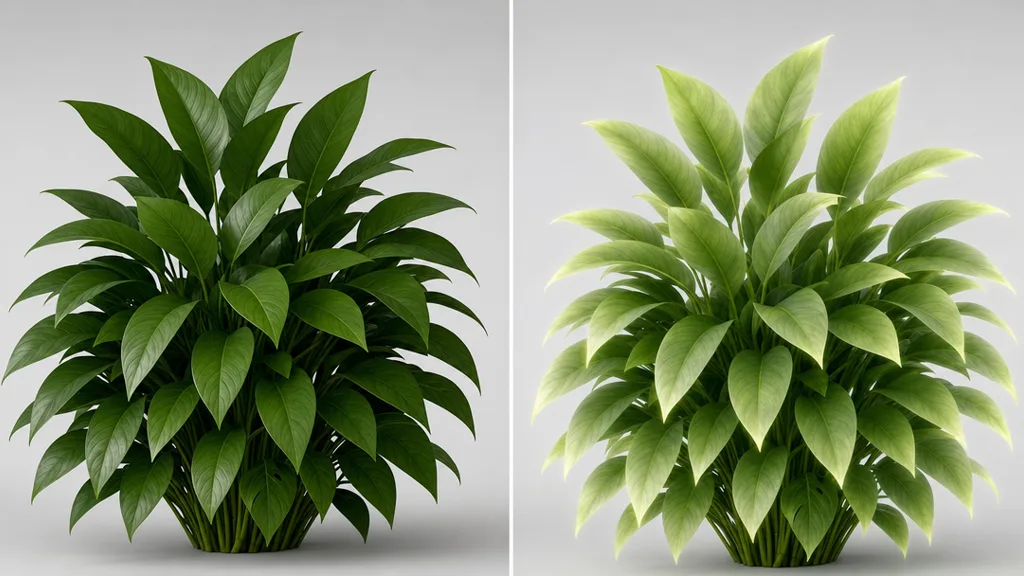
This is the decision the whole topic hinges on. Alpha cutout (also called alpha clip or alpha test) reads the mask against a threshold and makes every pixel a hard yes or no — fully there or fully gone. It is cheap, it sorts correctly, and it is the right tool for foliage, fences, grates, and hair cards. The downside is a hard edge, which you soften with a bit of alpha-to-coverage or a higher-resolution mask. Alpha blend instead mixes the surface partway with whatever is behind it, giving smooth edges and genuine translucency — but it costs more and drags in the sorting problem below. Rule of thumb: cutout unless you specifically need softness or see-through.
Why transparency draws in the wrong order
Alpha-blended surfaces must be drawn back-to-front, because each one mixes with what is already on the screen. Engines sort them per object, not per pixel, so the moment two transparent faces overlap — a blended window behind a blended curtain, or a single object whose own faces cross — the renderer can pick the wrong order and the result flickers or pops. This is transparency sorting, and there is no free fix; it is the single biggest reason artists reach for cutout, which writes to the depth buffer like a solid object and sidesteps the whole mess.
Where the mask lives in the map set
You rarely ship the opacity as its own file. It is almost always packed into the alpha channel of the base colour texture, since the renderer samples colour and opacity together and packing saves a lookup — the same channel-packing logic behind an ORM map. A standalone opacity texture is reasonable when the mask wants a different resolution or is shared across materials, but albedo-alpha is the default home.
Opacity is not glass
A common trap: using an opacity map to make glass or water. Opacity only hides pixels — it does not bend light, tint what is behind it, or add the edge-brightening Fresnel that real transparent surfaces have. For a window, a bottle, or a gem you want a transmission or refraction material, not an alpha mask. Keep opacity for coverage and cutouts: leaves, fences, decals, torn cloth, dust cards. The moment you need light to pass through and change, it is a different material entirely.
Making an opacity map
The mask is just a grayscale shape: white where the surface stays, black where it is cut away. You can paint it, extract it from a photo of a leaf or a fence, or derive it from a shape. For a textured cutout — foliage on a card, a decal — generate the base colour and its matching maps together, then author the alpha from the same silhouette so the mask and the colour line up. The free tools and text-to-PBR handle the colour and surface maps; the alpha is the one channel you add on top for the cutout shape.
Setting opacity up in engines
- Unreal — set the material’s Blend Mode to Masked for cutout (with an Opacity Mask input and clip threshold) or Translucent for blend. Masked is far cheaper and sorts correctly.
- Unity — on URP/HDRP Lit, choose Surface Type Opaque with Alpha Clipping for cutout, or Transparent for blend. Enable Alpha Clipping and set the threshold for foliage.
- Blender — Principled BSDF Alpha input; set the material Blend Mode to Alpha Clip for hard cutouts or Alpha Blend for soft, and turn on Show Backface only when you need it.
Try CraftPBR
- Text-to-PBR — describe a surface, get colour, normal, roughness, AO and height
- Photo-to-PBR — turn a photo of foliage or a fence into a material
- Free tools — normal map, height map, seam editor
- Engine export — Unity, Unreal, Blender, Godot, Three.js
- CC0 license — everything you make is yours