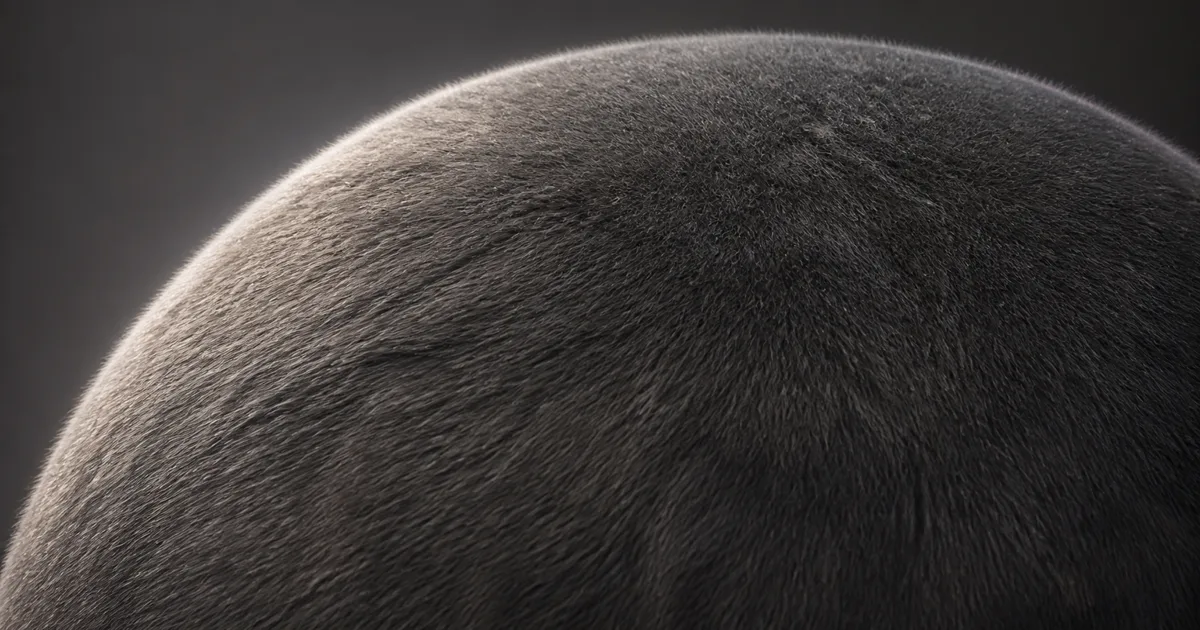
A fur texture seamless across its borders is useful, but border continuity is only the first contract. Fur has roots, direction, clumps, changing density, glancing highlights, and a silhouette made from strands. Put all of that into one flat color map and the result becomes upholstery with excellent intentions.
The production question is not simply how to tile fur. It is which part should tile. A seamless fur texture can provide root color, short undercoat, density, direction, and breakup. Hair cards, shell layers, or groom curves then carry the depth and outline that pixels on a surface cannot. The correct split depends on strand length, camera distance, motion, platform, and whether the asset must hold up in profile.
This guide builds that split deliberately. It covers source design, PBR map roles, clump hierarchy, alpha and mip behavior, an end-to-end authoring pass, and practical handoffs for Unity, Unreal Engine, and Blender.
Decide what the fur texture seamless layer must represent
Before generating a fur texture seamless tile, choose the rendering representation. Short velvet-like fur can survive as a base material plus a restrained normal and roughness response. Medium pile usually needs shell layers or cards to create depth. Long or hero fur needs curves or strands because its shape, overlap, and motion are the material.
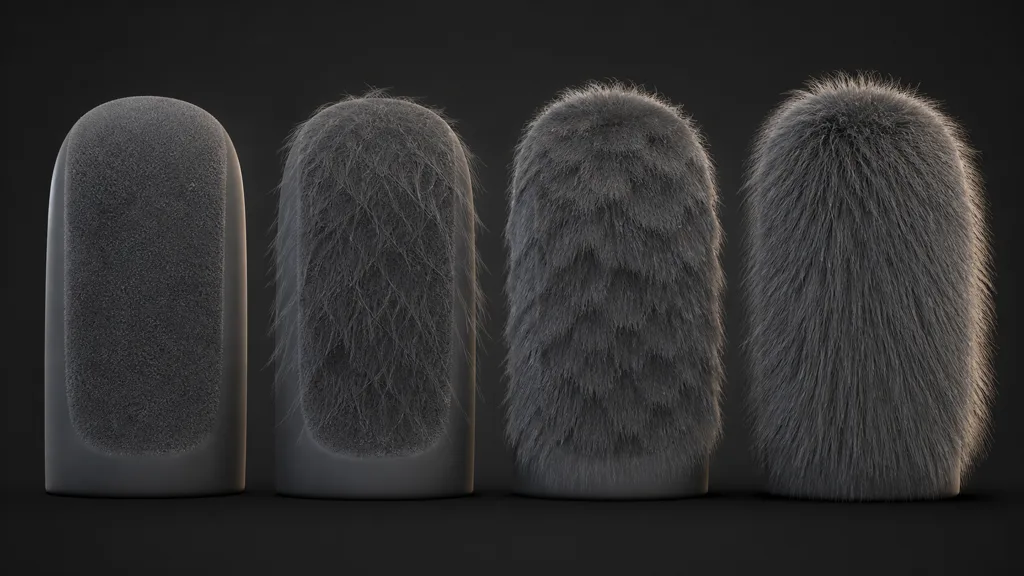
| Representation | Best use | What the tile supplies | Main limitation |
|---|---|---|---|
| Surface PBR | Very short fur, distant props, undercoat | Color, micro-normal, roughness, flow | No strand silhouette |
| Hair cards | Tufts, guard hairs, game-ready medium fur | Root color, alpha, strand direction | Sorting, overdraw, card reveal |
| Shell layers | Dense short-to-medium pile | Density, height, flow, root-to-tip color | Layer banding and fill cost |
| Groom curves | Hero assets and deforming fur | Surface masks and root variation | Highest authoring and runtime cost |
A tileable fur texture is therefore often the substrate rather than the finished effect. It keeps the skin from showing between sparse cards, supplies stable color at distance, and provides spatial masks that several representations can share. This layered job is more useful than trying to photograph a furry patch and repeating every visible strand forever.
Start from the shipping camera. Subpixel fur cannot reveal individual strands, while a profile view immediately exposes flat relief. Deforming assets also make flow and root attachment more important than a perfect square swatch. Choose the cheapest representation that preserves the visible evidence.
Design roots, flow, clumps, and guard hairs as separate signals
A convincing fur texture seamless source is organized in layers. The dense undercoat establishes coverage and broad color. A direction field controls how strands lie across the form. Medium clumps create readable grouping. Sparse guard hairs break uniformity. Dirt, wetness, scars, or compressed regions modify those layers but should not be baked into every repeat unless they truly occur everywhere.
Think in physical scales:
- Body-scale flow follows anatomy, gravity, grooming, seams, or manufacture. Store it in mesh tangents, groom guides, a direction map, or authored curves rather than one globally repeated swirl.
- Clump-scale breakup groups nearby strands through moisture, curl, static, or growth. A fur clump texture can modulate density and orientation, but its largest shapes must not announce the tile.
- Strand-scale detail carries fine color, roughness, taper, and alpha. It can repeat frequently because single hairs are not landmarks.
- Sparse events such as scars, mud, flattened contact areas, and shedding belong in masks, decals, vertex paint, or unique grooming passes.
Direction deserves special care. A fur direction map should describe root-to-tip flow, not merely a grayscale photo of fibers. For surface shading it can rotate anisotropic response or normals; for cards it informs card orientation; for a groom it can seed guides. Keep the encoding documented and sampled as linear data. A direction field imported as sRGB is a polite way to rotate vectors incorrectly.
Offset every aligned map and repair flow across the new center. Continue clumps across edges, but avoid placing one spectacular cowlick on the border and another at the center. Both will repeat with admirable consistency.
Build a fur PBR material around the substrate
A fur PBR material is not just brown base color plus a very loud normal map. Each channel needs a physical responsibility, and the base surface must cooperate with the strand representation above it.
| Data | Useful content | Avoid |
|---|---|---|
| Base color | Root color, restrained strand variation, skin influence where density thins | Baked highlights, deep contact shadows, repeated white tips |
| Roughness | Finish variation, oil, wetness, abrasion, root-to-tip change | A sharpened copy of color |
| Normal | Compressed undercoat and shallow directional relief | Deep grooves pretending to be standing strands |
| Height or shell density | Pile profile, root coverage, controlled clump depth | Treating every bright hair as equal height |
| Alpha or coverage | Card strands, gaps, tapered tips, shell occupancy | Gray halos and razor-thin unstable hairs |
| Direction | Root-to-tip flow or tangent rotation | Lighting gradients and ambiguous unsigned data |
Keep the base dielectric. Hair and fur do not become metallic because their highlights are bright. Strand shading commonly uses directional specular lobes and transmission or scattering to reproduce glancing light through fibers; those are shader behaviors, not a metalness shortcut. The anisotropic materials guide explains how tangent direction shapes a highlight without changing the material into metal.
The fur alpha texture deserves its own source, padding, and mip strategy. Build opaque roots, separated mid-length strands, and tapered tips. Remove colored matte before dilation, then expand valid strand color beyond the visible alpha edge. Otherwise filtering pulls the background into the hair and produces fringes.
For shell methods, a fur shell texture often contains density or coverage sampled at successive height slices. Lower layers should remain dense; upper layers should reveal fewer tips. Randomly eroding the same binary mask at every level creates fizz rather than fur. Use a consistent height field, then let each shell test its own threshold so strands have coherent vertical presence.
Break fur repetition at three scales
The answer to why does fur texture repeat is usually not the seam. Viewers notice repeated flow centers, identical dark clumps, synchronized guard hairs, or a regular density rhythm long before they identify the tile boundary. Fur is especially unforgiving because thousands of small directional elements collectively draw large arrows.
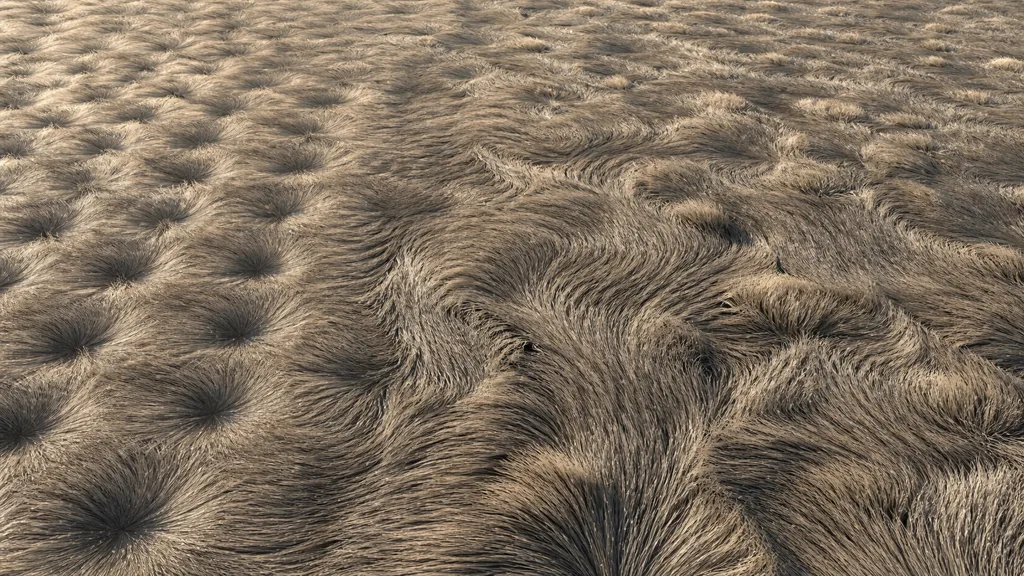
Use three independent controls. First, vary macro flow through mesh-space direction, groom guides, splines, or a low-frequency world mask that is larger than the base tile. Second, rotate, mirror, or blend compatible tile variants for meso-scale clumps, while preserving root-to-tip orientation. Third, add sparse non-tiling guard hairs, compressed zones, or color shifts as cards, vertex masks, or groom attributes.
Do not apply arbitrary noise to every channel. A dark patch that also becomes rougher, denser, taller, and more occluded reads as a stamped stain with a committee. Correlate only related effects: wet fur darkens and clumps; worn fur loses length while exposing substrate; brushed fur changes direction more than density.
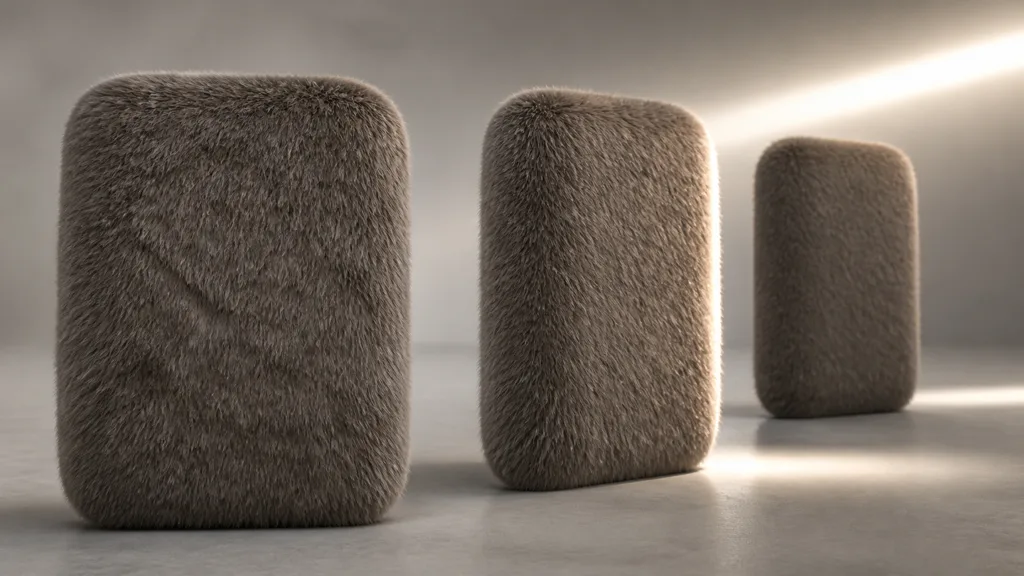
Preview the fur texture seamless result on a curved form and across a broad plane. A plane exposes the grid. A cylinder exposes tangent and UV discontinuities. A moving grazing light exposes normal, direction, and specular errors. The tile preview is not finished until all three stop volunteering new problems. The seamless texture guide covers border repair and large-field repetition tests in more detail.
How to make fur texture seamless step by step
Use this production pass to keep the tile, strand layer, and engine setup aligned:
- Define the fur. Record strand length, density, undercoat, guard-hair ratio, curl, root and tip colors, wetness, and intended camera distance.
- Choose the representation. Assign surface relief, cards, shells, or groom curves by visible depth and platform budget. Plan LOD changes now.
- Create a larger neutral source. Generate, groom, or capture more area than one tile with even lighting, credible flow, and no unique stains or anatomy.
- Separate structural masks. Extract undercoat coverage, clump hierarchy, root-to-tip flow, height, and sparse guard hairs into editable layers.
- Author coordinated maps. Build base color, roughness, shallow normal, density or height, alpha, and direction from the same structure.
- Repair the repeat. Offset every aligned texture, reconnect boundaries, and remove internal landmarks in a large tiled preview.
- Add non-tiling variation. Use object-space flow, vertex masks, card clusters, groom groups, or decals for broad changes the base tile should not repeat.
- Build distance states. Tune strand thickness, alpha coverage, shell count, card density, and the transition to a calmer surface LOD.
- Validate in motion. Rotate the asset and light, animate deformation, test backlighting, and profile overdraw or strand cost on target hardware.
The best fur texture workflow 2026 treats LODs as related representations of one material, not independent assets made after performance testing goes badly. Share root color, direction, density regions, and clump identity across them. When the groom becomes cards and the cards become a surface texture, the overall value and flow should remain stable instead of popping into a different animal-shaped material.
Keep fur alpha, shells, and mipmaps stable
Thin strands challenge sampling. At distance, one hair can cover less than a pixel, alpha-tested cards can vanish, and shell layers can collapse into stripes. A higher-resolution texture postpones the problem; it does not solve the sampling limit.
For cards, preserve alpha coverage across mip levels so the apparent mass does not evaporate. Avoid packing strands so tightly that lower mips merge them into an opaque slab. Mix broad clumps with thinner breakup, keep enough gutter around UV islands, and test both dark and bright backgrounds. Alpha-to-coverage can improve edge stability with multisampling in supported pipelines, but it changes the tradeoff rather than granting free transparency.
For shells, reduce layer count and adjust thickness by LOD while watching for visible bands at grazing angles. Dithered transitions can hide a switch, although noise must remain temporally stable. For strands, decimate curves, reduce points, increase effective width carefully, and transition to cards or meshes where the platform requires it. The target is conserved visual density, not conserved primitive count.
A fur texture seamless base helps every transition because it catches the gaps. Let the undercoat become slightly calmer at distance, preserve average color and direction, and filter high-frequency normals before they shimmer. If the far LOD turns into a flat brown object, the close groom was carrying material information that should have been shared. The texture filtering guide explains why those subpixel signals need stable mips.
Set up fur texture in Unity, Unreal Engine, and Blender
For a fur texture Unity project, choose the method by render pipeline and target. HDRP provides Hair Shader Graph controls intended for hair cards, including strand direction and transmission behavior. URP and custom pipelines commonly use alpha-clipped cards, shell shaders, or custom Shader Graph work. Preserve alpha coverage, provide consistent card tangents, and profile overdraw on the actual camera and hardware; a pleasing editor close-up is not a performance measurement. Unity’s HDRP Hair documentation describes the hair material inputs and card-oriented setup.
A fur material Unreal Engine workflow can use the Groom system for strand rendering and simulation, with card or mesh representations assigned to LODs. Import groom attributes consistently, bind roots to the correct surface, and use Root UV or other spatial data when the base tileable fur texture must vary the groom. Epic’s Hair Rendering and Simulation documentation covers strands, cards, materials, textures, LODs, and platform scope. Strand rendering is not supported equally everywhere, so plan the card or mesh fallback before content lock.
For a fur material Blender setup, Hair Curves and Geometry Nodes can generate, interpolate, clump, and deform strands on a surface. Use the surface UV map to sample root color, density, length, and direction masks, then shade strands with a hair-specific BSDF rather than an ordinary opaque surface shader. Blender’s Hair Nodes reference documents the current curve operations. When exporting to a real-time engine, bake or transfer the shared masks and explicitly decide whether curves become grooms, cards, meshes, or textures.
Diagnose a fur texture that looks flat, stamped, or noisy
| Symptom | Likely cause | Useful fix |
|---|---|---|
| Fur looks painted on | Surface maps are carrying all depth | Add cards, shells, or curves where the silhouette matters |
| Grid appears across the body | Repeated flow centers or clump landmarks | Move macro flow out of the tile and blend variants |
| Cards show pale rectangles | Bad alpha padding or blend mode | Dilate strand color and inspect transparent pixels |
| Fur disappears in lower mips | Alpha coverage is not preserved | Tune coverage-aware mips and broader clump shapes |
| Shell layers look like terraces | Too few layers or incoherent height masks | Use a shared height field and distance-aware shell count |
| Highlights run sideways | Tangents or direction encoding are wrong | Test a constant direction and verify color space |
| Fur sparkles in motion | Strands or normals exceed pixel frequency | Filter detail, widen or merge representation, revise LOD |
| Deformation reveals bald gaps | Roots, cards, or masks are not bound coherently | Validate extreme poses and increase substrate coverage |
Debug the fur texture seamless stack from the skin outward. Show only the base color, then roughness and normals, then density, then cards or shells, then the groom. Rotate a long white light around the object and test the darkest and brightest backgrounds in the project. Finally, inspect the shipping LOD transitions in motion. Fur defects are social creatures; isolating the layers prevents them from covering for one another.
Try CraftPBR
CraftPBR helps build the coordinated substrate and masks behind a convincing fur texture seamless across an asset:
- Text-to-PBR generates a complete material from a description of undercoat, strand color, density, flow, clumping, and finish.
- Photo-to-PBR turns a controlled fur or fiber reference into aligned surface maps and editable source information.
- Node workspace keeps root color, roughness, height, density, clump masks, and compatible variants adjustable.
- Engine export prepares normal orientation, linear data, alpha, channel layouts, filenames, and destination-specific files.
- Free tier lets you generate and test a complete PBR set before committing to cards, shells, or a groom.
- CC0 output lets you modify, render, and ship generated textures without attribution.
Let the tile cover the surface. Let the strands handle the fur.