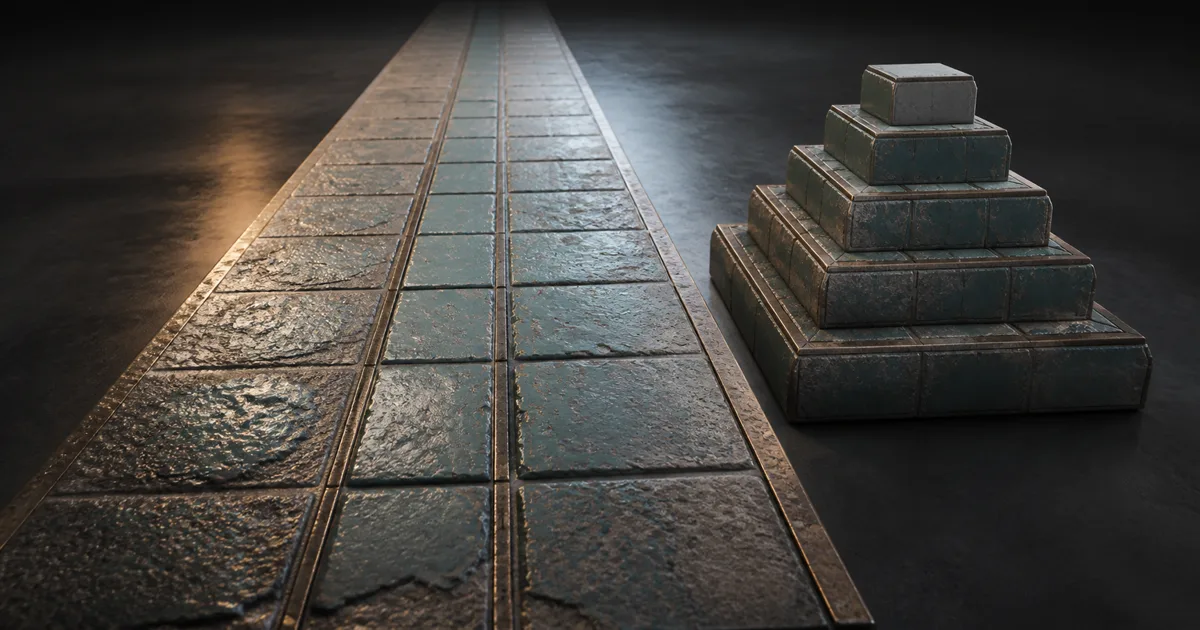
Texture LOD bias is not a general-purpose sharpness slider. It is an offset applied to the mip level a texture sampler would normally choose from screen coverage and texture-coordinate derivatives. A negative value asks for a more detailed mip; a positive value asks for a coarser one.
That small offset can rescue a slightly soft material, calm an unstable one, or quietly double the dimensions of the sampled mip. It can also turn a distant floor into a swarm of tiny mirrors while the profiler watches with professional concern.
The useful question is not “Which texture LOD bias looks sharpest in one screenshot?” It is “Which mip remains stable in motion, at the target resolution, with the production sampler, compression, texture set, and memory budget?” This guide builds that answer without treating every blurry texture as a bias problem.
Texture LOD bias shifts the mip decision
A mip chain stores progressively smaller versions of a texture. Mip 0 is the full source, mip 1 is half the width and height, mip 2 is one quarter, and so on. At runtime, the GPU estimates how much screen space a texture footprint covers and chooses a suitable level. Trilinear filtering may blend between two adjacent levels rather than selecting one hard boundary.
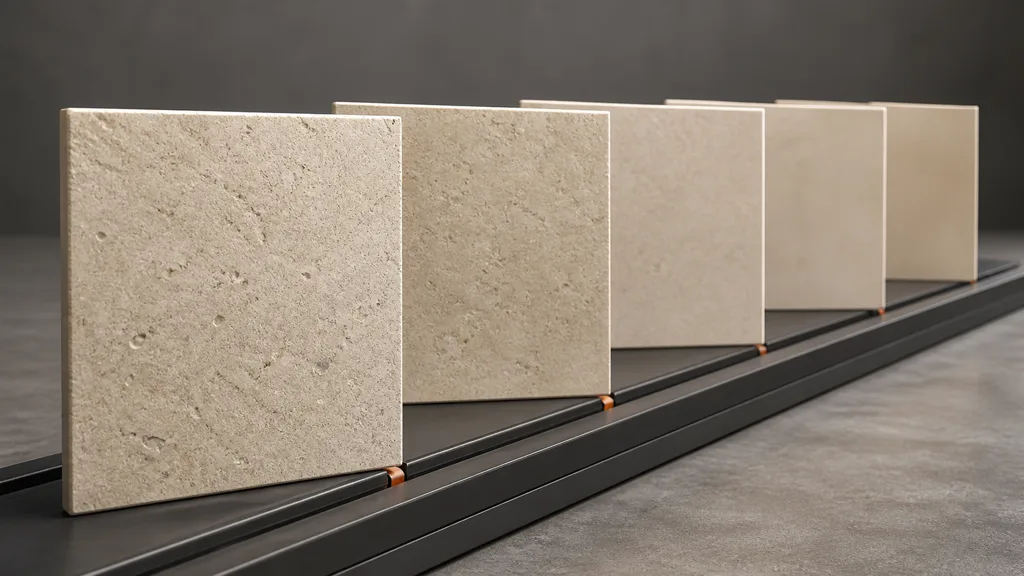
Texture LOD bias offsets that estimate. In the common convention:
0leaves the calculated mip unchanged.-1requests roughly one mip more detailed, with about twice the width and height.+1requests roughly one mip coarser, with about half the width and height.
The exact result can be clamped by available mips, sampler limits, streaming residency, engine quality settings, or platform rules. A fractional texture mip bias such as -0.25 shifts the trilinear blend rather than jumping an entire level.
Bias does not create detail. If the source lacks high-frequency information, a negative LOD bias only magnifies the best available guess. If the correct mip is not resident because streaming has not loaded it, the sampler cannot negotiate with storage. Likewise, a positive LOD bias discards detail; it does not repair noisy authoring.
Negative and positive LOD bias solve different faults
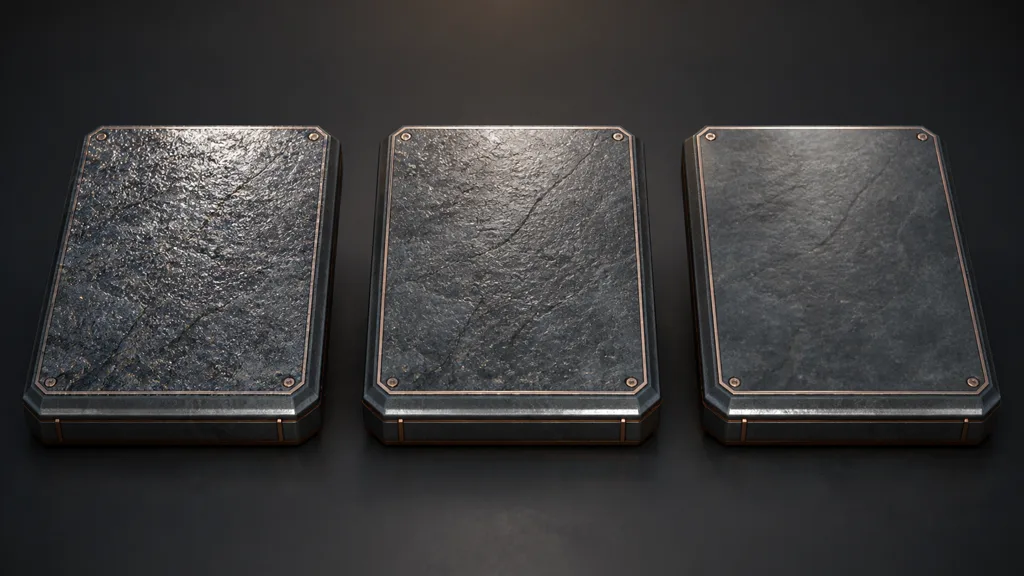
A small negative LOD bias can help when a stable texture set becomes a little too soft after temporal anti-aliasing, dynamic-resolution upscaling, conservative sampler choice, or an engine-wide quality policy. It is most defensible when the finer mip is resident, the material stays stable in motion, and anisotropic filtering cannot solve the view-angle problem alone.
A positive LOD bias is useful when fine detail aliases, normal maps sparkle, moiré appears, bandwidth is excessive, or a lower quality tier deliberately chooses smaller working data. It can also serve as a diagnostic: if +0.5 removes noise, the source or mip generation may contain more high-frequency contrast than the final pixels can represent.
| Bias direction | Visible result | Main risk | Better first check |
|---|---|---|---|
| Negative | Sharper, finer mip | Shimmer, aliasing, bandwidth | Anisotropy, mip quality, TAA/upscaler |
| Zero | Calculated footprint | Pipeline softness | Source scale, streaming, import limits |
| Positive | Softer, coarser mip | Lost detail, early blur | Normal filtering, roughness variance |
The middle sample should be the target: enough detail to describe the material, not enough to start a separate animation when the camera moves. Sharpness is a still-image property. Stability is a shipping property.
Diagnose blur before touching texture LOD bias
Many “LOD bias” faults belong elsewhere. A low maximum import size removes top mips before runtime. Streaming may show a fallback while the wanted mip loads. Low anisotropy softens a road at a grazing angle. UV scale may simply be wrong. Temporal reconstruction can soften fine features after the material has been sampled correctly.
Before changing mipmap LOD bias, isolate the owner:
- View the source at native resolution and confirm the detail exists.
- Inspect the generated mip chain for color shifts, lost normals, or bad sharpening.
- Confirm import maximum size, compression, color space, and normal-map type.
- Force the texture fully resident or use the engine’s streaming diagnostics.
- Compare frontal and grazing views with production anisotropy.
- Disable temporal anti-aliasing or upscaling briefly to separate reconstruction blur.
- Test
-0.25,0, and+0.25in motion rather than making a heroic first move to-2.
This is the practical route for how to fix blurry textures with LOD bias: prove that mip choice is the problem, then apply the smallest correction that survives the target camera. If mip 0 itself is soft, bias has no finer evidence to request. If only oblique surfaces fail, anisotropic filtering is usually the more precise tool.
The texture filtering guide explains bilinear, trilinear, and anisotropic footprints. The texture streaming guide separates wanted mip from resident mip. Those two checks prevent texture LOD bias from becoming an expensive apology for unrelated settings.
Keep the complete PBR set at one detail contract
Base color, normal, roughness, height, AO, and masks describe the same surface, but they do not tolerate mip loss in exactly the same way. Base color may average cleanly while a normal map loses small bevels. Roughness may become numerically smooth yet still leave specular variance that sparkles. Height used for parallax can change the apparent depth of a material when a coarser mip arrives.
Start with one shared texture level of detail bias for aligned maps. Then make channel-specific exceptions only after motion tests justify them. Sampling base color from a coarse mip and normals from a much finer mip can produce lighting detail with no color evidence. The surface looks embossed by a story the albedo forgot.
Normal maps need vector-aware mip generation and suitable compression. Roughness often benefits from variance-aware treatment rather than blindly sharper sampling. Alpha cutouts may need coverage-preserving mip generation. Packed masks must remain linear and should be inspected channel by channel. A single negative bias across all channels can make one map better while three others become unstable.
Detail maps are a special case. Their job is to carry high-frequency information at a controlled scale, so they may use a different sampler contract from the base material. The detail maps guide covers this split. Use detail mapping when the material needs deliberate close-range frequency, not global negative bias on a large base texture.
Texture LOD bias, anisotropy, and temporal AA
These controls solve different dimensions of the same sampling problem. Texture LOD bias shifts the chosen level. Anisotropic filtering improves footprints stretched by oblique projection. Temporal anti-aliasing and upscalers combine information across frames and may soften or stabilize the final image.
On a floor viewed at a shallow angle, the footprint is long and narrow. Requesting a finer square mip with negative bias can sharpen both axes, including the axis that was already undersampled. Anisotropic filtering follows the elongated footprint more closely and is often the better answer. Unity’s current Texture.mipMapBias documentation recommends anisotropic filtering before large negative bias and warns against going below about -0.5 in normal use.
Temporal reconstruction changes the test. A texture can look crisp in a paused frame and crawl during camera motion because subpixel detail changes phase every frame. Judge texture LOD bias shimmering with slow translation, rotation, dynamic-resolution changes, and the actual anti-aliasing path. Capture a short sequence; screenshots grant aliases diplomatic immunity.
If negative bias is required to counter an upscaler, apply it through the renderer’s intended policy when possible, not through hundreds of unrelated asset overrides. Renderer-level policy can account for resolution scale and quality mode. Asset-level bias should describe a real exception.
Texture LOD bias in Unity, Unreal Engine, and Blender
For texture LOD bias Unity projects, Texture.mipMapBias accepts positive and negative values. Unity documents positive values as blurrier and negative values as sharper, warns that large negative bias can reduce performance, and notes platform/API limitations. Keep overrides modest, test the exact render pipeline, and prefer anisotropic filtering for grazing surfaces.
For texture LOD bias Unreal Engine, the texture asset’s LOD Bias combines with its Texture Group policy. Epic’s texture format and LOD documentation defines 0 as native top mip and positive whole values as dropping successive top mips; a 1024 texture with bias 1 resolves to a 512 top mip before group clamps. Inspect Combined LOD Bias, Max In-Game, and the mip residency breakdown in the Texture Asset Editor. Group and device-profile settings are better than per-asset edits for platform tiers.
For texture LOD bias Blender look development, the Image Texture node exposes interpolation and projection, not a general per-node mip-bias control. Blender’s viewport preferences provide texture size limits and anisotropic filtering. Treat Blender as the authoring reference, test texture-frequency stability there, then reproduce final bias policy in the destination real-time engine or custom shader rather than assuming viewport appearance is the shipping contract.
Do not copy numeric values between engines without checking sign, clamping, sampler implementation, and whether the setting drops cooked top mips or only biases runtime sampling. The phrase is shared. The consequences have paperwork.
Build a measured texture LOD bias policy
A dependable best texture LOD bias settings 2026 workflow uses ranges and ownership rather than one magic number:
- Declare the baseline. Record source size, mip generation, texture group, sampler, anisotropy, compression, streaming, and output resolution.
- Choose representative assets. Include a rough floor, painted prop, foliage cutout, fine normal map, decal, and UI texture if those categories ship.
- Find the neutral failure. Test bias
0at the closest, typical, and farthest camera distances. - Sweep small offsets. Compare increments around
-0.5to+0.5; use larger values only for deliberate quality tiers or debugging. - Test motion. Translate and rotate the camera under frontal and grazing light with production AA and upscaling.
- Measure residency and cost. Watch wanted mips, loaded mips, streaming pool, cache pressure, and frame time.
- Group by intent. Put world surfaces, normals, foliage, UI, and cinematic assets under policies appropriate to their sampling.
- Keep exceptions rare. Document why an asset differs and which platform or camera condition requires it.
A bias of -1 can request a mip with four times as many texels because both dimensions double. Measure the real workload; arithmetic is the warning label.
That does not guarantee four times the cost at every stage, but it explains why a visually small change can increase bandwidth and residency pressure. Measure the real workload rather than approving the setting from a material preview.
Validate texture LOD bias in the hostile scene
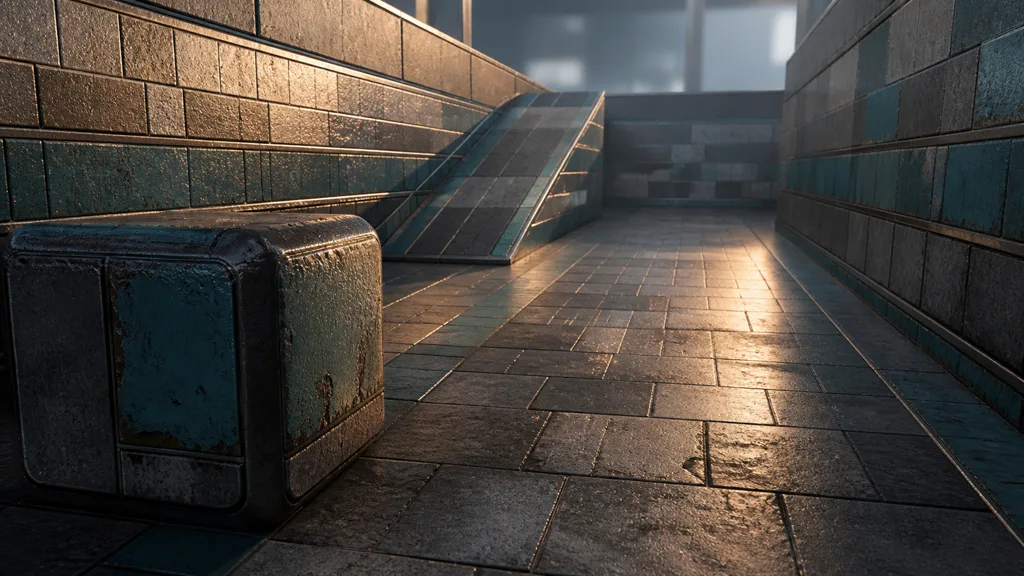
The useful validation scene contains a long floor, a slanted plane, a curved or beveled prop, a distant wall, an alpha-tested asset, and at least one surface with fine roughness variation. Use a slow camera path and both stable diffuse light and a moving grazing highlight.
Check every target resolution and quality tier. Force texture streaming states. Inspect color, normal, and roughness separately. Watch for moiré, sparkle, crawling grain, sudden mip transitions, delayed sharpness, and detail that changes apparent scale. Then repeat on the lowest target GPU; a workstation can hide cache pressure with excellent manners.
Treat texture LOD bias artifacts as evidence:
- Shimmer under motion means the requested frequency exceeds stable sampling.
- Persistent softness at every angle suggests missing source detail or import limits.
- Softness only at grazing angles points toward anisotropy.
- A delayed sharp-to-soft change points toward streaming or residency.
- Sparkling highlights implicate normal and roughness frequency, not just base color.
- Abrupt transitions suggest mip generation, trilinear policy, or explicit level selection.
Lock the smallest stable offset, not the sharpest frame. Then record it beside the renderer, sampler, resolution scale, and platform. A naked number in a spreadsheet ages into folklore surprisingly quickly.
Try CraftPBR
CraftPBR gives a texture LOD bias test coherent material data instead of six unrelated guesses:
- Text-to-PBR generates aligned base color, normal, roughness, height, AO, and metalness from a practical material brief.
- Photo-to-PBR converts a controlled surface photo into an editable PBR set without baking the room light into every channel.
- Node workspace keeps frequency, levels, masks, roughness, height, and tiling editable before export.
- Engine export prepares normal orientation, scalar color space, channel packing, names, and target conventions.
- Free tier lets you generate and test a complete material before choosing production bias and streaming policy.
- CC0 output lets you edit, bake, combine, render, and ship generated textures without attribution.
Choose the smallest stable offset. Keep the detail; lose the sparkle.
Create a mip-ready PBR material in CraftPBR →