
You know that feeling when your metal surface looks less like steel and more like grey painted cardboard? A seamless metal texture fixes the tiling — but metal has a second problem that wood and concrete don’t: it has to reflect. Get the metalness and roughness right and a single 2K tile covers an entire spaceship hull and reads as real metal.
Metal is the material where the often-ignored maps — metalness and roughness — matter most. This guide covers what makes metal tile cleanly, why it goes plastic without the right maps, and three ways to get a proper PBR metal set.
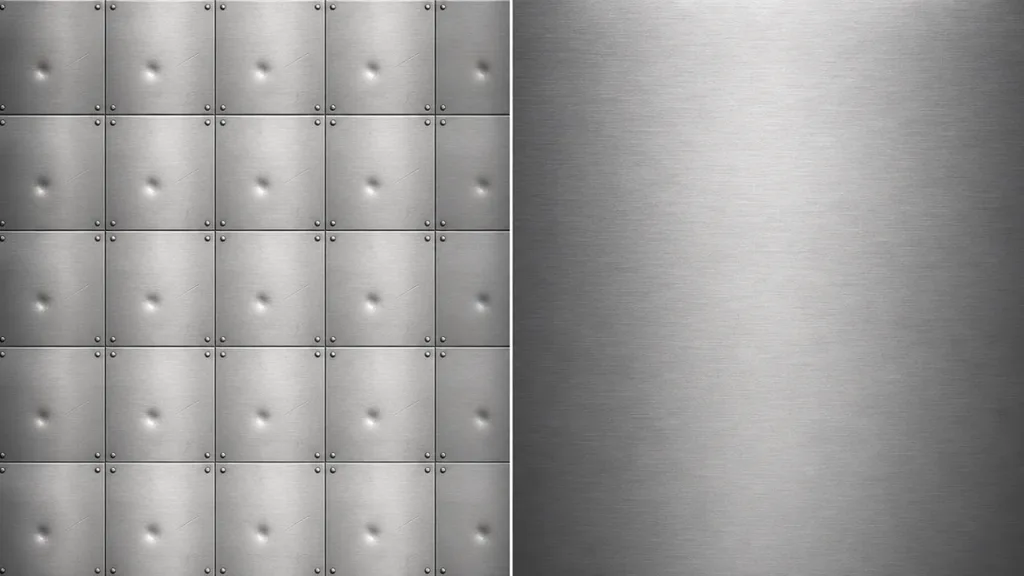
What makes a metal texture seamless?
A texture is seamless when its opposite edges match — right continues into left, top into bottom. For metal, the catch is directional detail: brushed grain and scratches have a direction, so a seam in the normal or roughness map shows up as a break in the reflection even when the colour tiles fine. A proper tileable metal texture is a full PBR set where every map wraps together — base colour, normal, roughness, metalness, and AO.
Why metal looks like plastic (and how to fix it)
Most fake-looking metal isn’t a tiling problem at all — it’s a PBR problem. Metal obeys different rules than every other material:
- Wrong metalness. Metal has no diffuse colour — it reflects its environment. A low metalness value makes steel render as flat grey plastic.
- Flat roughness. Roughness is the difference between mirror chrome, satin steel, and matte cast iron. One constant value flattens all of that.
- No environment to reflect. Metal looks dead in a scene with no reflection probe or HDRI — it has nothing to bounce.
- Coloured base on raw metal. Bare metal’s base colour is a near-white or tinted reflectance, not a painted hue. Get it wrong and gold looks like yellow plastic.
The fix is a correct metalness map (white for bare metal, black for paint/dirt/rust on top), a roughness map with real variation, and a scene that gives the metal something to reflect.
The maps metal needs most
- Metalness — the map that defines bare metal versus everything else. The single most important map for metal, and the one most often missing.
- Roughness — polished vs brushed vs corroded. Carries most of metal’s character; a flat value kills it.
- Normal — dents, brushed grain, panel scratches, faked without geometry. This is what shapes the reflection. (New to these? See what a normal map is.)
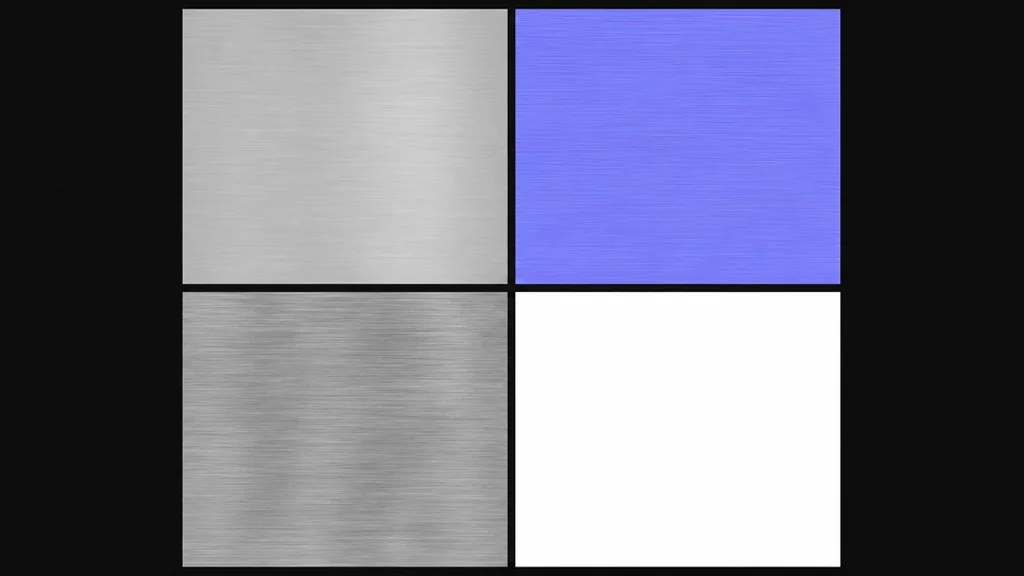
- Base colour — for bare metal, a tinted reflectance (steel near-white, gold/copper tinted); for painted or rusted metal, the actual surface colour where metalness is black.
Three ways to get a seamless metal texture
1. Heal a photo by hand
Take a flat-on metal photo, offset it by half (Photoshop: Filter › Other › Offset, wrap-around), and heal the seam. Then paint out any standout scratch, dent, or stain that would repeat. The metal-specific pain: you still have to author a metalness map by hand, and derive the normal and roughness — a photo alone doesn’t tell you what’s bare metal.
2. Download a CC0 set
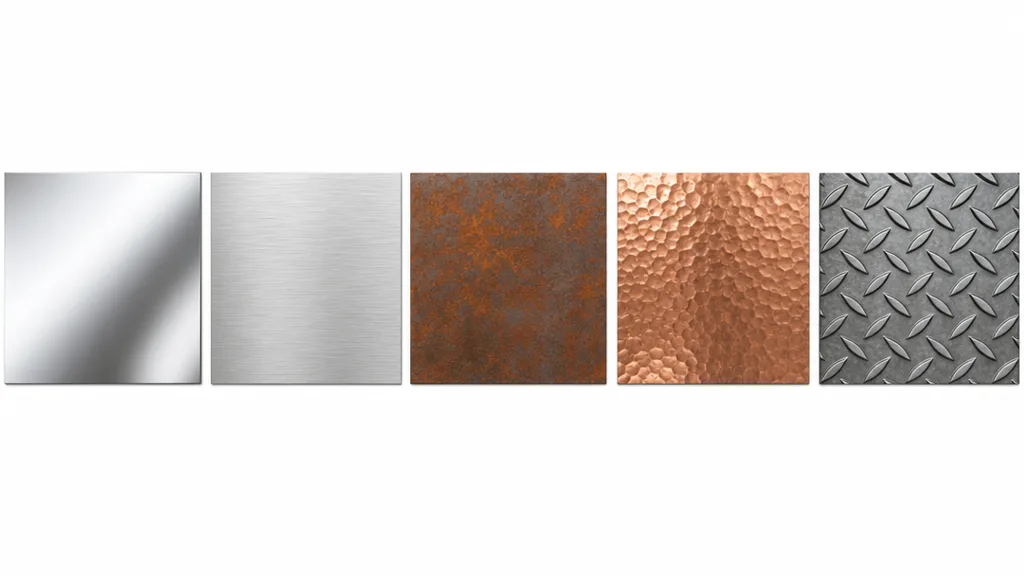
Poly Haven, ambientCG, and similar libraries give you ready-made seamless metal with full PBR maps — including metalness — under CC0. Fast and high quality, with one limit: you get the metal that exists. A specific alloy, finish, or wear pattern may not be in the catalogue.
3. Generate it from a prompt
Describe the metal — “scratched brushed steel with oil stains” — and let AI build a tileable PBR set already wrapped, metalness included. CraftPBR generates the base colour and derives a matching normal, roughness, metalness, and AO, then makes the set seamless together. You get the exact metal you described, in about a minute — the same text to texture workflow, pointed at metal.
Killing the grid: break up the repetition
Even a perfect seamless metal texture repeats across a surface bigger than the tile. The standard tricks:
- Add a macro variation map — large, faint noise that drifts whole panels lighter and darker, like uneven wear and oxidation.
- Blend a grime or rust decal layer — streaks, oil, weld marks placed by hand, not on a tiling grid.
- Vary roughness across the surface so polished and worn areas break the uniform sheen.
- Use a stochastic/hex-tiling node (Unreal, Blender) — but watch directional brushed grain, which can look wrong if rotated.
For the full anti-repetition toolkit across every material, the seamless tileable textures guide goes deep.
Seamless metal texture in Unity, Unreal, Blender, and Godot
- Unity — Wrap Mode Repeat, base colour sRGB, normal/roughness/metalness/AO as linear (Non-Color). Unity’s Standard shader packs metalness + smoothness; remember smoothness is inverted roughness.
- Unreal — drop the maps into a Material, wire metalness and roughness to their inputs, and remember Unreal expects DirectX normals — flip the green channel if yours are OpenGL.
- Blender — Image Texture nodes set to Repeat, base colour sRGB and the rest Non-Color, metalness into the Metallic input of the Principled BSDF. Blender uses OpenGL normals.
- Godot — assign the maps in a StandardMaterial3D, set the Metallic channel, enable AO, set UV1 scale to tile. Godot uses OpenGL normals like Blender.
Key takeaways
- Metal’s seam shows up in the reflection — directional grain and scratches make the normal and roughness maps the hard part to wrap
- The “plastic metal” look is a wrong metalness map and flat roughness, not a tiling problem
- Metalness is white for bare metal, black for paint/dirt/rust on top
- Roughness carries the finish — polished, brushed, corroded — so vary it
- Metal needs an environment (HDRI / reflection probe) to reflect, or it looks dead
- It imports into any engine — mind the OpenGL/DirectX normal convention and Unity’s inverted smoothness