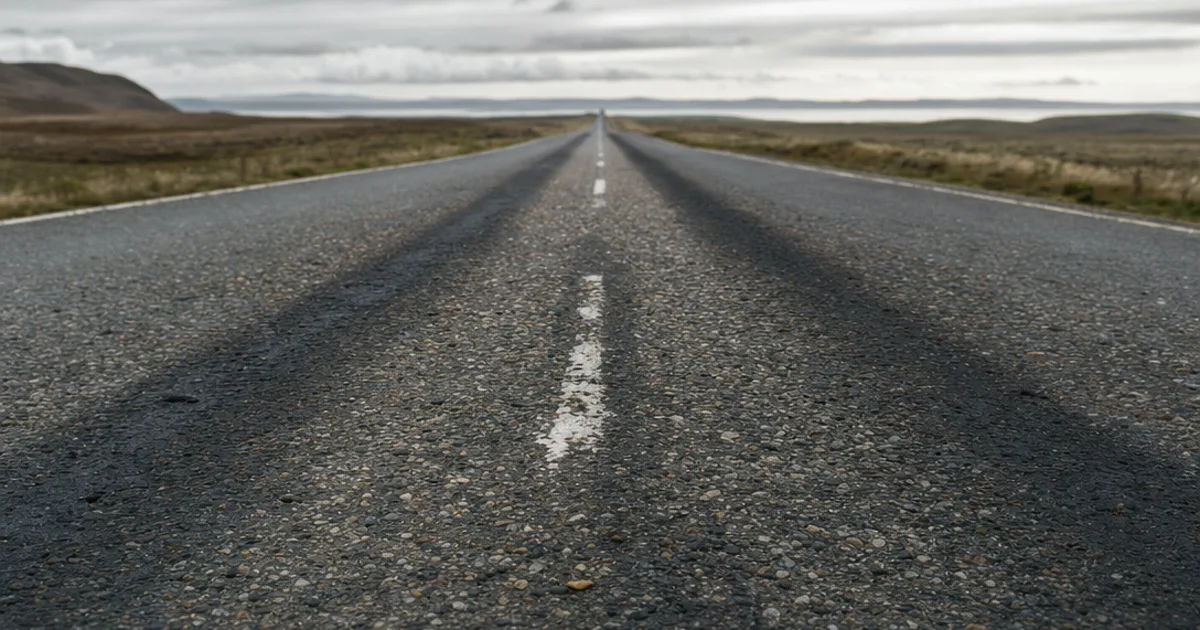
Fake asphalt has one tell, and it is not the colour or the grain — it is that the road is too clean. No oil down the centre, no polished wheel paths, no patched repair a slightly different shade, no crack the council never fixed. A convincing seamless asphalt texture is less about getting the aggregate right and more about layering on the wear that says vehicles have been here. Here is how to build a road that reads as used, and keep it tiling while you do.
What asphalt actually is, up close
Asphalt is a composite: dark bitumen binding a scatter of lighter stone aggregate. That two-tone speckle is the base of the look, and it is why a flat grey fill never convinces — the eye reads the missing grain instantly. The aggregate also gives asphalt its characteristic micro-roughness, which is what makes a dry road matte and a little sparkly under raking light rather than smooth.
The details that turn tarmac into a road
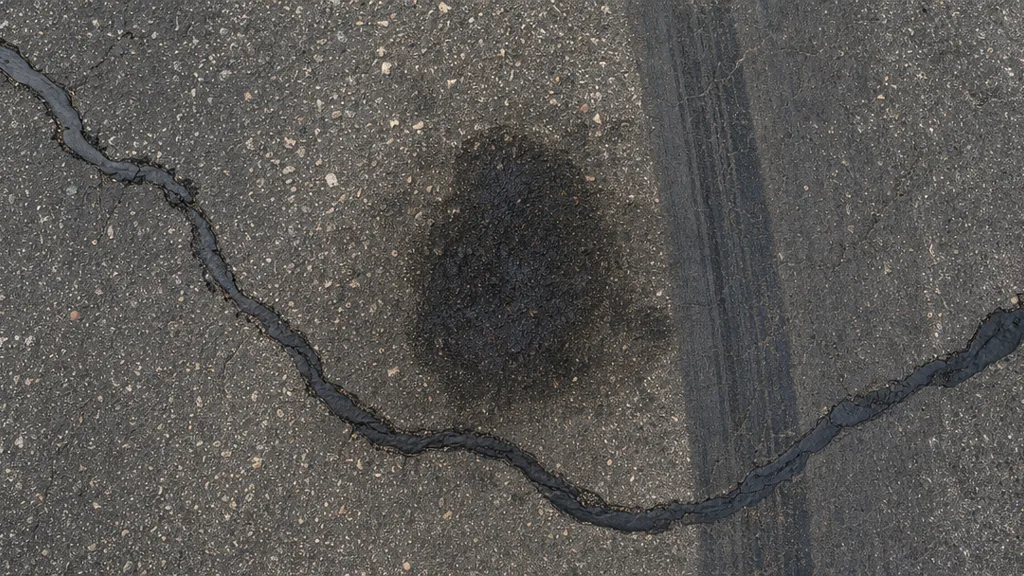
Traffic leaves a signature. The two strips where tyres run get polished — lower roughness, slightly darker, sometimes worn down to more exposed aggregate. Between them, oil and drips collect in a grubby central band. Repairs show as patches in a different shade with their own seams, and cracks spider out from stress points, often tar-sealed into black veins. Layering even two or three of these onto a plain base is the difference between a road and a grey stripe.
Keep the markings off the texture
The single most common asphalt mistake: baking a painted centre line, an arrow, or a crosswalk into the tiling texture. Do that and the marking repeats at the tile interval down the entire road — a centre line every two metres. Markings are placed features. Tile the plain asphalt, then lay lines, arrows, cracks, oil, and patches on top as decals exactly where the scene needs them. The base stays seamless; the character goes on top.
Wet asphalt is a different material
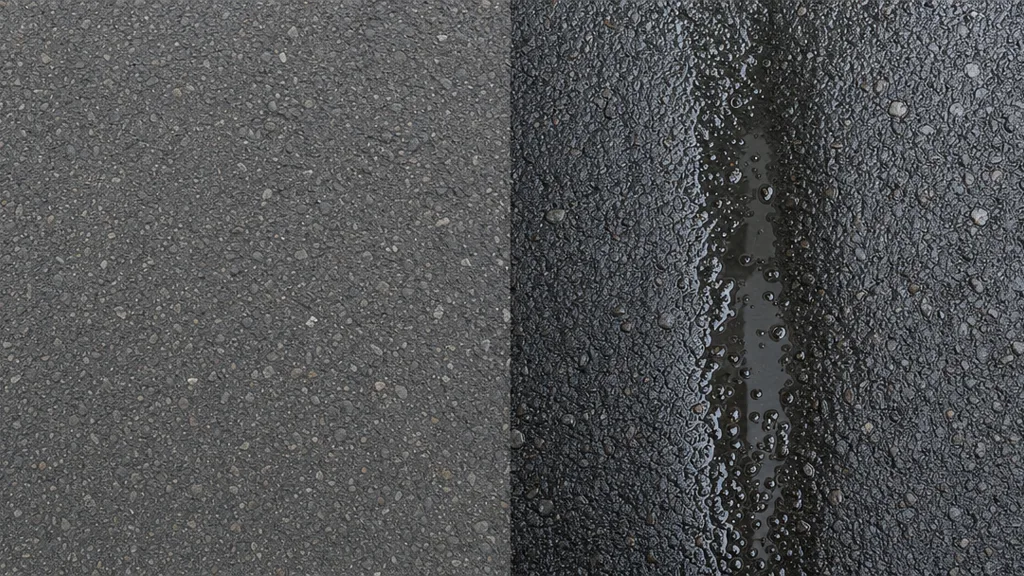
A wet road is not a dry road with a filter. Water fills the surface pores and lays a thin film, which collapses the roughness and makes the asphalt darker and mirror-like, especially where it pools in the low points and ruts. The move that sells it lives in the roughness map: drop it hard in the wheel ruts and hollows, keep it higher on the crowned high points that drain, and darken the base colour to match. Treat wet and dry as two states of the material, not one map turned shiny.
Three ways to get a seamless asphalt texture
- Heal a photo. A flat, top-down shot of plain asphalt offsets and heals easily because the aggregate has no strong pattern — the free seam editor handles it. Keep features out of the base.
- Download CC0. Poly Haven and ambientCG both have solid free asphalt and road sets with full maps. See the free PBR textures roundup for the honest list.
- Generate it. Describe the exact road — cracked rural lane, wet night tarmac, fresh dark blacktop — and CraftPBR crafts a tileable PBR set.
Laying a road down in an engine
- Unreal — tile the plain asphalt along the spline, then use a decal layer for lane lines, cracks, and oil so none of it repeats. RVT (Runtime Virtual Texturing) blends road into terrain edges cleanly.
- Unity — tile the base on the road mesh, Wrap Mode Repeat, and place markings and grime as projected decals or a second detail layer rather than in the main albedo.
- Blender — Mapping node to scale the base along the road, and keep markings on separate planes or a decal material so they sit where you place them, not on every tile.
Try CraftPBR
- Text-to-PBR — describe a road surface, get all five maps, seamless by default
- Photo-to-PBR — turn a road photo into a tiling material
- Free tools — seam editor, normal map, height map
- Engine export — Unity, Unreal, Blender, Godot, Three.js
- CC0 license — everything you make is yours