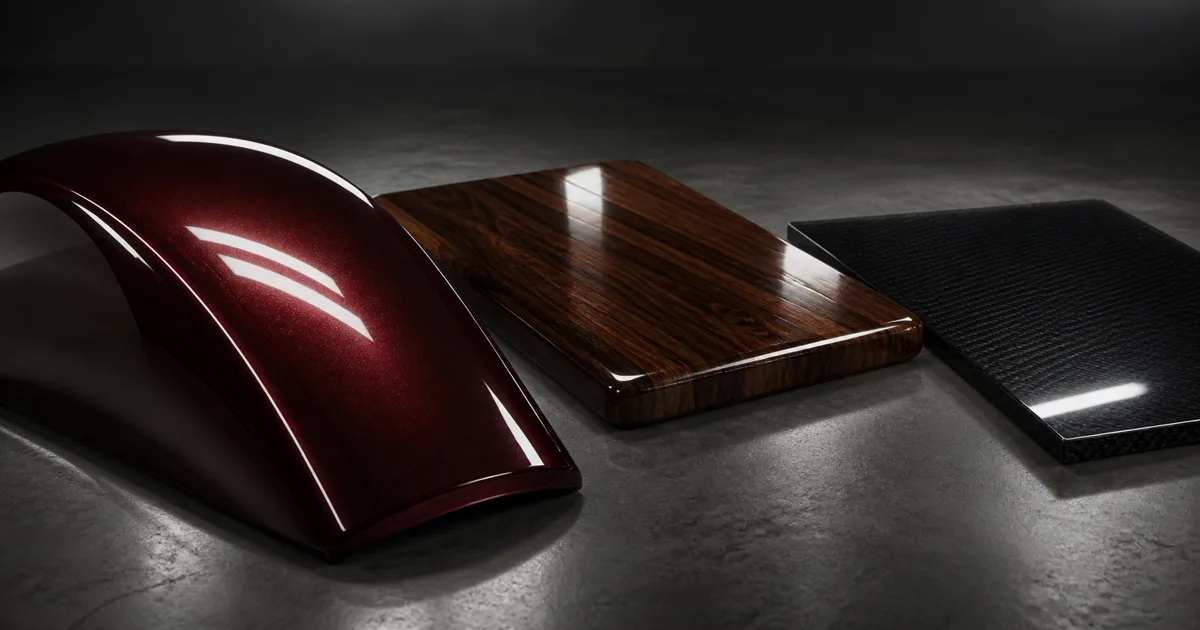
Clear coat materials place a thin dielectric finish above another PBR surface. Automotive lacquer, varnished wood, coated carbon fiber, glossy paint, and sealed plastic all show two related responses: light reflects from the outer film, while the remaining energy reaches the colored or metallic layer below.
The tempting shortcut is to drag base roughness toward zero until everything shines. That produces one unusually tidy lobe, not a layered material. Metallic flakes lose their broad response, wood grain appears laminated onto a mirror, and every surface develops the same showroom personality. The renderer has been given one highlight and asked to perform a duet.
This guide treats clear coat materials as an optical stack. You will separate coat coverage, coat roughness, coat normals, and base response; author only the maps that carry real information; then verify the result in Unity, Unreal Engine, or Blender.
How clear coat materials produce a second reflection
A PBR clear coat is usually approximated as a smooth dielectric microfacet layer above a standard metal/roughness or specular base. At normal incidence, a common clear polymer with an index of refraction near 1.5 reflects roughly four percent of incoming light. Reflectance rises toward grazing angles through Fresnel, which is why a modest coat becomes obvious along curved silhouettes.
Light reflected by the coat never reaches the substrate. Light transmitted through it can interact with metallic flakes, pigment, grain, or another rough surface, then pass through the coat again on the way out. A physically sensible shader accounts for that energy sharing. Adding an unrestricted white highlight on top of the original material can exceed the available light and make the finish look illuminated rather than coated.
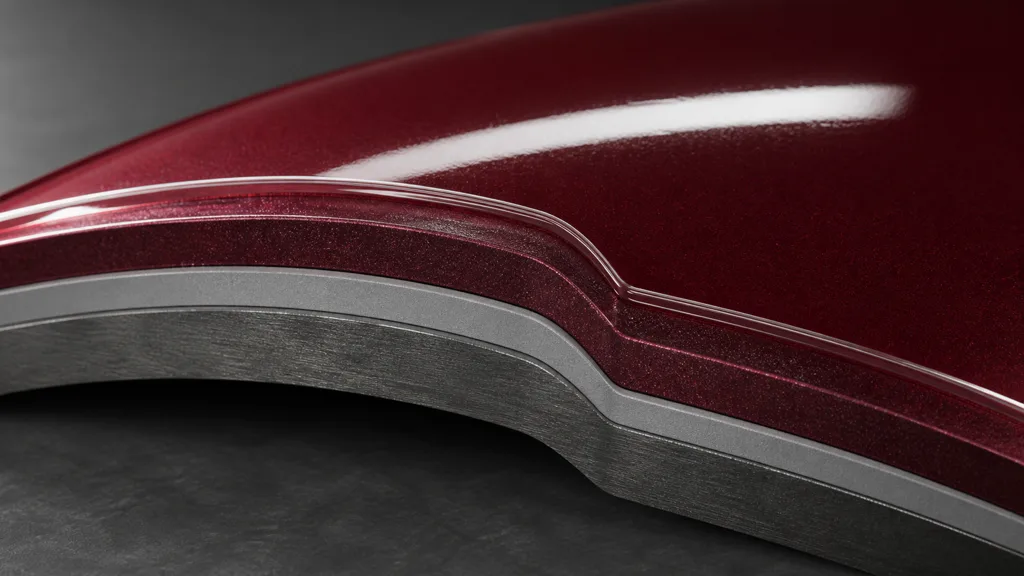
Clear coat is not ordinary transparency. The surface normally stays opaque, does not reveal the scene behind it, and does not need sorted translucent rendering. It is also not emission, bloom, or a duplicate shell placed a few millimetres above the mesh. Use the renderer’s layered BSDF when one exists.
Separate coat controls from the base material
Good clear coat materials give each layer a narrow job. The base describes the substance below the finish; the coat describes the film exposed to air.
| Input | What it controls | Useful evidence |
|---|---|---|
| Base color | Pigment, wood color, plastic color, or metal reflectance | Color seen away from strong reflections |
| Base metalness | Whether the substrate is conductive | Paint and wood stay non-metal; exposed flakes or metal may not |
| Base roughness | Width of the lower reflection | Broad flake, grain, or substrate response |
| Coat mask / weight | Where the outer film exists | Chips, worn edges, masked finishes, mixed materials |
| Coat roughness | Width of the top reflection | Polish, orange peel, haze, sanding, washing wear |
| Coat normal | Orientation of the outer film | Fine ripples or scratches independent of the substrate |
| Coat IOR or tint | Fresnel strength and absorption when supported | Measured resin or varnish behavior, not highlight color picking |
A fully cured automotive finish may use coat coverage near one while retaining visibly different roughness in the two layers. Worn varnish may need a coverage mask. A painted prop with no readable second lobe may not need clear coat at all. Every optional lobe should earn its shader instructions.
Author clear coat textures at the scale of the film
A clear coat texture should describe the finish rather than repaint the object. Store coat coverage and clear coat roughness as linear data. A coat normal map is also linear vector data. If the pipeline packs these channels, document the order and import rules; the texture channel packing guide covers the resource side, and sRGB vs linear textures covers color interpretation.
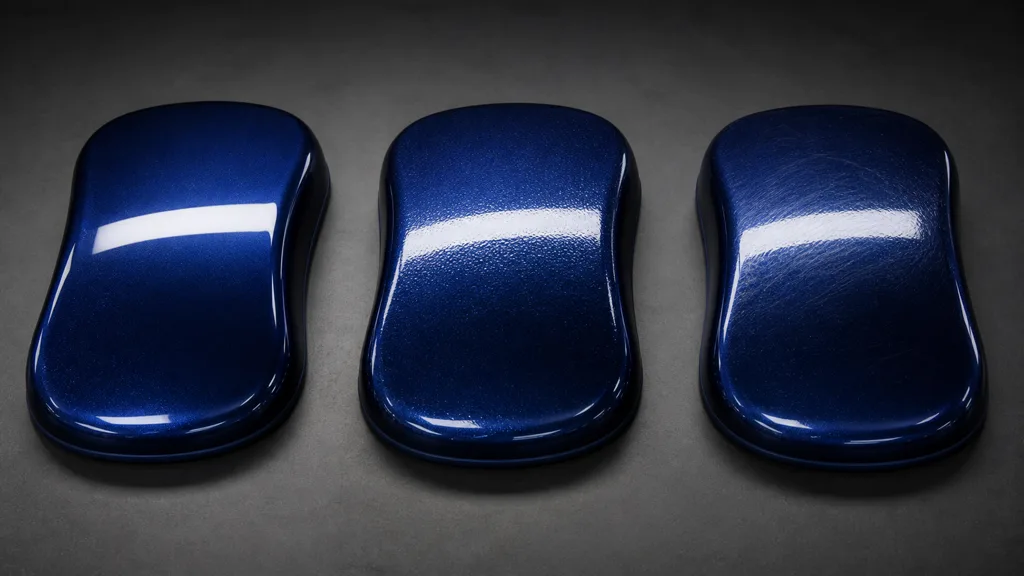
Keep orange peel shallow and broad enough to disturb the strip-light reflection without reading as hammered metal. Polish haze is a roughness change, not white paint. Wash swirls should follow plausible cleaning motion and appear mainly in the top lobe. Chips remove or reduce the coat and may expose a different base roughness; they should not automatically make the underlying paint black.
The clear coat vs base roughness distinction is easiest to tune with a large rectangular light. First mute coat variation and match the base response. Then enable a uniform coat and match its highlight width. Add microvariation last. If both lobes change simultaneously, diagnosis turns into interpretive dance.
How to make a clear coat material
- Identify the physical layers. Name the substrate, pigment or base finish, and transparent top layer from reference.
- Build the base first. Match base color, metalness, roughness, normal detail, and physical scale with the coat disabled.
- Enable the renderer’s coat model. Avoid duplicate geometry and avoid replacing the base response with generic gloss.
- Set coat coverage. Use full coverage for intact finishes and a linear mask only where wear, chips, or material boundaries require it.
- Match coat roughness. Tune one broad neutral reflection before adding scratches or orange peel.
- Separate normals when justified. Give the outer film low-amplitude detail while the substrate retains grain, weave, flakes, or pores.
- Check energy and color. The coat highlight is usually neutral; the base response remains visible without becoming brighter than the lighting permits.
- Validate and profile. Test several shapes, camera angles, reflection sizes, quality tiers, and target devices.
The best clear coat material workflow 2026 saves reference lighting, layer meanings, map color spaces, coat defaults, and fallback behavior beside the asset. A preset called “shiny 3” is documentation only in the archaeological sense.
Match the coat to the substrate
A car paint clear coat material may combine metallic flake, a broad colored base response, and a smoother outer lobe with slight orange peel. The flake belongs below the coat; scaling it like surface dust destroys the depth cue. Scratches may affect only the clear film until they become deep enough to reach pigment or primer.
For varnished wood clear coat PBR, keep wood non-metallic. Grain influences base color, base roughness, and subtle normals; varnish adds a dielectric reflection above it. Avoid driving the outer normal with the full wood pore map unless the film is thin enough to conform closely. A filled, polished finish can smooth pores while preserving the grain beneath.
Coated carbon fiber benefits from separate normals: weave below, mild orange peel above. Glossy plastic may need a coat only when a distinct lacquer or sprayed film is visible; many molded plastics are already represented by one dielectric lobe. Clear coat is a layer description, not a reward for materials that have been especially shiny.
Clear coat in Unity, Unreal Engine, and Blender
For clear coat Unity, URP’s Complex Lit shader exposes a Clear Coat feature with Mask and Smoothness; Unity documents a fixed coat IOR of 1.5 and roughly twice the base-material lighting cost because both layers are evaluated. HDRP Lit provides a Coat Mask for a simpler car-paint or plastic effect, while HDRP StackLit adds coat smoothness, IOR, and coat-normal controls for deeper authoring. See Unity’s URP Complex Lit and HDRP Lit master stack documentation.
For clear coat Unreal Engine, select the Clear Coat shading model and drive Clear Coat plus Clear Coat Roughness. Epic supports metal and non-metal bases. For car paint or carbon fiber with different surface directions, enable the second-normal option in Project Settings and feed the lower layer through the Clear Coat Bottom Normal output. Epic’s Shading Models documentation describes the layer and dual-normal path.
For clear coat Blender, the Principled BSDF Coat section exposes Weight, Roughness, IOR, Tint, and Normal. Weight is normally zero or one for intact physical layers, with a texture used where coverage varies. Keep the base inputs independent and connect a dedicated coat normal only when the film needs different detail. Blender’s Principled BSDF manual documents the controls.
Diagnose clear coat materials by the highlight
| Symptom | Likely cause | First useful test |
|---|---|---|
| Surface looks wet | Coat too smooth or uniformly strong | Raise coat roughness under a large strip light |
| Base detail disappears | Coat energy or normal amplitude is excessive | Disable coat, then restore it at uniform values |
| Only one highlight is visible | Base and coat roughness are too similar | Temporarily separate their roughness values |
| Finish sparkles at distance | Micro-normal or scratches exceed the pixel scale | Inspect mipmaps and reduce high-frequency amplitude |
| Wood or paint looks metallic | Base metalness was raised to create shine | Restore physical metalness and let the coat reflect |
| Scratches darken the pigment | One mask drives unrelated layer properties | Separate coat damage from base-color damage |
| Grazing angles blow out | Manual specular addition breaks energy conservation | Use the native layered model and neutral exposure |
| Mobile result loses the coat | Shader variant or pipeline fallback differs | Inspect the built material on target hardware |
Validate clear coat materials before shipping
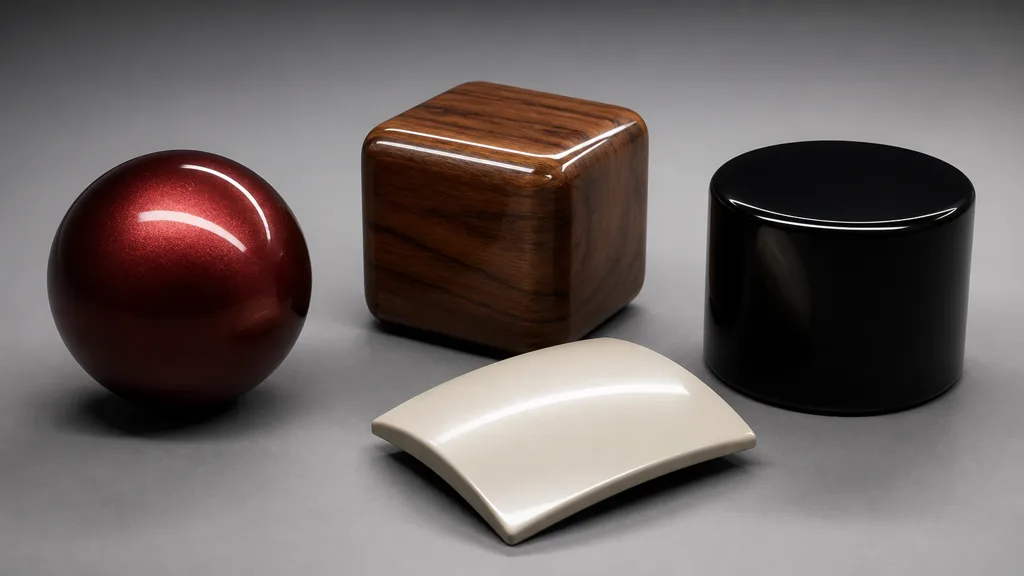
Apply clear coat materials to a sphere, rounded block, cylinder, and shallow curved panel. Use a large strip source to reveal highlight width, a smaller source to test sharp reflections, and an HDR environment with recognizable shapes. Rotate the objects so the coat crosses face-on and grazing angles.
Compare clean, mildly worn, and damaged variants at the same exposure. View coat mask, coat roughness, coat normal, base roughness, and base normal separately. Check mipmaps, compression, temporal stability, reflection fallbacks, and the distance where microdetail should disappear rather than shimmer.
Finally, profile the material in the scene that will ship. Count extra texture samples and shader variants, then compare GPU cost with the coat disabled. The second reflection is valuable when the camera can read the second layer. On a background bolt occupying four pixels, it is mostly an administrative expense.
FAQ
What is clear coat in a PBR material?
Clear coat is a thin dielectric layer rendered above a base material. It adds a second specular reflection with its own coverage, roughness, and sometimes normal or IOR controls while the base layer keeps its color, metalness, and roughness response.
Is clear coat the same as making a material glossy?
No. Lowering base roughness makes the original reflection sharper; clear coat adds another reflection above it and attenuates light reaching the base. The distinction matters for metallic paint, varnished wood, coated carbon fiber, and worn finishes.
What roughness should clear coat use?
A clean polished coating often starts at low roughness, but there is no universal value. Match the highlight width to reference, then add restrained orange peel, polish haze, or micro-scratches at the physical scale of the outer film.
Do clear coat materials need a separate normal map?
Only when the outer film and the substrate have meaningfully different surface directions. A coat normal can describe orange peel or sanding waves while the base normal preserves carbon weave, metallic flake orientation, pores, or grain below it.
Can clear coat be used on non-metal materials?
Yes. Lacquered wood, coated plastic, resin-sealed concrete, glazed paint, and varnished composites are dielectric bases with a dielectric top layer. Keep the base metalness physically correct instead of turning it metallic merely because the finish reflects strongly.
Why does my clear coat material look wet?
The coat may be too smooth, too strong everywhere, or paired with a base layer that is also unnaturally polished. Broaden the coat highlight, restore substrate roughness, reduce perfect coverage in worn areas, and inspect the material under large neutral reflections.
Is clear coat expensive in real-time rendering?
It adds another lighting lobe and may require extra texture samples, normals, or reflection work. Cost depends on the engine and renderer; profile the shipped shader and keep a simpler fallback for distant or low-priority assets when needed.
Try CraftPBR
CraftPBR creates the coordinated substrate maps that sit beneath your clear coat materials, while the renderer owns the top optical layer:
- Text-to-PBR generates a complete material set from a description of substrate, pigment, grain, flakes, finish, wear, and scale.
- Photo-to-PBR converts a controlled reference into aligned base color, normal, roughness, height, AO, and metalness maps.
- Node workspace keeps base variation, masks, levels, tiling, and coat-region logic editable.
- Engine export prepares normal orientation, linear masks, channel packing, filenames, and target-specific conventions.
- Free tier lets you generate and test a full substrate before spending time on renderer-specific coat tuning.
- CC0 output lets you modify, render, and ship generated textures without attribution.
Give the finish its own reflection. It has been borrowing the base layer’s for long enough.