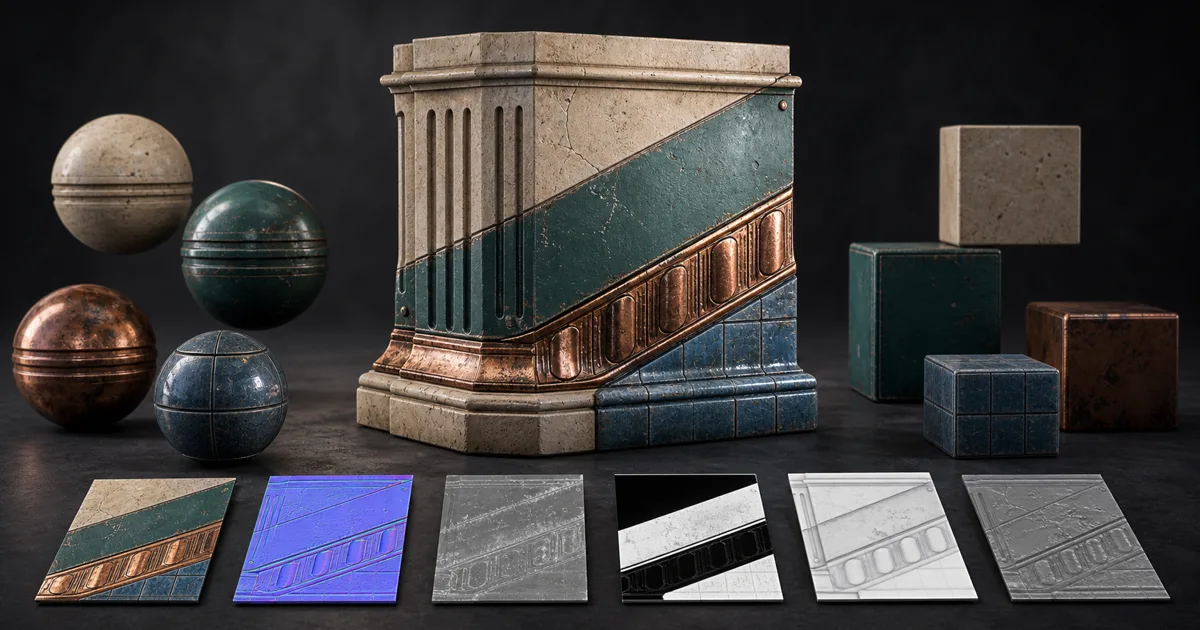
A folder called wall_final is not a material. It is a collection of images plus several unstated decisions: which file contains colour, whether the grey image means roughness or glossiness, which normal convention it uses, how large the surface should appear, and which renderer gets the last word. 3ds Max textures work when those decisions become an explicit material contract.
This guide builds that contract for 3ds Max textures and metallic-roughness 3ds Max PBR materials. It covers map roles, the Slate Material Editor, current colour management, Physical Material and Arnold handoffs, viewport checks, and export. The goal is not merely to make a sample sphere attractive. The goal is to make the same surface survive a production camera, a final render, and the next application in the pipeline.
Choose the contract before loading 3ds Max textures
Start with the target renderer and delivery format. Autodesk’s Physical Material documentation describes a modern layered material with base colour, roughness, metalness, transparency, emission, and coat controls. It is a sensible general starting point when the renderer supports it. Arnold work can instead use Standard Surface when you need Arnold-specific shading features.
Do not change material models halfway through look development merely because another rollout has a familiar name. Similar inputs can use different defaults, map strengths, bump wrappers, or colour handling. Pick one 3ds Max material workflow, make a small renderer test, and record the destination for those 3ds Max textures beside the asset.
| Texture role | Material meaning | Input treatment |
|---|---|---|
| Base colour | Lighting-neutral surface colour or metallic reflection colour | Colour data; normally transformed from its tagged input space |
| Roughness | Width and clarity of reflection | Linear data; white is rougher in a roughness workflow |
| Metalness | Dielectric versus exposed conductor | Linear data; usually values near zero or one |
| Normal | Fine changes to shading direction | Linear tangent-space data through an appropriate normal node |
| AO | Restrained local occlusion | Linear data; do not mistake it for general lighting |
| Height | Relative surface relief | Linear data; needs scale and enough geometry for displacement |
Wire one coherent family of 3ds Max textures
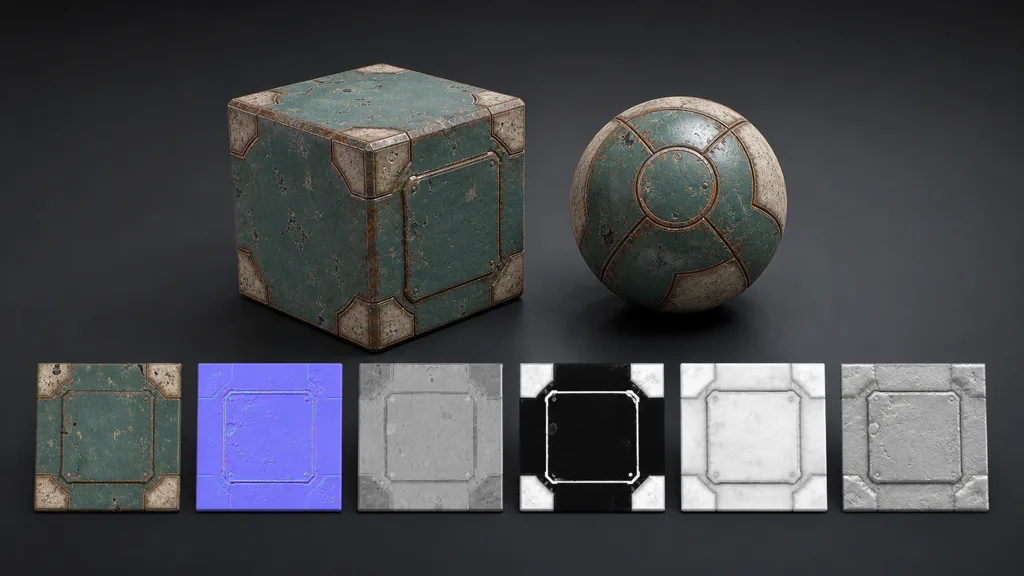
Open the Slate Material Editor and place the chosen material at the center of a small readable graph. Load the 3ds Max textures around it, name every bitmap by role, and connect one map at a time. Treat the 3ds Max texture maps as one registered family: keep the crop, UV channel, tiling, rotation, and physical scale identical across the set. A normal map shifted by one tile is still a valid image; it is simply evidence from a different wall.
For these 3ds Max textures, connect base colour to the material’s base or albedo input. Connect the 3ds Max roughness map to reflection roughness and leave any scalar multiplier high enough for the map to have its intended range. Connect the 3ds Max metalness map to metalness. Painted metal normally reads as dielectric paint except where damage exposes the conductor; assigning medium grey everywhere creates a material that is physically undecided and visually fond of mud.
Route tangent-space normals through the normal-map utility expected by the renderer, then connect that result to the material’s normal or bump path. Keep the 3ds Max textures aligned when AO or height joins the graph. AO can be multiplied gently into base colour for a delivery format that has no AO input, but keep an unbaked source and avoid heavy contact shadows. Height belongs in bump or displacement according to the required silhouette and geometry budget. For map definitions, the PBR workflow guide covers the complete metallic-roughness set.
How to add textures in 3ds Max step by step
A repeatable answer to how to add textures in 3ds Max—and how to keep those 3ds Max textures coherent—is more useful than memorizing which socket happened to be visible in one workspace:
- Choose the renderer. Confirm the production renderer and the material types it supports before authoring.
- Set colour management. Configure the scene before lighting, then classify each file as colour or data.
- Create the material. Use Physical Material, Arnold Standard Surface, or the approved renderer-native equivalent.
- Load and name maps. Add the coordinated PBR files and label each node by material and role.
- Connect matching inputs. Wire base colour, roughness, metalness, normal, AO, and optional height deliberately.
- Verify UV scale. Apply the material to a known-size object and make sure every map shares coordinates.
- Test and export. Compare viewport and final renderer, then bake or package only the destination maps.
Save a small material test scene with neutral lights, a sphere, bevelled cube, cylinder, and plane. Reusing that scene removes camera and lighting variables when a new set of 3ds Max textures behaves oddly. It also prevents every asset review from becoming an impromptu lighting workshop.
Set 3ds Max texture color management before lighting
For 3ds Max textures, modern 3ds Max texture color management can use OpenColorIO-based modes, while older projects may still use the Gamma Workflow. Autodesk recommends configuring colour management at the beginning of a project because changing it later can alter texture, light, and swatch interpretation.
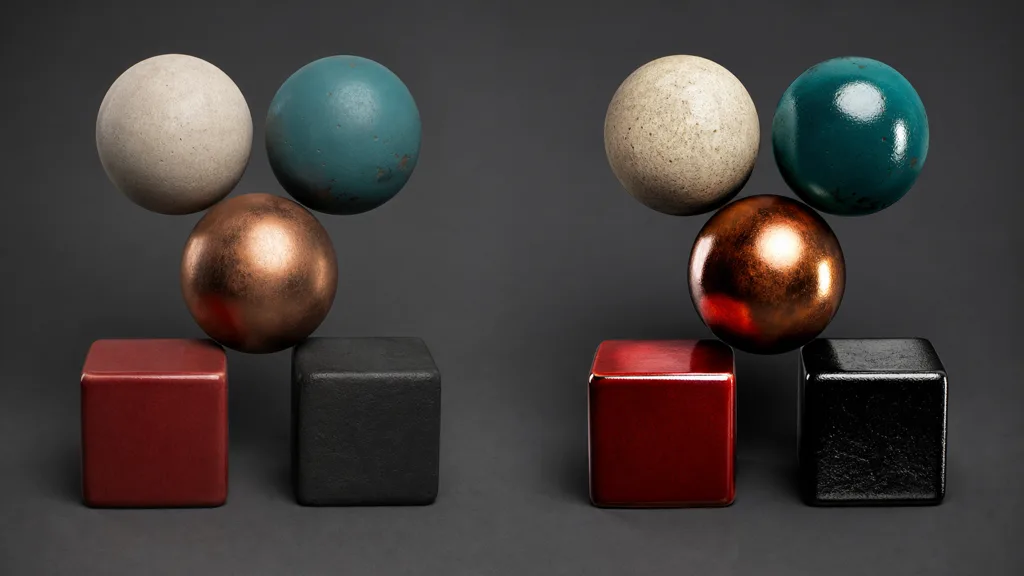
Classify 3ds Max textures by meaning. Base colour and emissive images usually contain display-referred colour and need the appropriate input transform. Roughness, metalness, normal, AO, masks, and height encode measurements or vectors. They must remain data. Applying a display-like curve to roughness compresses its values; applying one to a normal map bends the vectors before the shader sees them.
Use automatic detection as a convenience, not as evidence. Every set of 3ds Max textures still needs ambiguous files inspected and their input colour spaces overridden when necessary. Names such as wall_r and wall_n are charmingly concise until an ingest rule has to decide what they mean. Clear suffixes, a map manifest, and a tiny neutral render cost less than relighting a scene around broken data.
Fix normal, roughness, and metalness errors at the source
When 3ds Max textures include tangent normals, first confirm in the 3ds Max normal map setup that the bitmap is non-colour data and the node knows it is tangent-space normal information. If grooves become ridges, the usual disagreement is the green-channel orientation. Flip the Y convention in the normal node or export the correct variant. Do not invert RGB; the red and blue components did not volunteer for the correction.
Among 3ds Max textures, roughness and legacy glossiness are easy to confuse. If the surface is too glossy, verify which one the file contains. Roughness increases from smooth black toward rough white; glossiness expresses the inverse. Physical Material includes an inversion option for reuse of gloss maps, but leave it disabled for a real roughness texture. Then check the scalar value multiplied with the map and the map’s colour-space role.
Metalness should follow material identity. Stone, wood, paint, rust, dust, and ceramic are dielectrics. Clean copper, steel, aluminium, and other exposed metals are conductors. Edge wear may reveal metal beneath paint, but blurred grey noise across the whole asset is not nuance; it is a committee meeting between two shading models.
Check UV scale, viewport display, and displacement separately
3ds Max textures inherit coordinates from the mesh, map node, or modifier stack. Confirm which UV channel every bitmap uses, then test the material on an object with known dimensions. A one-metre stone block should not display pebble pores the size of dinner plates unless the brief is unexpectedly geological.
With 3ds Max textures, the viewport is an iteration tool, not a renderer guarantee. Enable the maps needed for useful feedback, use a neutral environment, and compare with a small production-render sample early. Renderer-specific bump, coat, transmission, displacement, and colour transforms may not match the viewport exactly. If the viewport and final render disagree, simplify to base colour and roughness, then add one feature at a time.
Normal maps change lighting without moving the silhouette. Displacement moves vertices and therefore needs adequate subdivision, real scene scale, and restrained height. A two-triangle plane cannot become a detailed masonry wall by receiving a heroic displacement amount. It can become a bent rectangle with confidence.
Keep Physical Material and Arnold textures predictable
3ds Max Physical Material textures map naturally to the metallic-roughness language: base colour, roughness, metalness, normal or bump, plus optional coat, emission, and displacement paths. These 3ds Max textures stay predictable when Physical Material is part of the approved renderer pipeline and portability inside the scene matters.
When 3ds Max textures feed Arnold, Standard Surface exposes Arnold’s base, specular, transmission, subsurface, coat, sheen, thin-film, and emission lobes. For Arnold textures in 3ds Max, a basic game-style material needs only a subset. Resist enabling extra lobes because they exist; clearcoat describes a separate coating layer, not a more enthusiastic roughness knob.
Build and approve the material under one renderer before conversion. If another renderer must receive it, treat that as a documented translation: identify supported lobes, rebake procedural dependencies when required, preserve the original maps, and compare reference renders. Renderer conversion is not a clerical save operation. It is a shading handoff.
Validate 3ds Max textures and export the PBR set
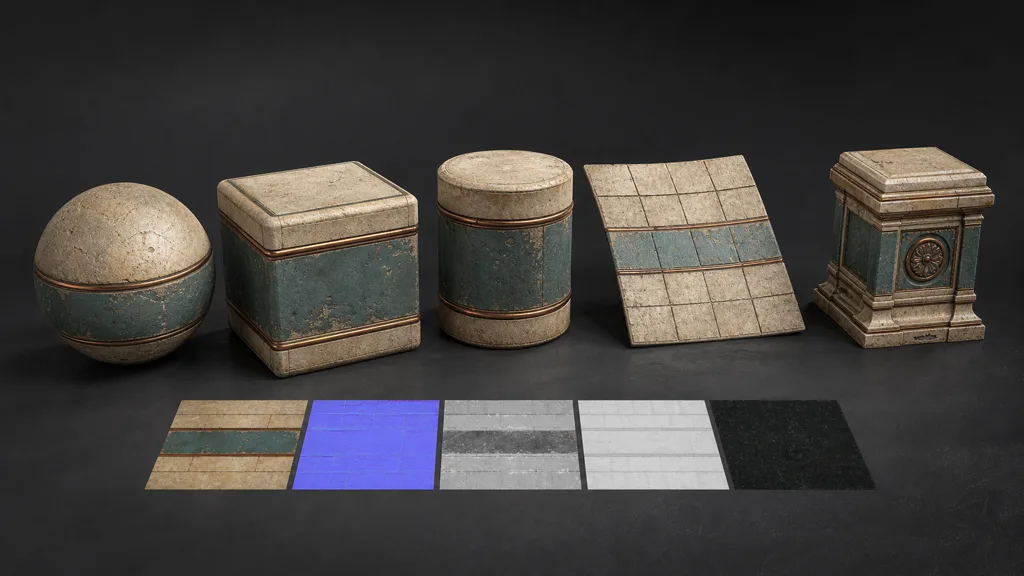
The best 3ds Max texture workflow 2026 can offer still ends with ordinary tests. Render a sphere for reflection spread, a bevelled cube for edges, a cylinder for tangent continuity, a plane for tiling, and a production-like prop for scale. Use neutral and grazing light. Rotate the light or environment; baked highlights stay fixed, real reflections move.
- Inspect seams and memorable repetition on a large tiled plane.
- Confirm base colour has no baked direct light or heavy AO.
- Check roughness under a moving highlight and metalness at painted boundaries.
- Verify normal orientation on curved and flat surfaces.
- Compare viewport and final renderer at the same exposure.
- Check bitmap resolution against camera distance and memory needs.
- Archive the editable material graph and one approved reference render.
To export PBR textures from 3ds Max, bake only the outputs required by the destination and keep one shared UV layout, dimension, and crop. Preserve the original 3ds Max textures, then name exports by asset and role. Record whether normals are OpenGL- or DirectX-style, which images contain colour, and the order of any packed channels. Test the files in the destination before declaring the handoff complete. The texture resolution guide helps choose output size; the texture baking guide covers cages, ray distance, and projection failures.
FAQ
How do I add PBR textures in 3ds Max?
Create a Physical Material or renderer-native PBR material, then connect base colour, roughness, metalness, and normal maps to their matching inputs. Keep base colour as colour data, treat roughness, metalness, normal, AO, and height as data, and test the material under neutral lighting before styling the scene.
Which 3ds Max material should I use for PBR textures?
Physical Material is a practical renderer-aware starting point for a metallic-roughness set. If the production render uses Arnold-specific features, Standard Surface gives direct access to Arnold shading controls; use one material model deliberately instead of translating the same asset back and forth during look development.
Why do textures look wrong in 3ds Max?
The common causes are incorrect input colour spaces, roughness treated as glossiness, the wrong normal-map orientation, inconsistent UV channels, or a viewport that is not showing the final renderer faithfully. Isolate the maps one at a time and compare a neutral viewport preview with a small final render.
Does 3ds Max use roughness or glossiness maps?
Modern Physical Material and Arnold Standard Surface workflows use roughness, where brighter values produce broader, blurrier reflections. Older materials may expect glossiness, which has the opposite meaning, so invert only when the destination input explicitly expects glossiness.
How do I set up a normal map in 3ds Max?
Load the tangent-space normal texture as non-colour data, route it through the normal-map node required by the chosen material or renderer, and connect that node to the bump or normal input. If dents appear raised, change the green-channel convention in the normal node or source export rather than inverting the whole image.
Should 3ds Max texture maps use sRGB?
Base colour and emissive images commonly need a colour-space transform such as sRGB, while roughness, metalness, normal, AO, masks, and height should remain data. Configure colour management at the start of the scene and verify each bitmap input instead of relying only on its filename.
How do I export PBR textures from 3ds Max?
Keep the editable source material, then bake only the maps required by the destination using a shared UV layout, resolution, and naming scheme. Record normal orientation, colour-space roles, and any packed-channel order, then validate the exported set in the target engine or DCC.
Try CraftPBR
CraftPBR creates the coherent source set behind dependable 3ds Max textures:
- Text-to-PBR generates coordinated material maps from a physical surface description.
- Photo-to-PBR converts a controlled surface photo into aligned base colour, normal, roughness, height, AO, and metalness.
- Node workspace keeps masks, tiling, levels, layers, and variations editable after generation.
- Engine export prepares clear map roles, normal orientation, colour/data handling, and packed channels for common targets.
- Free tier lets you build and test a complete material before it joins a production scene.
- CC0 output lets you use, modify, render, and ship generated materials without attribution.
Make the map roles explicit. The renderer has enough work already.