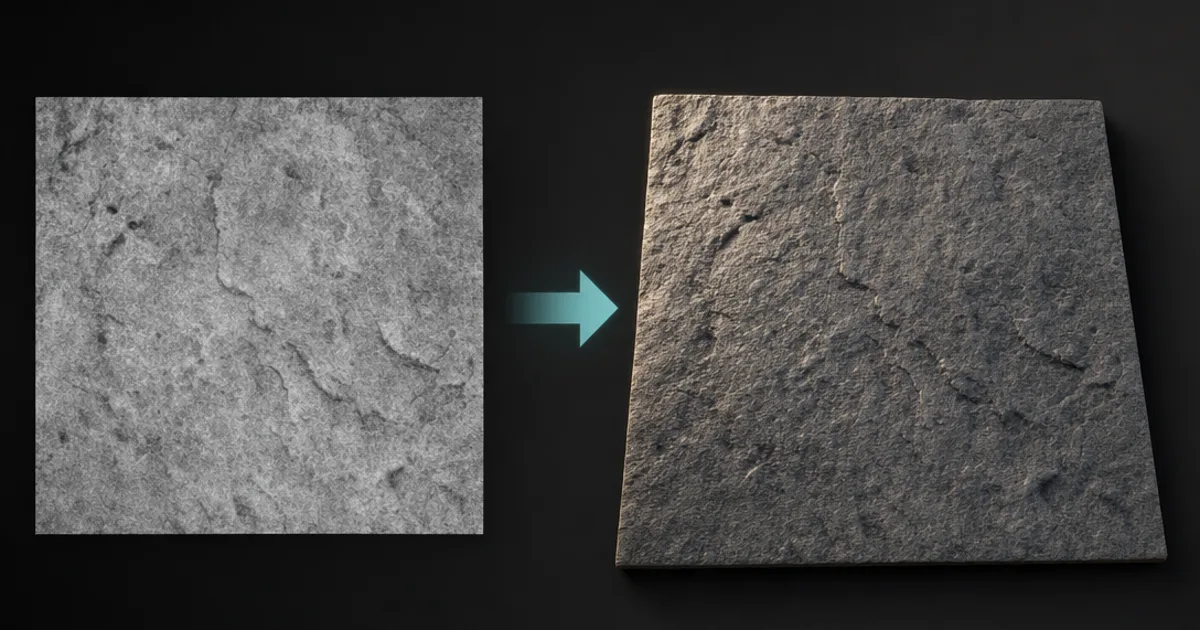
Bump mapping is older than most of the engines that use it — Jim Blinn described it in 1978, and it still ships in materials today. The idea has aged well because it is almost absurdly cheap: a single grayscale image that tells the renderer how to light a surface as if it had detail, without adding a single polygon. This is what a bump map is, how bump mapping actually works, and — the part people skip — when it is still the right tool and when it quietly lets you down.
What a bump map stores
A bump map is one channel of grayscale. Brightness means height: white is raised, black is recessed, mid-grey is the resting surface. That is the whole file. It carries no colour and no direction — just an elevation value at every pixel, which is why a bump map is so small and so easy to paint or tweak by hand.
How bump mapping fakes depth
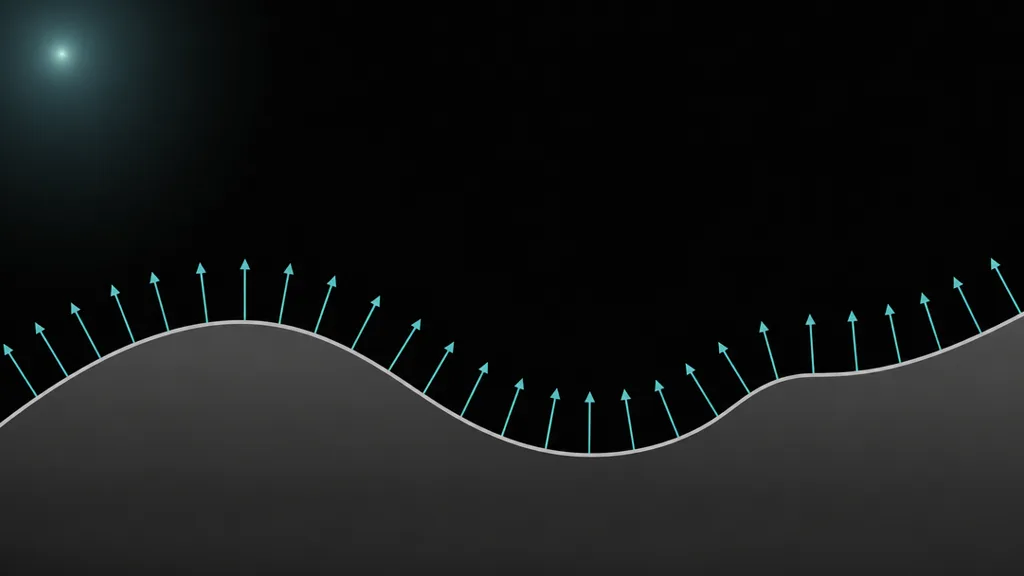
Here is the trick. The renderer does not read the grayscale value on its own — it reads how fast that value changes between neighbouring pixels. A sharp jump from dark to light is a steep slope; a gentle gradient is a gentle one. From that slope it tilts the surface normal, the direction the surface is treated as facing, before it runs the lighting. Tilt the normal and the light responds as though the surface rose or fell, even though every vertex stayed exactly where it was. A normal map skips the slope calculation by storing that tilted direction directly; a bump map makes the renderer do the maths from height.
Where bump maps fall short
Because a bump map only bends light, it never touches the outline of the object. Look along a bump-mapped surface at a grazing angle and the illusion breaks: the edge stays perfectly flat while the interior pretends to have depth. There is no self-shadowing between bumps and no occlusion — a deep crevice lights the same as a shallow scratch. Push the strength too far to compensate and the surface goes faceted and plastic. Those limits are exactly why normal and height maps exist, and why bump mapping stopped being the default for close-up hero surfaces.
Bump, normal, or height — a quick placement
The three fake detail in ascending order of cost and fidelity: a bump map perturbs lighting from grayscale; a normal map perturbs lighting from stored directions and holds up far better at glancing angles; a displacement map actually moves geometry so the silhouette and self-shadowing become real. If you want the head-to-head rather than a placement, the normal map vs bump map comparison lays it out side by side.
When a bump map is still the right call
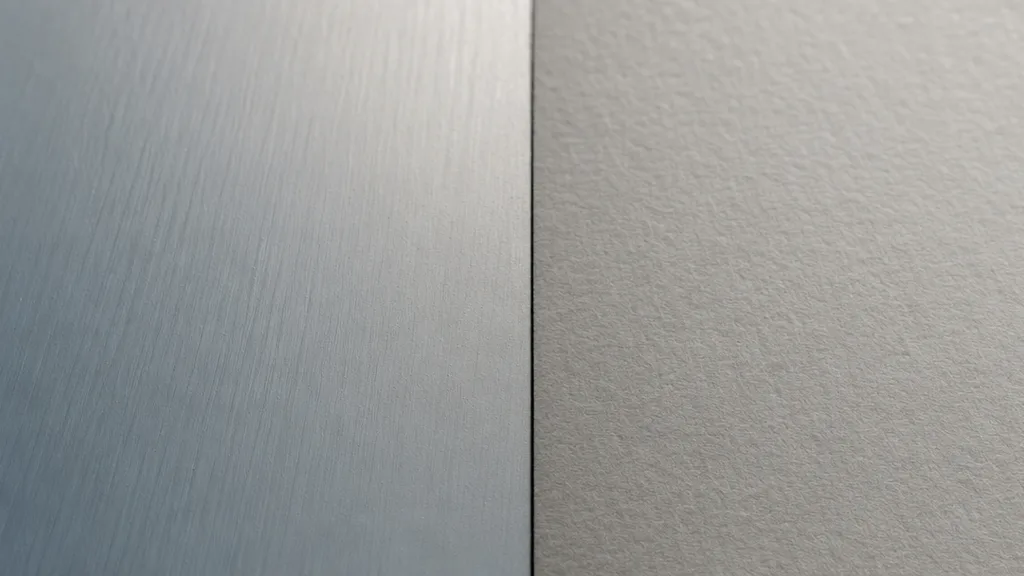
Despite all that, the grayscale bump has stubborn advantages. It is trivial to generate procedurally — any noise function is already a bump map. It is tiny, which matters on mobile and for streaming. It is the easiest map to author or nudge by hand, because you are just painting light and dark. And it is the natural input for making other maps: a height field is a bump map, and both a normal and a displacement map can be derived from it. For shallow, subtle detail — paper grain, cloth weave, fine scratches, orange-peel paint — a bump map is often all a surface needs.
Making a bump map from any image
A bump map is just a tuned grayscale, so you can pull one from a photo in seconds: convert to luminance, then push the contrast so raised and recessed areas separate. The free height & bump map generator does this in your browser — the height map it produces is your bump map. From there you can feed it into the normal map generator if you decide the surface wants a normal instead.
Wiring a bump map into an engine
- Blender — add a Bump node between the grayscale image and the Principled BSDF, set the image to Non-Color, and use Strength (and Distance) to control the effect.
- Unreal — Unreal has no dedicated bump input; convert the height to a normal (or use BumpOffset for a parallax feel) and plug into the Normal pin. Real bump-style detail lives in the normal map.
- Unity — the “Normal Map” slot is really a bump slot; assign a normal derived from your height, since Unity works in tangent-space normals rather than raw grayscale.
The through-line: most modern engines want the bump converted to a normal at import, so the grayscale is best thought of as the source the pipeline derives from.
Try CraftPBR
- Text-to-PBR — a prompt gives you height, normal, roughness, AO and metalness at once
- Photo-to-PBR — turn a reference photo into a full material
- Free tools — height/bump, normal, seam editor
- Engine export — Unity, Unreal, Blender, Godot, Three.js
- CC0 license — yours to ship