You know that feeling when your Roblox game has solid gameplay but every wall still looks like the default plastic material? A custom Roblox texture is what closes that gap. Upload the right maps, wire up a SurfaceAppearance, and the same blocky part starts reading as weathered stone, brushed steel, or mossy brick — without touching the geometry.
The confusing part is that Roblox has three different ways to put an image on a surface, and only one of them does real PBR. This guide sorts out which is which, then walks the actual workflow for custom textures that react to light like they should.
Decal vs Texture vs SurfaceAppearance
Roblox gives you three texture objects and they are not interchangeable:
- Decal — a single image slapped onto one face, stretched to fit. Good for posters, signs, stickers. No tiling, no depth.
- Texture — like a Decal but it tiles, with StudsPerTile control. Good for simple repeating flat surfaces. Still no lighting response beyond the base image.
- SurfaceAppearance — the real one. A full PBR material on a MeshPart with color, normal, roughness, and metalness maps. This is what makes a surface look physically there.
If you want your Roblox textures to catch light, show grain, and look modern, you want SurfaceAppearance. The other two are for flat art.
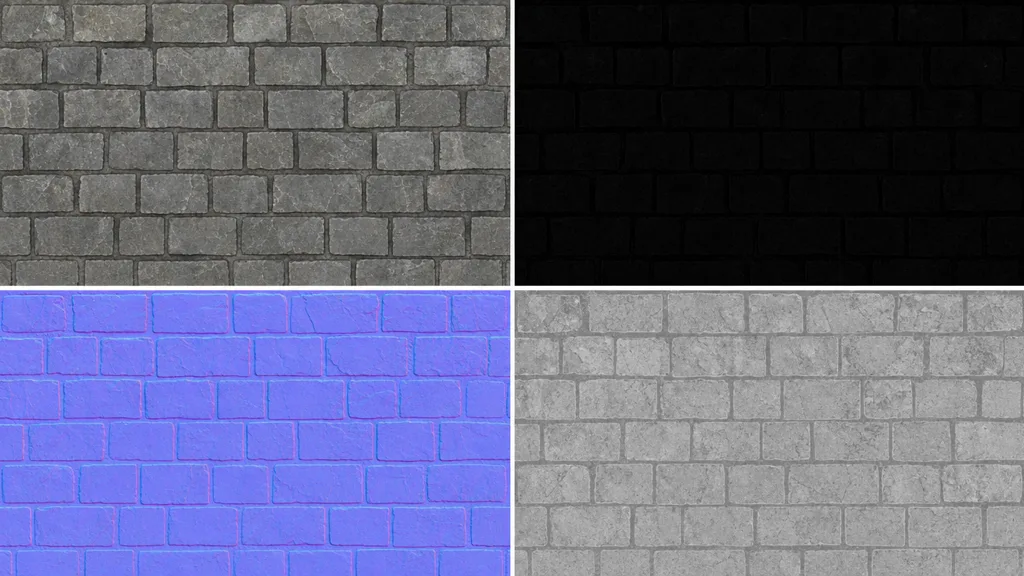
The four maps SurfaceAppearance uses
SurfaceAppearance takes exactly four texture maps, and skipping the last two is why most custom Roblox surfaces still look flat:
- ColorMap — the base colour and pattern, lighting removed. The one map everyone remembers to add.
- NormalMap — fakes surface relief — brick mortar, panel lines, grain — without geometry. This is what catches raking light. (New to these? See what a normal map is.)
- RoughnessMap — controls where the surface is glossy versus matte. A flat roughness value is the number-one reason a texture looks like printed plastic.
- MetalnessMap — marks which parts are bare metal. Mostly black for non-metals; white only for actual metal.
Get all four and Roblox lighting does the rest — the surface reflects, shades, and shows depth on its own.
How to add a custom texture in Roblox
The actual click-path in Roblox Studio:
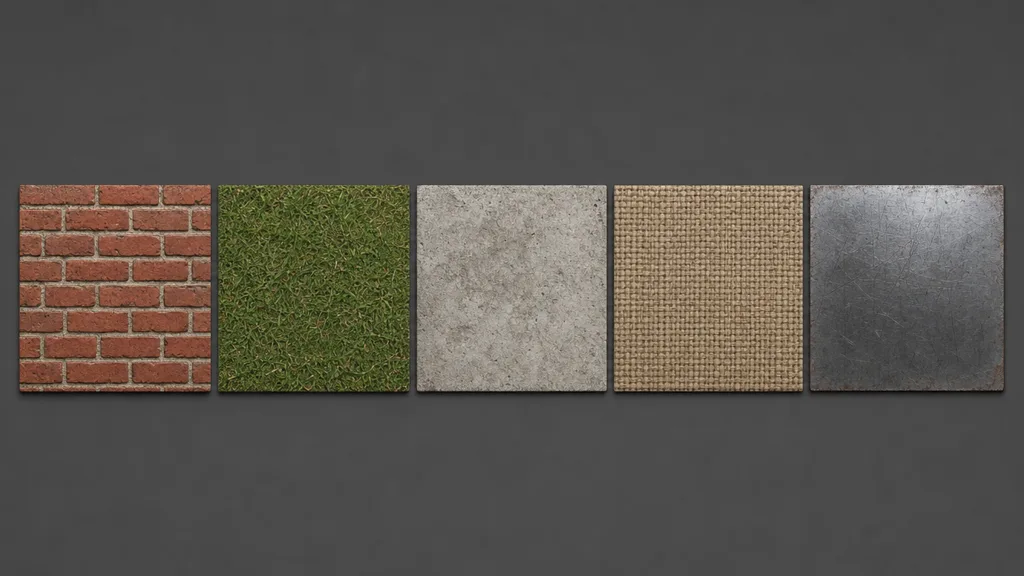
- Get a PBR set. Four tileable maps at 1024×1024 — generate them or pull a CC0 set.
- Import the maps. Open the Asset Manager, bulk-import the four images, and wait for moderation to clear them (usually quick).
- Add SurfaceAppearance. Select your MeshPart, insert a SurfaceAppearance child, and paste each asset ID into ColorMap, NormalMap, RoughnessMap, and MetalnessMap.
- Set the AlphaMode. Leave it on Overlay for solid surfaces; use Transparency only if your color map has a real alpha channel.
One gotcha: SurfaceAppearance only works on MeshParts, not regular Parts. If your asset is a plain block, convert it or build it as a mesh first.
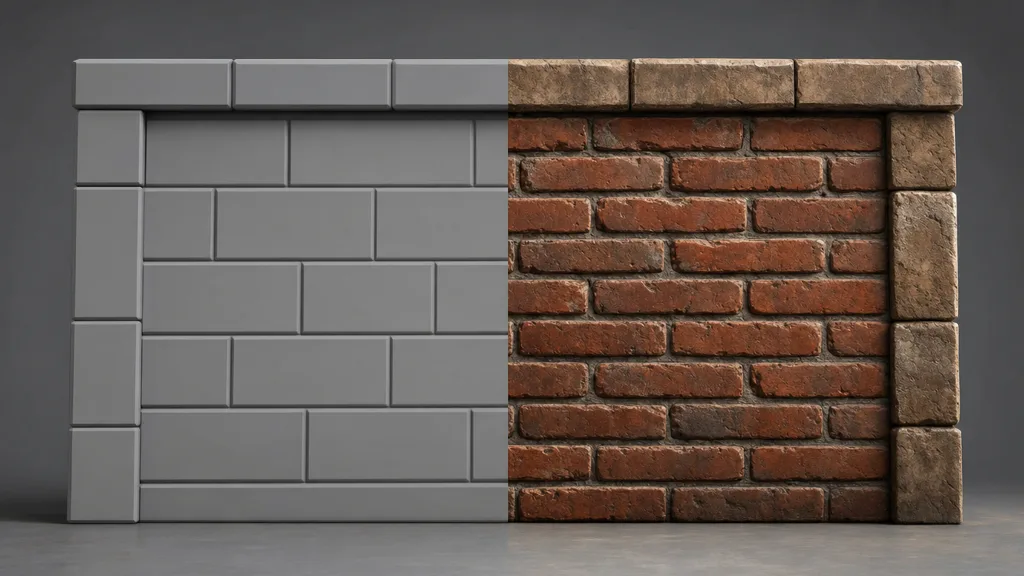
Authoring textures that actually tile
Roblox caps maps at 1024, so a single texture can’t cover a large wall at full detail unless it tiles. A seamless, tileable texture repeats with no visible seam, so one 1024 map wraps an entire surface and still looks crisp. If your custom texture looks blurry in-game, it’s almost always a non-tiling map stretched too far — not a resolution problem.
Generate Roblox textures from a prompt
Hunting CC0 packs for the exact surface you pictured is slow, and you usually settle. The faster path: describe the surface in plain English and let AI build the full PBR set. CraftPBR turns “cracked volcanic rock with glowing veins” into a tileable color, normal, roughness, and metalness set you can upload straight into SurfaceAppearance — the same text-to-texture workflow game studios use, pointed at your Roblox game.
Common Roblox texture mistakes
- Color map only. No normal or roughness means no depth and no light response — the surface looks painted on.
- Non-tiling maps on big surfaces. A 1024 map stretched across a wall reads as blurry. Use seamless textures.
- SurfaceAppearance on a Part. It only works on MeshParts. Convert first.
- Wrong AlphaMode. Transparency mode with no real alpha channel makes solid surfaces flicker or vanish.
- Cranking everything to max res. Roblox downscales past 1024 anyway — author at 1024 and tile.
Key takeaways
- Decal and Texture are flat art; SurfaceAppearance is real PBR — use it for surfaces that catch light
- SurfaceAppearance needs all four maps: color, normal, roughness, metalness
- Author maps at 1024×1024 and make them tile — Roblox downscales anything bigger
- Flat = missing normal/roughness; blurry = non-tiling map stretched too far
- SurfaceAppearance only works on MeshParts, not plain Parts
- AI lets you generate the exact tileable PBR set you need instead of hunting free packs