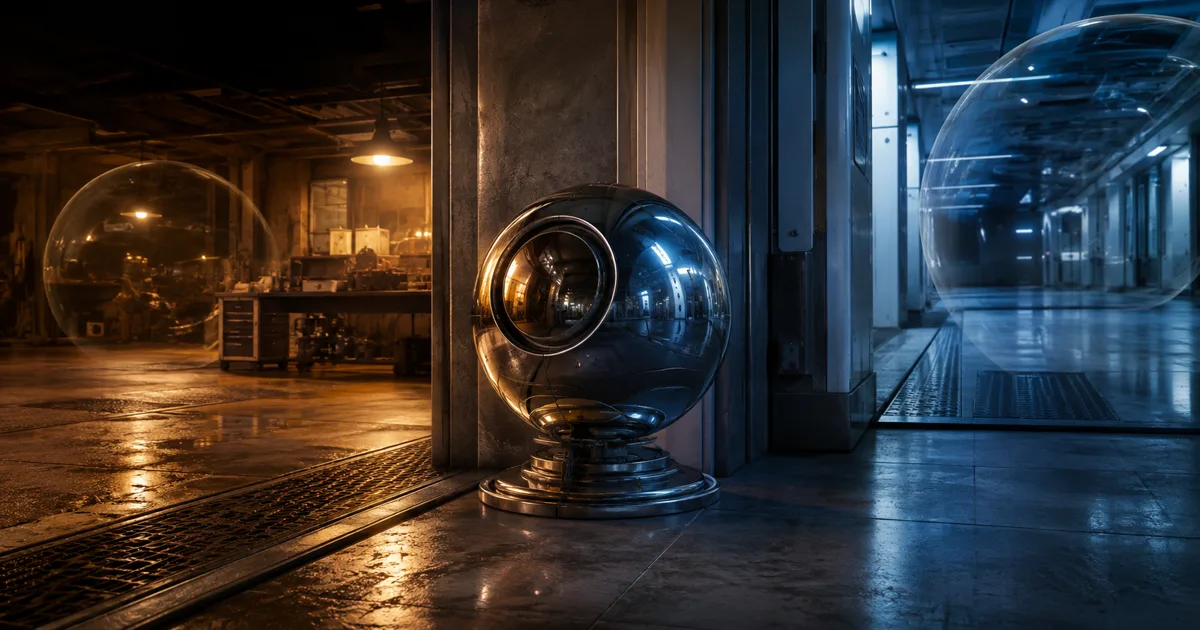
Reflection probes solve a practical lie in real-time rendering: a metal prop in a workshop should not reflect the same sky as a prop in the basement. One global environment map is cheap, coherent, and wrong the moment a wall separates two lighting conditions.
A probe captures a local view of the scene into a cubemap and feeds that view to reflective materials nearby. The result is approximate, but good placement, blending, and parallax correction can make it quietly convincing. Quietly is the goal. Nobody files a bug saying the corridor handrail reflected the corridor.
This guide builds a probe layout from the architecture outward, then tests how it cooperates with screen-space, planar, Lumen, and ray-traced reflections.
Reflection probes store local indirect specular
A reflection probe acts like a camera facing six directions from one point. Those six images form a cubemap. During shading, the renderer reflects the view vector around the surface normal, samples that direction from the cubemap, and chooses a blurrier mip for rougher materials.
These cubemap reflections represent indirect specular light: bright windows, colored walls, ceiling fixtures, and the broad environment that shapes metals and glossy dielectrics. They do not recreate a geometrically accurate mirror. Every object receives a view captured somewhere else, usually from a single point, then projected back onto a simple volume.
The approximation improves as roughness rises because blur hides positional error. A flat chrome wall will expose every mismatch. A curved brushed-metal pipe is far more forgiving. Use probes for the environmental layer and reserve planar or ray-based methods for surfaces whose reflection must line up precisely.
Reflection probe placement should follow lighting boundaries
Start with a floor plan, not a probe count. Mark rooms with different light color, exterior openings, corridor turns, caves, sheltered courtyards, and any threshold where the reflected environment changes. Each zone needs a capture that represents what a reflective object inside it should broadly see.
For good reflection probe placement, put the capture point in open representative space. A point ten centimeters from a red wall will fill much of the cubemap with red and tint every metal object in the volume. A point inside a lamp, foliage clump, or hero prop produces equally educational results. Adjust capture masks or move the origin when one nearby object dominates.
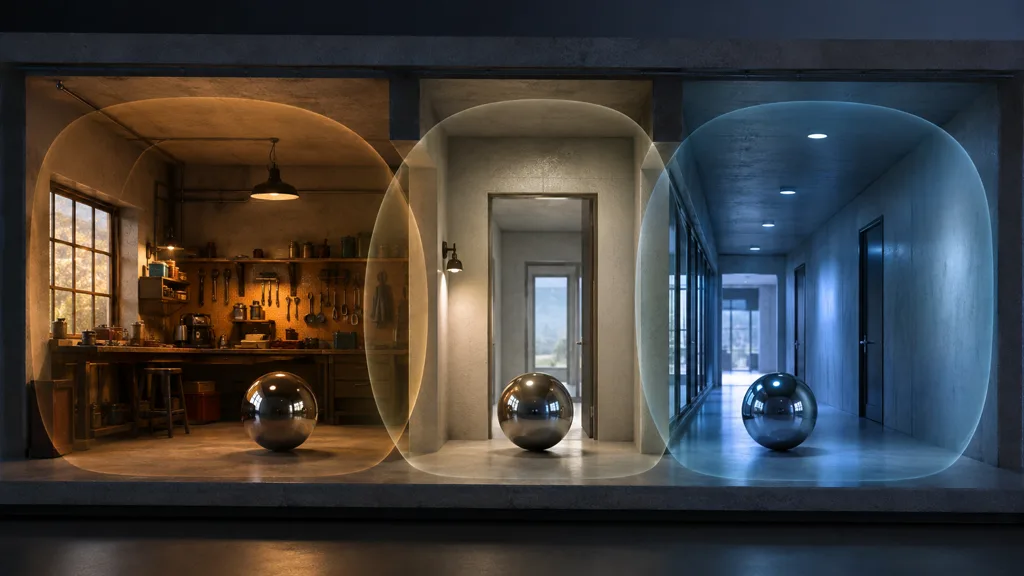
Fit influence bounds to architecture. Do not let an indoor probe cross an exterior wall because its axis-aligned box was easier to scale that way. Use several smaller zones for an angled corridor or irregular plan. The right count is the fewest probes that preserve the important lighting changes.
Reflection probe blending needs deliberate overlap
Hard selection causes popping: a polished object crosses an invisible boundary and its entire reflection changes in one frame. Reflection probe blending weights two nearby cubemaps across an overlap region so the environment changes gradually. The blend should occur where the real space also transitions, usually a doorway, arch, or open connection.
Too little overlap creates a snap. Too much overlap mixes rooms that should remain distinct, turning a blue storage bay and an amber workshop into permanent gray diplomacy. Start with one large low-priority probe for the general area, then use smaller local probes for rooms or strong features. Give the local volume enough fade distance for moving objects to cross without a visible handoff.
Test the renderer's selection unit. Some systems choose per object or from renderer bounds, so a long mesh can intersect several volumes before its visible end reaches the doorway. Split large architectural meshes or set an anchor override when the default bounds produce reflections from the wrong room.
Box projected reflections correct indoor parallax
A plain cubemap assumes the captured scene is infinitely far away. Rotate the view direction and the environment rotates correctly, but translate the reflective object across a room and the reflected wall appears to stay at infinity. Corners slide, windows bend, and floor reflections refuse to meet the floor.
Box projected reflections approximate the room as a box. The shader intersects the reflection ray with that box and uses the hit position to derive a corrected cubemap direction. This parallax corrected cubemap keeps large planar features more stable as the viewer and object move inside a rectangular space.
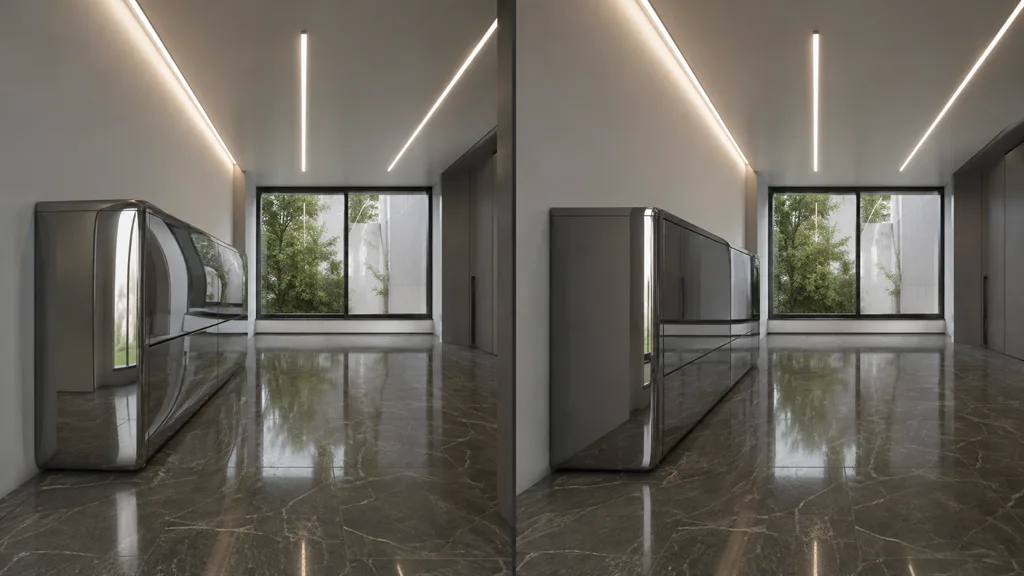
Match the parallax box to the visible room, not necessarily the influence fade. Keep the capture origin inside it. Box projection is still an approximation: furniture does not gain depth, curved rooms do not become boxes, and reflected objects do not move independently. It improves architectural alignment; it does not sneak ray tracing through customs.
Baked reflection probes are the default; realtime probes need a budget
Baked reflection probes capture static geometry and lighting in the editor, then ship the filtered cubemap. Their runtime cost is predictable: texture memory, sampling, and any probe blend. Rebuild them when static materials, lights, or visible architecture change.
Realtime reflection probes can include changing conditions, but a full update means rendering the scene from six directions and filtering the result. Resolution, shadows, layer masks, update frequency, and time slicing all matter. Updating several high-resolution probes every frame is less a feature than a second rendering schedule.
Prefer event-driven refreshes: a hangar door opens, the weather state changes, or a day-night phase crosses a useful threshold. Spread cubemap faces across frames when the engine supports it. Exclude costly or self-reflecting objects with capture masks, and keep a baked fallback for low tiers.
Reflection probes should fill gaps, not fight other reflection methods
Screen-space reflections are accurate for visible on-screen surfaces but fail off-screen and behind occluders. Planar reflections align well on one plane but require another scene view. Lumen or ray-traced reflections can follow dynamic geometry but cost more and still use fallbacks or limited bounce budgets. Probes cover the missing environment cheaply.
Layer the systems by confidence. Let the most accurate valid hit win, then fade to the local probe instead of to black or a distant sky. Match exposure, white balance, roughness response, and local brightness so the fallback does not announce itself. The image-based lighting guide explains how prefiltered environments and BRDF lookup data turn a cubemap into PBR light.
Watch for double contribution. A bright window present in both a screen-space hit and an unattenuated probe can make reflections jump during the blend. Engine defaults usually manage this hierarchy, but custom shaders need an explicit ownership rule.
Reflection probes in Unity, Unreal Engine, Godot, and Blender
For reflection probes Unity, use Baked for static scenes, Realtime only for visible change, or Custom for an authored cubemap. Unity 6's ReflectionProbeMode documentation lists those three modes, while ReflectionProbeUsage controls probe-to-probe and probe-to-sky blending. Fit box size and origin, enable box projection for suitable interiors, and use renderer anchors for large moving meshes.
For reflection captures Unreal Engine, Sphere Reflection Capture is the flexible general choice; Box Reflection Capture suits rectangular rooms where its projection shape matches the architecture. Epic's Reflection Captures documentation recommends smaller captures for local refinement and notes that smooth flat mirrors expose the approximation most clearly. Rebuild captures after static scene changes.
Godot's ReflectionProbe documentation exposes an influence box, origin offset, interior mode, box projection, update mode, cull mask, and mesh LOD threshold. Use Always updates sparingly; Once plus scripted refresh suits many changing-but-not-constant environments.
Blender EEVEE uses light probes when ray tracing cannot supply the needed incoming light. The current Light Probes manual separates sphere, plane, and volume probe types. Treat the DCC preview as a pipeline check, then reproduce the destination engine's influence, capture, and fallback rules.
Build a reflection probe workflow from zones to fallbacks
Use this sequence for the best reflection probe workflow 2026:
- Map lighting zones. Mark every room, threshold, and exterior region with a distinct reflected environment.
- Place capture points. Choose representative open positions away from walls and dominant nearby objects.
- Fit influence volumes. Keep probes inside their spaces and overlap only where a real transition occurs.
- Fit parallax volumes. Match box projection to enclosed architecture without confusing it with fade bounds.
- Choose update policy. Bake static captures; refresh dynamic ones only as often as visible change requires.
- Integrate the stack. Test probes beneath screen-space, planar, Lumen, or ray-traced reflections.
- Validate the build. Check transitions, memory, capture cost, roughness, exposure, and every quality tier.
Store probes with the level cells or scenes they describe. Give them readable names and an owner. A probe called ReflectionProbe (37) is a small administrative trap with a cubemap attached.
Diagnose reflection probe light leaking with moving test materials
Reflection probe light leaking appears when a volume crosses an occluding wall, a capture point sees the wrong space, or a large fallback probe overpowers a smaller local one. Use a chrome sphere first because it makes the source obvious, then repeat with rough metal, glossy black dielectric, and the real hero materials.
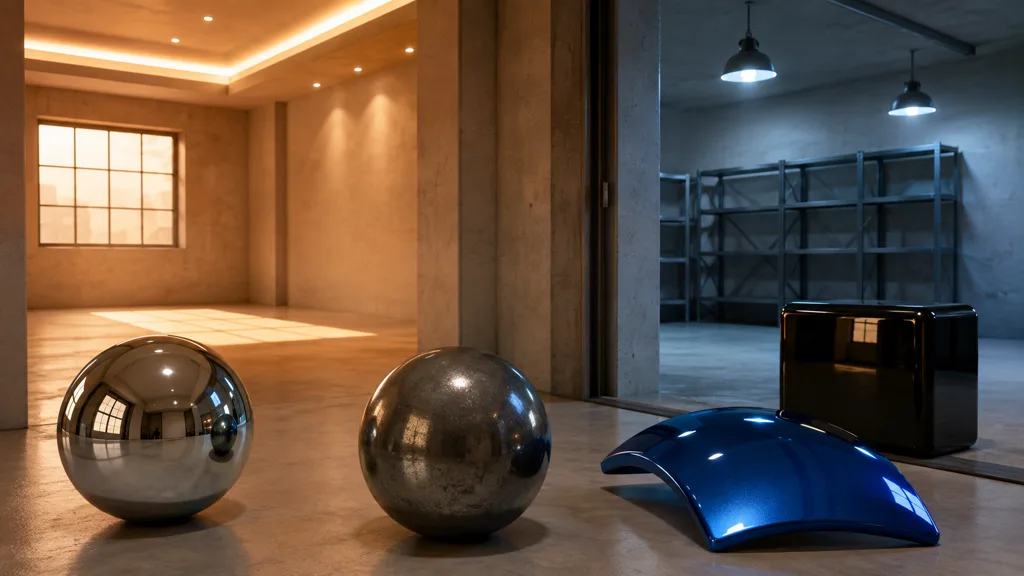
Move the set through every boundary and rotate the camera. Watch reflected walls, window position, dominant light color, cubemap blur, and the transition to SSR or ray tracing. Repeat with dynamic resolution and lower quality settings, where reflection fallbacks may activate sooner.
Do not repair bad probe placement by crushing specular intensity. That changes the material everywhere. Tighten volumes, move origins, adjust priority, add a local capture, or increase roughness only when the surface itself warrants it. Finish with the neutral checks in the PBR material validation guide.
Try CraftPBR
CraftPBR gives your reflection probes coherent materials that respond consistently to every local cubemap:
- Text-to-PBR generates aligned base color, normal, roughness, height, AO, and metalness from a material brief.
- Photo-to-PBR converts controlled surface photos into a coordinated PBR set.
- Node workspace lets you refine map relationships while testing different reflected environments.
- Engine export prepares normal orientation, channel packing, color-space intent, and useful filenames.
- Free tier lets you test a full material across probe boundaries before committing a scene pipeline.
- CC0 output lets you edit, bake, package, and ship generated textures without attribution.
Make the material local enough to believe, cheap enough to ship.
Generate a reflection-ready PBR material →