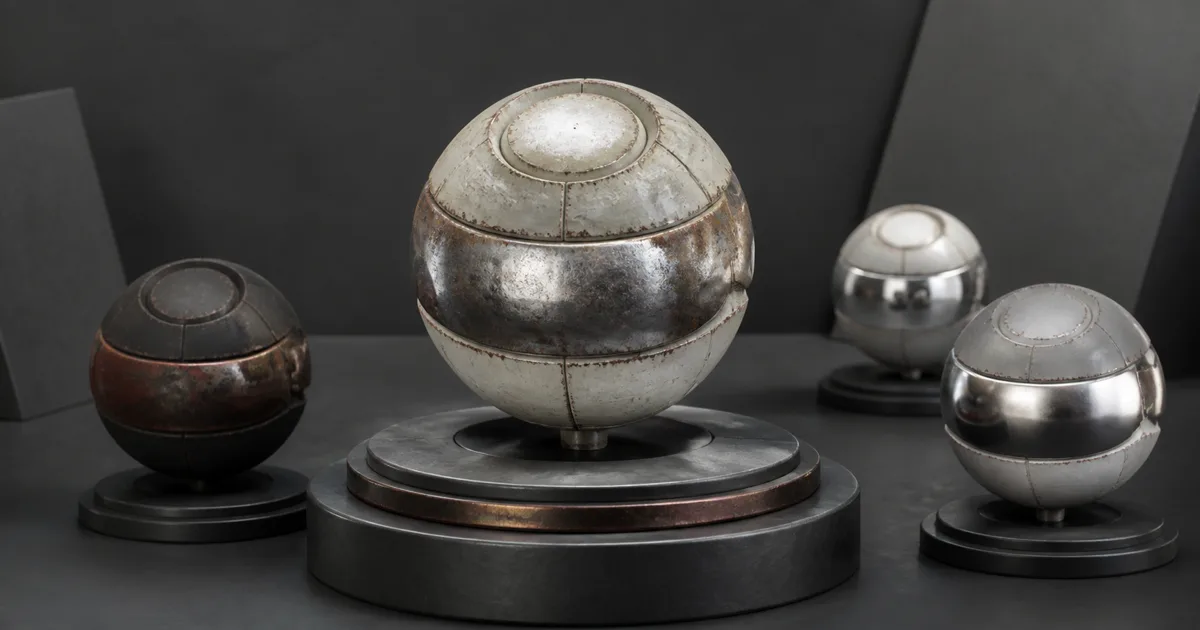
PBR material validation begins when the render looks finished. A handsome preview proves that one camera, one light, one exposure, and one mesh can cooperate for a few seconds. It does not prove that the base color is plausible, the roughness is linear, the metal mask means what the shader thinks it means, or the lower mips will survive motion.
The useful question is not “does this look good?” It is “which test would make this material fail?” A production check deliberately changes light size, reflection content, geometry, distance, and renderer while keeping the authored material controlled.
This guide builds a repeatable PBR material validation checklist for generated, scanned, baked, and hand-authored texture sets. The goal is a material that remains believable after the art director closes the flattering HDRI.
PBR material validation starts with a testable contract
Write down what the surface is before touching sliders. Name the substrate, coating, wear state, physical scale, expected environment, and target shader. “Old metal” is not a contract. “Painted galvanized steel, 40 cm panel, chipped at exposed edges, dry indoor use, metallic-roughness workflow” gives every map a job.
PBR material calibration needs reference that separates color from reflection. Cross-polarized photography is ideal for measured base color because it suppresses surface glare. When that is unavailable, compare several images under known light and reject clipped highlights, baked shadows, white-balance casts, and camera processing before treating pixels as values.
Define tolerances too. A hero prop may need measured color, platform compression review, and multiple renderers. A background asset may only need correct semantics, stable mips, and a target-engine screenshot. PBR material validation should be strict enough to catch shipping faults, not elaborate enough to become its own collectible hobby.
Validate PBR textures before opening the shader
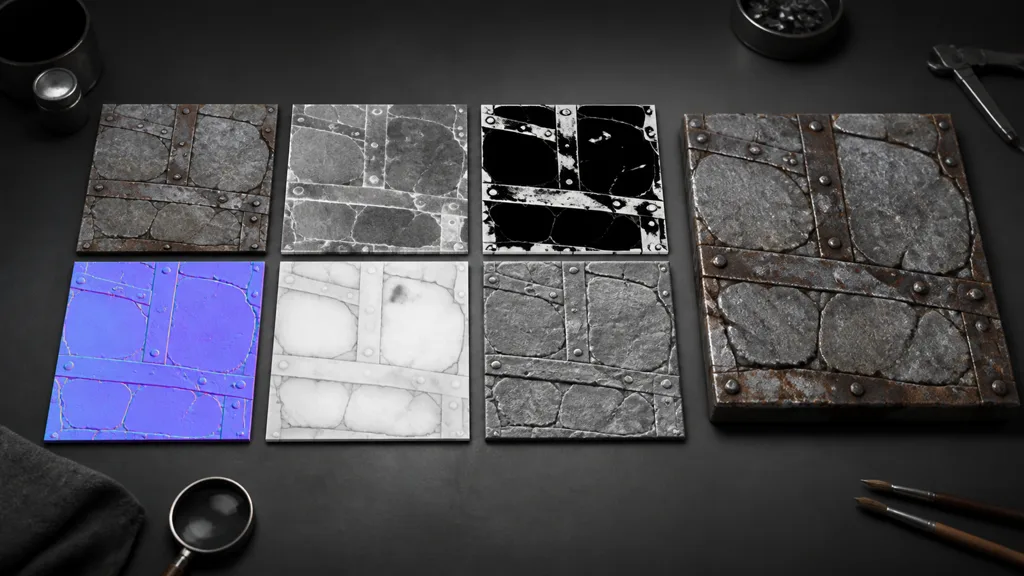
To validate PBR textures, inspect the files as data before evaluating beauty. Confirm identical crop, orientation, UV coverage, and intended resolution across the set. Look for shifted features: a bolt in base color whose normal or roughness response lands three pixels away will create a material that feels soft even when no single map looks broken.
- Base color: remove baked light, ambient shadow, glare, and sensor noise that belongs in other parts of the model.
- Roughness: check whether bright means rough, whether the file was accidentally gloss, and whether variation describes microsurface rather than object color.
- Metalness: identify the conducting substrate, not “shiny-looking areas.” Paint, dust, rust, stone, and plastic remain dielectric.
- Normal: verify tangent convention, neutral direction, strength, UV borders, and compression preset.
- Height and AO: reject lighting copied from the source photo and make sure relief scale agrees with the final object.
A useful PBR texture validation pass also checks technical metadata: bit depth, alpha use, file format, naming, wrap mode, mip generation, and packed channel order. Open each channel alone after import. A thumbnail of an ORM texture is not evidence that red, green, and blue arrived in the slots you intended.
Check color space, ranges, and material meaning
Base color is normally stored with an sRGB transfer function. Roughness, metalness, normals, height, masks, and AO are numeric data and should normally be sampled as linear. The glTF 2.0 specification makes this split explicit: base color uses sRGB, while the combined metallic-roughness texture is linear, with roughness in green and metalness in blue.
Albedo value validation is not a rule that every texture must live inside one magic histogram. It is a check against implausible capture and grading. Near-black dielectrics still return some light; chalk and snow are bright without becoming display white everywhere. Epic's physically based material reference publishes measured base-color examples from charcoal and asphalt through concrete and snow, plus RGB reflectance values for common metals. Use tables as guardrails, then compare the actual substance.
Roughness value validation needs motion. Rotate a hard light and watch highlight width, continuity, and breakup. A roughness map can have a reasonable average while hiding crushed blacks that create needle highlights. Check the histogram, but trust the moving reflection more than a tidy bell curve.
Metalness mask validation should reveal a material decision. In the common metalness model, clean pixels tend toward dielectric 0 or metal 1. Gray transition pixels can be correct around antialiased boundaries, contamination, corrosion, or mixed coverage. Broad undecided gray often feeds diffuse and metallic lobes at once and produces the familiar polished-clay compromise.
Build a lighting rig that is allowed to disagree
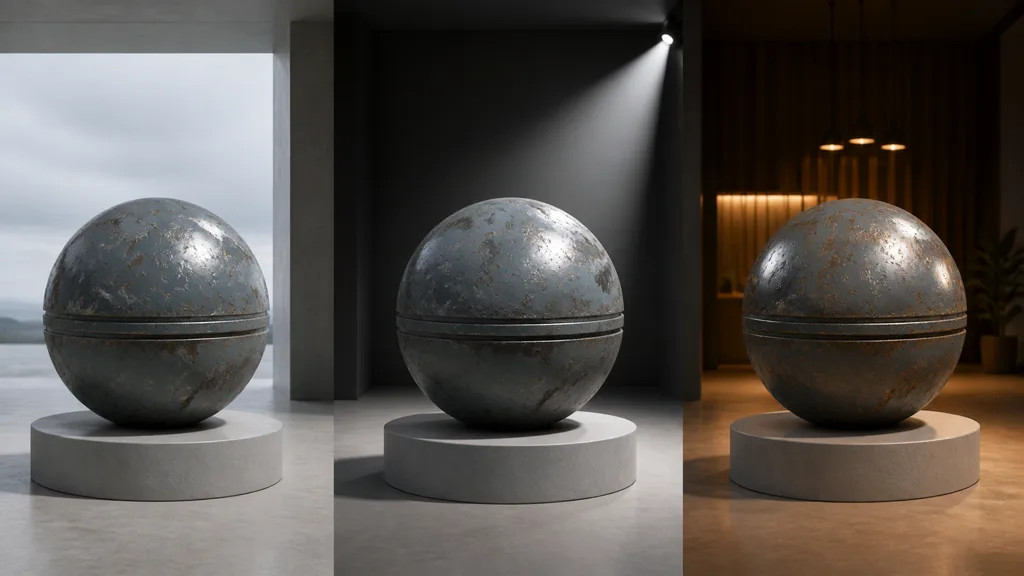
Use at least three lighting states at fixed exposure. A broad neutral environment reveals overall color and reflection balance. One small hard light exposes normal direction, faceting, roughness spikes, and highlight continuity. A recognizable environment with windows or light cards shows whether metals reflect coherent surroundings instead of turning into gray plastic. This makes PBR material validation independent of one convenient HDRI.
Test on more than a sphere. Add a plane for tiling and scale, a beveled cube for edge behavior, and the final asset for UV and topology faults. Disable post effects that conceal evidence: aggressive bloom, depth of field, vignette, temporal smearing, and adaptive exposure. Beauty settings can return after the material passes.
Keep a known-good reference material in the same scene. If both the candidate and reference suddenly look wrong, investigate light, exposure, tone mapping, or reflection capture. Without a control, artists often “repair” a material to compensate for a broken test rig and then compensate for that repair in the next scene. The sliders enjoy the attention; the pipeline does not.
How to validate PBR materials in eight passes
Use this PBR material validation order for how to validate PBR materials without changing five variables at once:
- Freeze the target. Save reference, material description, physical dimensions, shader model, and output platform.
- Audit sources. Check alignment, padding, ranges, channel content, bit depth, and whether lighting leaked into authored maps.
- Verify import semantics. Set base color to sRGB, data maps to linear, normal type correctly, and packed channels explicitly.
- Match real scale. Apply the material to a measured plane and final mesh; inspect texel density and feature size.
- Rotate the evidence. Move a hard light and camera while watching normals, roughness, metallic boundaries, and silhouette.
- Walk through mips. Pull the camera back slowly. Look for seams, sparkle, vanishing roughness, color shifts, and compression blocks.
- Open the target renderer. Recreate the neutral test before comparing screenshots or changing values.
- Save proof. Archive settings, hashes, screenshots, engine version, and intentional exceptions beside the asset.
Change one cause per iteration. If you flip a normal channel, adjust roughness, switch HDRI, and alter exposure together, the next good frame teaches you nothing. A test that cannot identify the responsible change is decoration with extra clicks.
Compare renderers without grading by vibes
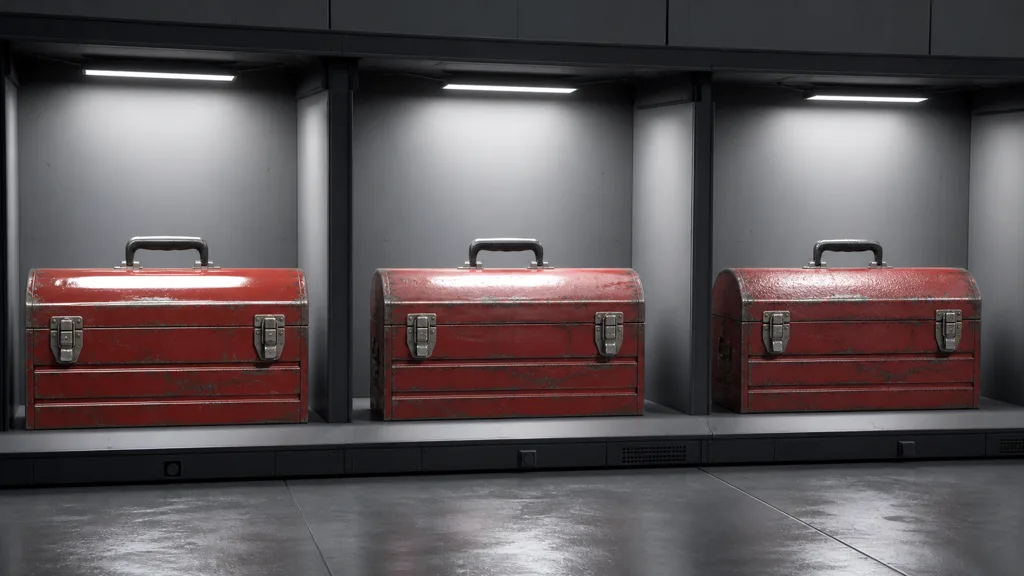
The query why do PBR materials look different between engines has no single checkbox answer. Compare the same mesh, UVs, texture files, scale, light direction, light size, environment, camera transform, exposure, and output transform. Then isolate differences in BRDF implementation, normal convention, ambient occlusion use, reflection filtering, tone mapping, or compression.
For PBR validation Unity, inspect the render-pipeline shader and every texture import flag. A project using Built-in, URP, or HDRP may expose different inputs and lighting features. Confirm normal-map import, linear data maps, reflection probes, exposure, and the exact mask-map convention before comparing with another tool.
For PBR validation Unreal Engine, keep Base Color, Metallic, Roughness, Specular, and Normal semantics explicit. Unreal's current material documentation notes that these physically based inputs use normalized ranges; it also recommends leaving the default Specular value for most real materials. Do not use Specular as a general “make it shiny” control when roughness or metalness is wrong.
For PBR validation Blender, use Principled BSDF and a managed view transform, then record the Blender version and color-management settings. The Principled BSDF manual describes the current metallic-roughness inputs, but the final display still depends on lighting, renderer, exposure, and view transform. Exported material semantics matter more than matching one viewport thumbnail.
Cross-renderer equality is not the goal; explainable difference is. When two correct renderers use different tone mapping or approximations, a pixel-perfect match may be impossible. PBR material validation should still let you state which condition changed and why the material remains physically coherent.
Automate clerical checks, keep judgment human
A PBR material checker can fail a build for missing maps, mismatched dimensions, illegal suffixes, wrong color-space flags, unexpected alpha, non-binary metal masks, or absent mips. It can generate contact sheets, channel previews, histograms, and fixed-camera renders. Those checks are cheap, repeatable, and worth running before review.
Automation cannot know whether scratches follow use, whether moss grows where moisture collects, or whether a brick is the size of luggage. It also cannot decide when a measured outlier is correct for a rare substance. Keep artistic and physical judgment in the PBR material validation loop, backed by reference and controlled tests.
The best PBR validation workflow 2026 stores evidence with the asset: source references, generator or bake settings, export preset, engine import preset, neutral renders, and notes for deliberate deviations. Future edits become comparisons instead of archaeology.
Try CraftPBR
CraftPBR gives PBR material validation a coherent starting set and a fast place to isolate faults:
- Text-to-PBR generates aligned base color, normal, roughness, height, AO, and metalness from one material brief.
- Photo-to-PBR turns a controlled surface capture into coordinated maps for measured-looking reconstruction.
- Node workspace lets you inspect and adjust individual maps without losing the relationship between them.
- Engine export prepares normal orientation, channel packing, color-space intent, and useful names for the target.
- Free tier lets you run a complete test set before spending production budget.
- CC0 output lets you modify, validate, and ship generated textures without attribution.
Generate a full map set, put it under unfriendly light, and ship what survives.
Create and validate a PBR material →