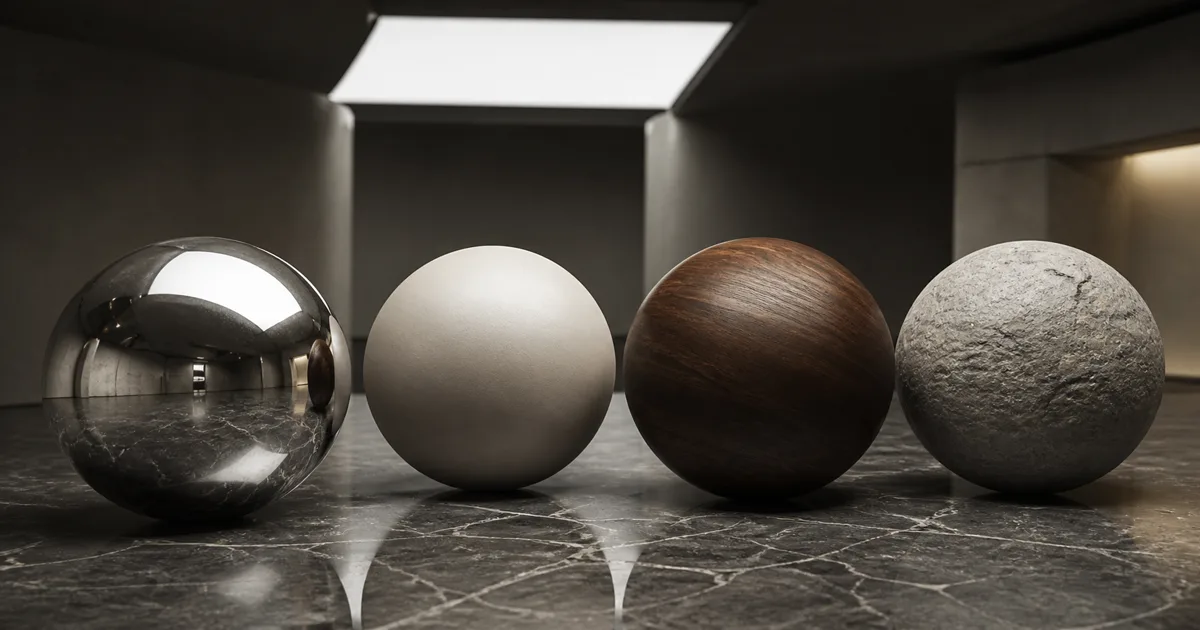
Image based lighting PBR uses an environment image or captured scene to illuminate physically based materials from every direction. Instead of asking a few punctual lights to impersonate an entire room, the renderer samples the room itself: broad windows fill rough surfaces, bright strips travel across metal, and shadowed walls tint indirect light.
That does not make the setup automatically physical. A clipped HDRI, stale reflection probe, mismatched exposure, or missing roughness prefilter can make excellent textures look suspicious. The material gets blamed because the lighting arrived carrying forged paperwork.
This guide separates the parts of image based lighting PBR, builds a practical setup, and shows how to tell a material fault from an environment-lighting fault in Unity, Unreal Engine, and Blender.
Image based lighting PBR has two jobs
An environment contains incoming radiance from all visible directions. A PBR shader evaluates that information differently for diffuse and specular response.
Diffuse reflection is broad. Light entering a dielectric scatters beneath the surface and exits over many directions, so the renderer can use a low-frequency diffuse irradiance map or equivalent spherical-harmonic representation. Fine details in the panorama barely affect diffuse response. A small bright window becomes a soft directional bias rather than a sharp rectangle on matte plaster.
Specular reflection keeps direction. A smooth conductor can show a recognizable environment; a rough surface spreads that reflection over many microfacet directions. Real-time IBL in PBR usually approximates this with a cubemap filtered into roughness levels plus a BRDF lookup texture that accounts for view angle, roughness, and Fresnel behavior.
These branches should agree about one environment, intensity scale, orientation, and exposure. If diffuse light comes from a blue exterior HDRI while reflections come from a warm studio capture, a gray sphere can look as if it changed careers halfway across the shader.
HDR range matters more than panorama resolution
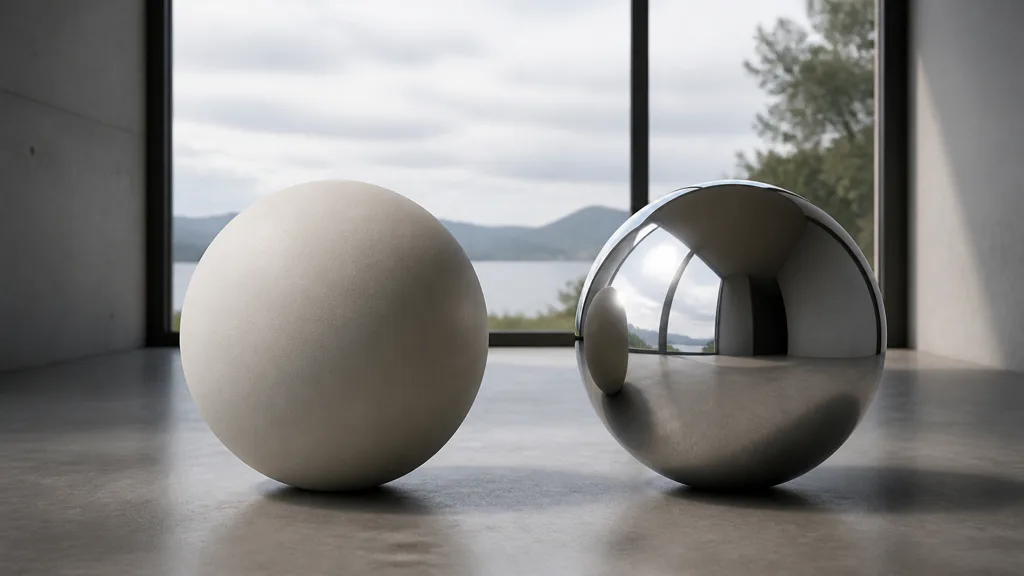
For HDRI lighting for PBR materials, dynamic range carries the lighting. A panorama can be 16K and still fail if its sun or lamp was clipped to display white. Once that highlight is clipped, the renderer no longer knows whether it represented a bright softbox or the sun. Both become a white patch with no trustworthy energy.
Choose or capture an HDR environment with unclipped bright sources, sensible white balance, and enough resolution for the sharpest reflection you intend to show. Resolution controls directional detail. Dynamic range controls the ratio between source, sky, room fill, and dark regions. They are different budgets.
Keep the visible background separate from the lighting environment when art direction requires it. Blurring the displayed sky does not necessarily blur the sampled illumination, and replacing the background without replacing the reflection source can be valid. The rule is documentation: know which asset feeds diffuse light, specular light, and the camera.
Rotation also changes the lighting design. Rotate the environment until its dominant source produces useful form, then keep that orientation fixed for comparisons. Rotating the HDRI for every material is the lighting version of moving the goalposts and polishing them afterward.
Roughness selects a reflection footprint
A specular prefiltered environment map stores progressively blurrier versions of the environment. Smooth surfaces sample a sharp level. Rough surfaces sample broader levels, approximating the many microfacet directions that contribute to one pixel. This is why correct mip generation is part of lighting, not ordinary image downscaling.
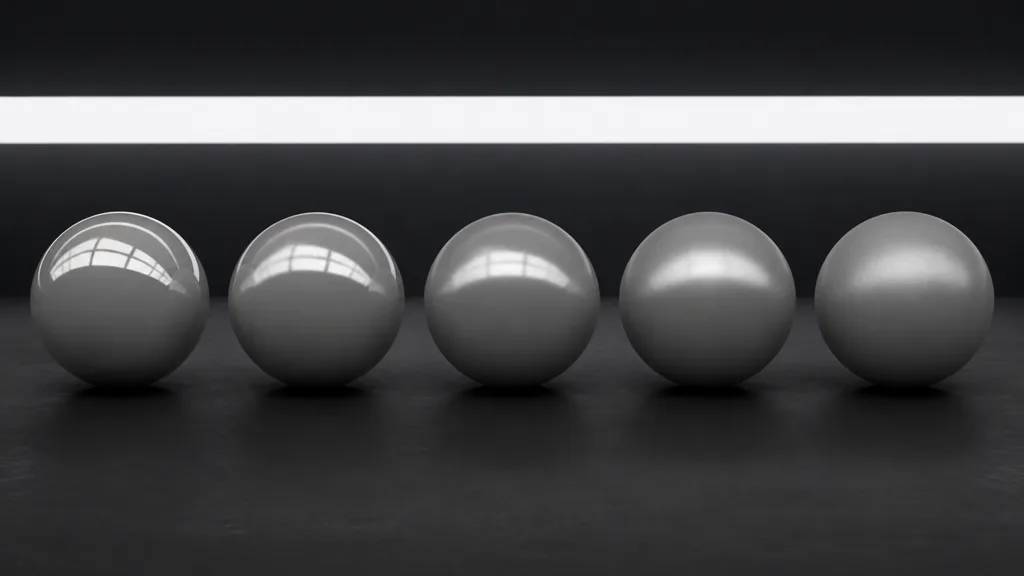
If the prefilter is missing or wrong, rough surfaces may retain sharp reflections, lose too much energy, or shimmer as the view changes. If the cubemap uses a low dynamic range format, bright sources flatten and metals become dull. If roughness was imported in sRGB, the selected footprint no longer matches the authored map.
The split-sum approximation commonly pairs the prefiltered cubemap with a 2D BRDF lookup texture. The lookup does not contain a scene. It stores a compact response used to reconstruct indirect specular light for combinations of roughness and view angle. Swapping it casually can change edge brightness across every material.
Roughness remains a material input, but PBR environment lighting reveals whether that input is plausible. A smooth dielectric should show a tight reflection without becoming metallic. Rough metal should keep colored specular response while spreading the environment. Matte surfaces should retain broad directional light rather than falling into flat ambient gray.
How to set up image based lighting
A useful how to set up image based lighting workflow starts with a controlled reference scene, not a finished level:
- Choose one credible HDR environment. Confirm that bright sources are not clipped and record its orientation and exposure.
- Use neutral geometry. Add a sphere, beveled cube, flat swatch, and roughness sweep. Curves expose Fresnel; bevels expose reflection continuity.
- Separate environment branches. Confirm which data drives diffuse irradiance, global specular, and local reflection probes.
- Lock color management. Record working space, tone mapper, camera exposure, and display transform before judging textures.
- Add one direct light only when needed. Match its direction and apparent source size to the HDRI instead of creating a second sun.
- Place local probes by room. Box projection or parallax correction helps interiors, but probes still approximate geometry from one capture point.
- Test material anchors. Use gray dielectric, rough ceramic, chrome, rough metal, dark plastic, and a known wood or stone set.
- Validate motion and transitions. Move across probe volumes, rotate objects, sweep roughness, and inspect both paused and moving frames.
Build this scene once and keep it under version control. It becomes a neutral witness when a renderer upgrade, import preset, tone mapper, or probe setting changes. A production scene contains too many interested parties.
Local probes fix location, not everything
A global environment says what surrounds the whole scene. Interiors and connected spaces need local reflection captures because a polished cabinet should not reflect the outdoor sky through two walls. Reflection probes capture or assign a local cubemap and blend it over a volume.
Place probes where the lighting environment meaningfully changes: separate rooms, covered passages, vehicle interiors, or zones divided by large occluders. Avoid filling the level with tiny overlapping probes to chase every object. Probe blends are approximations, and excessive volumes create management cost plus visible transitions.
Common image based lighting artifacts have useful signatures:
- reflections attached to the camera suggest screen-space data or a coordinate error;
- outdoor reflections inside a room suggest missing or weak local probe coverage;
- reflections sliding across flat walls suggest poor parallax correction or an oversized probe volume;
- rough materials staying mirror-sharp suggest broken roughness filtering;
- dark metals suggest clipped range, low probe intensity, or double exposure compensation;
- a sudden seam while walking suggests probe priority, bounds, or blend distance;
- correct reflections with wrong diffuse color suggest mismatched environment branches.
Local probes do not replace contact shadows, screen-space reflections, planar reflections, ray tracing, or global illumination. They provide stable off-screen environment response. Use more exact systems where the surface and platform justify their cost.
Image based lighting in Unity, Unreal Engine, and Blender
For image based lighting Unity work, Lighting settings define environment lighting and the default reflection source, while Reflection Probes capture surroundings for nearby renderers. Baked, custom, and real-time probes serve different update budgets. In interiors, use bounded probes and test blending at doors; outdoors, blend probes with the skybox where the render pipeline supports it. Rebuild or refresh captures after lighting changes before deciding that roughness is wrong.
For image based lighting Unreal Engine, a Sky Light captures distant scene lighting and reflections, while Sphere and Box Reflection Capture actors provide low-cost local static reflection data. Real Time Capture supports dynamic sky and specular environment updates, but it has a real GPU budget and uses time slicing to spread work. Match capture resolution and update mode to the target platform; a weather system deserves different policy from a fixed warehouse.
For image based lighting Blender, Material Preview uses an HDRI environment for quick material inspection, but its virtual studio is not automatically the Scene World. Enable Scene World when the viewport must match the render. In a production World shader, an Environment Texture feeds background illumination; keep color management, strength, and rotation fixed when comparing materials in Eevee or Cycles.
Across engines, compare output only after matching HDR source, rotation, exposure, tone mapping, roughness convention, and local probe coverage. “Same HDRI” is not the same lighting if one renderer clamps it, rotates it, or adds an invisible default environment.
Validate IBL without trusting the beauty shot
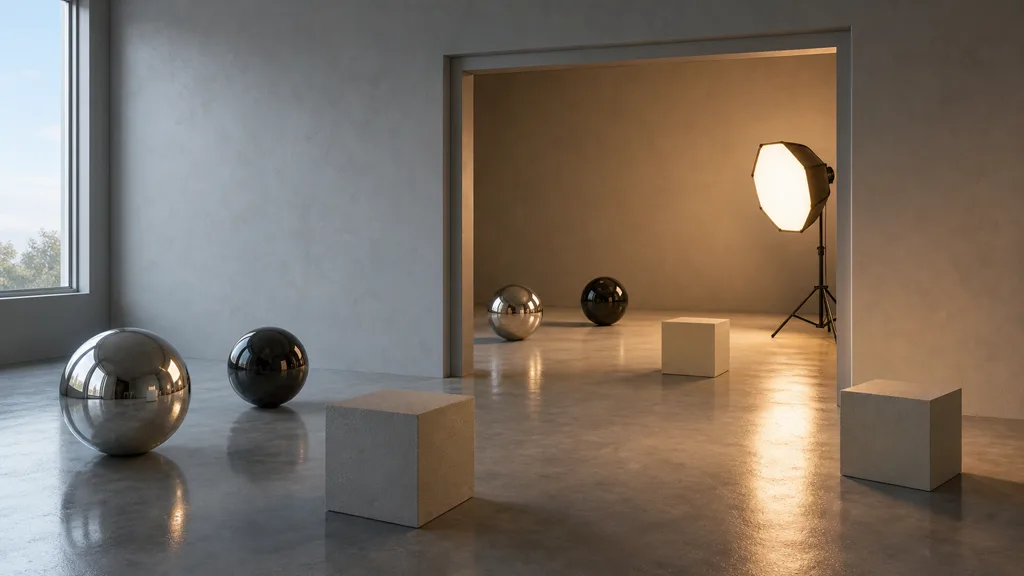
The best PBR lighting workflow 2026 uses at least two environments. First, use a neutral studio with a large source, dark cards, and readable fill. Second, use a hostile environment with small bright sources, strong color contrast, and dark regions. A material that behaves in both is more credible than one tuned to a single flattering panorama.
Sweep roughness from 0 to 1 on a dielectric and a metal. Watch highlight width expand without arbitrary hue changes or sudden energy loss. Rotate the object while the environment stays fixed. Then rotate the environment while the camera stays fixed. Those two tests separate tangent or normal faults from lighting direction.
Test a doorway between two probe zones. Walk slowly, then quickly. Inspect smooth metal, glossy plastic, and rough paint because each exposes transition errors differently. Repeat with screen-space reflections disabled so the stable probe contribution becomes visible; then restore the shipping stack.
Finally, inspect untonemapped HDR values when the engine allows it. Tone mapping can make clipped input, lost energy, and exposure compensation look pleasantly similar. The final image matters, but diagnosis needs access to the evidence before it is made presentable.
Try CraftPBR
CraftPBR gives image based lighting PBR a coherent material set to evaluate:
- Text-to-PBR generates aligned base color, normal, roughness, height, AO, and metalness from a material description.
- Photo-to-PBR turns a controlled surface photo into editable maps without baking its room light into every channel.
- Node workspace lets you adjust tiling, levels, normal strength, roughness, masks, and height before the lighting test.
- Engine export prepares channel packing, color-space intent, normal orientation, and names for the destination renderer.
- Free tier lets you generate and test a full material before committing budget.
- CC0 output lets you modify, bake, render, and ship the generated textures without attribution.
Good lighting does not rescue a false material. It gives the falsehood excellent visibility.
Build an IBL-ready PBR material in CraftPBR →