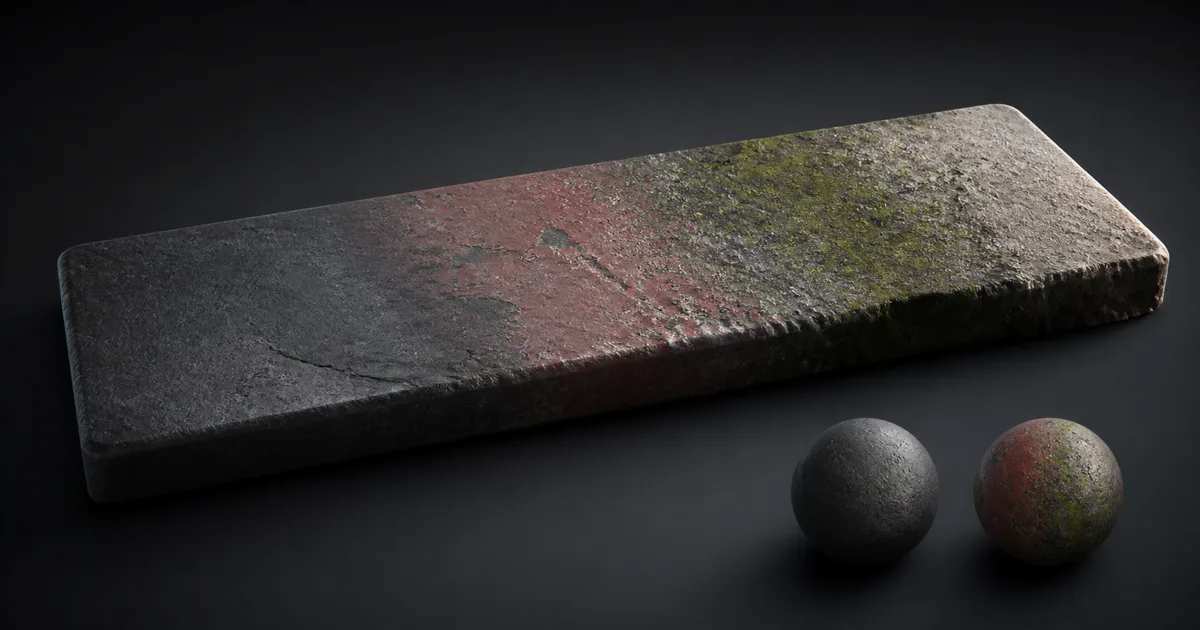
PBR material layering is how a clean substrate becomes a believable object with a past. Steel receives primer and paint. Stone catches dust, grows moss, and darkens where water lingers. Wood gets varnish, scratches, fingerprints, and perhaps one regrettable coffee ring. Each event changes several surface properties together.
That last sentence is the whole job. PBR material layering is not placing a color texture over another color texture. A layer can alter base color, roughness, normal, height, metalness, AO, and sometimes the shading model itself. The mask decides where the event happened; the blend decides what remains visible; the stack order decides which event came later.
This guide builds a PBR material layering system and material layer workflow that stay physically legible, editable, and cheap enough to ship. The graph may contain many nodes. The surface should still tell one story.
PBR material layering starts with a stack, not a graph
Write the stack in physical order before opening the node editor. A painted steel panel might contain substrate steel, primer, topcoat, exposed chips, rust, dust, and wet streaks. A stone wall might use stone, mortar repair, lichen, soot, and rain-darkened areas. If two entries cannot be ordered, they may be variations of one layer rather than separate physical layers.
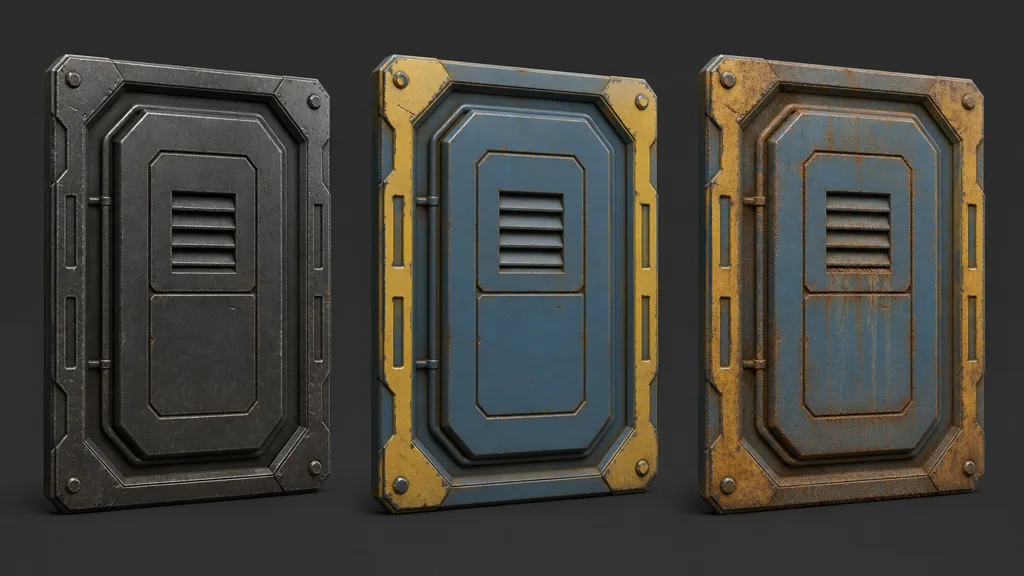
| Layer role | Typical examples | Main channels affected |
|---|---|---|
| Substrate | Steel, stone, wood, plastic | Every PBR channel |
| Manufactured coating | Primer, paint, varnish, plating | Color, roughness, normal, metalness |
| Damage | Chips, scratches, cracks | Mask, height, normal, exposed substrate |
| Deposit | Dust, mud, soot, salt | Color, roughness, normal, height |
| Environmental state | Wetness, frost, scorching | Roughness, color, normal, sometimes shading |
Give each layer a one-line contract: what it is, what sits below it, what can remove it, what can cover it, and which channels it owns. “Rust” is not enough. “Thin oxide growing only on exposed steel, rougher than paint, slightly raised, strongest near trapped moisture” is useful.
A layered PBR material becomes easier to debug when every layer can be soloed with its mask and full channel response. If the paint only works when six later effects are enabled, the stack has become a hostage situation.
Make every mask explain a cause
The best PBR material masks answer why a substance appears at a pixel. Curvature can suggest worn convex edges. AO or cavity can guide packed dirt. World normal can find upward surfaces for dust or snow. Position can create a waterline. Painted masks add art direction. Noise should disturb these rules, not replace them.
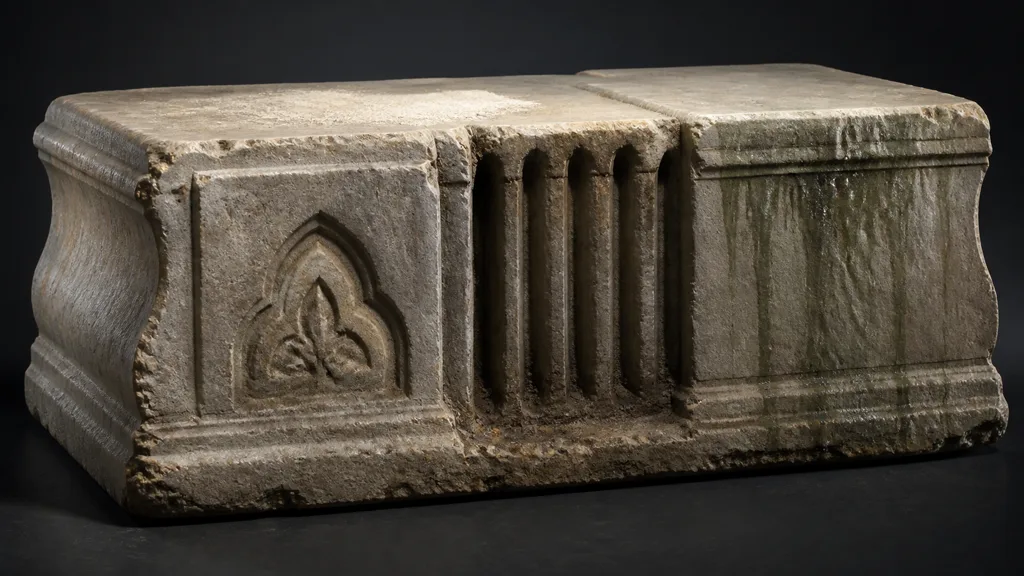
Combine broad causes first, then break their perfection. Upward-facing dust might begin with a world-normal threshold, multiply by an exposure mask, subtract sheltered zones, and finally receive low-amplitude breakup. Starting with cloud noise and hoping it develops an opinion about gravity produces texture, not evidence.
Useful inputs include the material ID map for substance regions, curvature for convex and concave structure, cavity for tiny recesses, baked AO for broad shelter, object or world position for gradients, and hand paint for exceptions. Keep those sources available independently. A single baked “weathering mask” is quick until the art director asks for less edge wear and more lower-wall dampness.
Mask resolution must match the event. A kilometer-wide terrain wetness mask does not need the same texel density as chipped paint. A tiny authored chip mask does not need to control a kilometer-wide biome. Split scales by purpose and let the shader combine them.
Blend the complete surface response
In PBR material layering, one mask coordinates all channels belonging to an event. This is PBR texture set layering in practice. When paint chips away, base color reveals steel, metalness changes from dielectric paint to metal, roughness shifts, coating normal detail disappears, and a small height edge may remain. Blending only color creates steel-colored paint.
Treat each source layer as a material record: base color, normal, perceptual roughness or smoothness, metalness or specular response, height, AO, and optional emission or opacity. Evaluate the layer, then blend the record using one declared mask.
Scalar values in PBR material layering can usually interpolate, but semantics matter. Metalness should describe the visible substance, not average into a vague half-metal border unless the pixel genuinely represents unresolved coverage. Roughness interpolation is renderer-dependent and should be judged under a moving highlight. AO should not be multiplied repeatedly until every overlap becomes charcoal.
Normals need a dedicated blend. Linear interpolation of encoded RGB values shortens and biases the vector. Decode first, combine with reoriented normal mapping or the engine's supported normal-blend function, then normalize. Keep macro shape and microdetail at defensible physical scales.
The layer mask is coverage. It is not automatically thickness, porosity, age, or wetness. Reusing one grayscale texture for all four is efficient in the same way one wrench is efficient for every fastener: briefly.
Choose opacity, height, or priority on purpose
Opacity blending says the top layer partially covers the bottom. It works for thin dust, soot, stains, paint spray, and many wetness effects. At 0.5 coverage, the result is an unresolved mixture inside the pixel.
Height blend materials add local relief to the decision. A raised stone can break through mud while the mud fills its gaps. Two heights are remapped to comparable ranges, biased by the artist mask, then converted into a sharpened transition. Height blending is valuable when the boundary follows physical relief; it is decorative trouble when unrelated height maps use arbitrary black and white ranges.
Priority blending selects one winner. It suits categorical states such as intact paint versus bare metal when a soft third substance would be false. A narrow anti-aliased boundary can remain for filtering, but the visual result still reads as one layer or the other.
Additive effects belong in their own PBR material layering category. Clear coat, emission, wet-film reflection, and fuzz may modify an existing material instead of replacing it. Use the shading model supported by the renderer when the effect changes light transport. Painting a bright streak into base color is not a wet layer. It is a confession.
How to layer PBR materials without losing control
A dependable how to layer PBR materials workflow has eight steps:
- Name the physical stack. Put substrate, coatings, damage, deposits, and environmental states in order.
- Author each source alone. Validate its color, roughness, normals, scale, and channel imports before blending.
- Define mask causes. Assign curvature, direction, height, position, IDs, paint, or simulation data to each event.
- Choose the blend law. Use opacity, height, priority, or a shading-model layer because the substances require it.
- Blend every owned channel. Keep color, roughness, normal, height, metalness, and AO consistent.
- Expose art controls. Provide coverage, contrast, scale, tint, roughness offset, and height influence; hide internal plumbing.
- Make quality tiers. Compile out optional samples and expensive blends rather than branching around them per pixel.
- Validate in motion. Test multiple meshes, lights, distances, mips, compression settings, and target hardware.
Build from two layers first. Add a third only after the pair behaves under every test. Four faulty layers do not average into one good surface; they form a committee.
For reusable projects, separate source-material functions from blend functions. A paint layer should not know whether its mask comes from vertex color, a splat map, or world slope. The blend stage should not secretly recolor the paint. Clear interfaces make both parts replaceable.
Layered materials in Unity, Unreal Engine, and Blender
For layered materials Unity projects, HDRP includes a Layered Lit shader that can stack a main layer plus additional Lit layers. Unity's Layered Lit documentation describes layer order, influence, masks, and height-based blending. In URP or a custom renderer, use Shader Graph Sub Graphs or HLSL functions to package source layers and blend records, then make a reduced mobile variant.
For layered materials Unreal Engine, Material Functions and Material Attributes keep complete channel sets together. Epic's Material Layers documentation covers both function-based layering and the Material Layers system exposed through instances. Keep blend assets focused on masks and transition logic; use Static Switch parameters for features that should compile away.
For layered materials Blender, group each material source and mask rule into reusable node groups. Mix shader values when the layers represent distinct BSDF behavior; mix Principled inputs when one surface model with changing parameters is sufficient. Blender's shader-node introduction distinguishes shader sockets from ordinary values. If the asset targets a real-time engine, bake the expensive procedural result or recreate a deliberate subset in the destination shader.
Across engines, PBR material layering needs documented coordinate space, texture scale, normal convention, channel packing, and linear-data rules for masks. “It looked correct in the authoring tool” is a diagnosis, not a delivery format.
Layered material performance is sample arithmetic
Layered material performance is mostly the number of source layers evaluated per pixel multiplied by their texture samples, plus blend math. Three layers using base color, normal, and a packed scalar map can already cost nine samples before unique masks, macro variation, detail maps, or virtual texturing.
Start PBR material layering optimization by asking whether every pixel needs every layer. Terrain regions can use control-map weights and quality tiers. Props can bake stable authoring layers into one exported set, then keep only dynamic wetness or damage at runtime. Distant surfaces may use a flattened material or skip microdetail.
Pack compatible linear masks, share coordinates, reuse sampled data, and keep physical scale consistent. Do not save one sample by moving a roughness patch away from its color and normal evidence. The GPU may be pleased; the material will look as if its paperwork was filed in three buildings.
Profile PBR material layering on target hardware. Count sampler use, inspect shader variants, and capture frame time with the full scene. A graph thumbnail cannot tell you how texture bandwidth competes with lighting, shadows, particles, and post effects.
Validate PBR material layering as a system
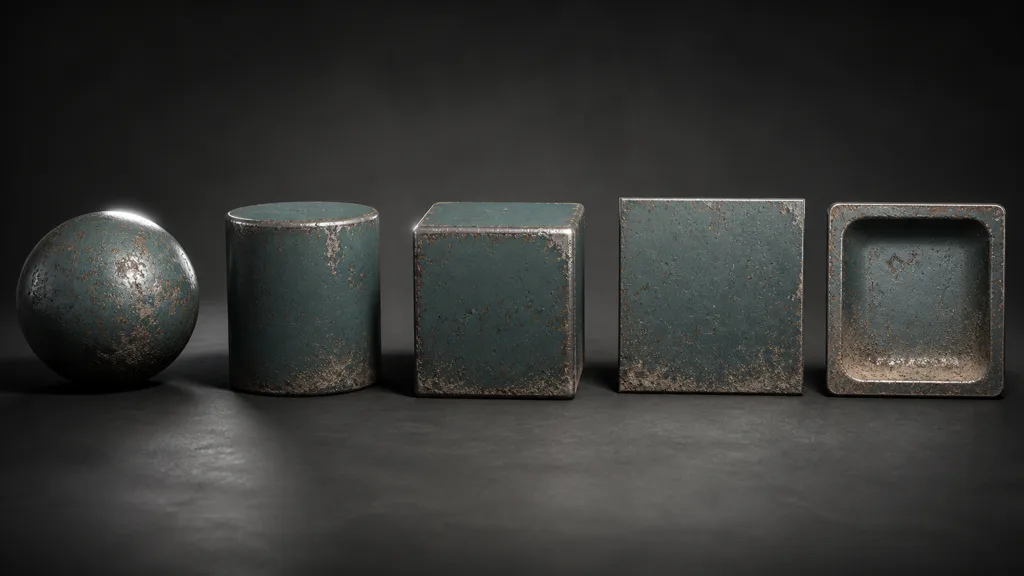
Apply the same PBR material layering setup to a sphere, cylinder, beveled cube, flat plane, and concave form. Use frontal, grazing, and rotating lights. Test the closest camera, gameplay distance, and the lowest mip that will ship. Curved forms reveal normal and roughness faults; flat forms reveal repetition; concave forms expose implausible deposits.
Solo every layer and mask. Replace masks temporarily with hard black or white. Push roughness offsets beyond the intended range. Disable height blending. Force a low-quality tier. The goal is to discover which assumption owns a failure before final lighting makes it socially acceptable.
The best PBR material layering workflow 2026 records layer order, source scale, owned channels, mask causes, blend law, normal method, height ranges, import color spaces, sample count, quality tiers, and bake fallback. That record is shorter than reverse-engineering a graph named Final_Final_UseThis2.
FAQ
What is PBR material layering?
PBR material layering combines complete physically based material responses using masks and declared blend rules. It lets a surface contain substrate, coatings, damage, deposits, and environmental states while their color, roughness, normals, height, and reflectance remain coherent.
How do you layer PBR materials?
Author each source material independently, create cause-based masks, choose opacity, height, priority, or shading-model blending, and apply the result to every channel the layer owns. Add layers one at a time and validate the stack under varied light, geometry, distance, and motion.
What is height blending in materials?
Height blending uses the relative height signals of two materials to decide which one appears at a boundary. It is useful for mud between stones, snow around raised detail, and similar relief-driven transitions, but both height maps need compatible ranges.
Should material masks be sRGB?
Usually no. Coverage, height, roughness, metalness, AO, and packed control masks are numeric data and should normally import as linear. Base color is commonly sRGB; verify the exact contract in the destination renderer.
How many material layers are too many?
There is no universal count. The limit depends on samples per layer, overdraw, target GPU, resolution, and how many layers actually evaluate at each pixel. Profile the complete shader and create cheaper compiled tiers.
Should layered materials be baked for games?
Bake layers that will never change at runtime, especially complex procedural wear and deposits on unique props. Keep runtime layering for effects that need variation or interaction, such as wetness, snow, damage, terrain painting, and customization.
How do you blend normal maps between material layers?
Decode the normals, use a vector-aware method such as reoriented normal mapping or the renderer's supported normal blend, then normalize the result. Avoid averaging encoded RGB normal colors because it weakens and biases the surface direction.
Try CraftPBR
CraftPBR creates the coordinated source sets that PBR material layering depends on:
- Text-to-PBR generates aligned base color, normal, roughness, height, AO, and metalness from a material brief.
- Photo-to-PBR turns a controlled surface photo into an editable material set instead of preserving baked lighting as truth.
- Node workspace keeps levels, masks, height, roughness, tiling, and blends editable while the stack develops.
- Engine export prepares normal orientation, scalar color space, channel packing, filenames, and target conventions.
- Free tier lets you generate and test a complete source layer before spending the runtime budget.
- CC0 output lets you modify, combine, bake, render, and ship generated textures without attribution.
Stack causes, not effects. The surface will do the explaining.