You know that feeling when your flat wall looks like a flat wall, the deadline is close, and you just need it to look like it has bricks without modeling every single one? That’s the normal map’s whole job. Here’s how to make a normal map three different ways — baking, from a photo, and with AI — plus a free in-browser tool that does it in two seconds.
What a normal map actually does
Before the how, the why. A normal map is an RGB image where each pixel stores a surface direction instead of a colour — the purple-blue image your engine reads to fake bumps, scratches, and grain without adding a single polygon. (If you want the full breakdown, the what is a normal map guide covers the encoding.)
The point is leverage: a flat plane with a good normal map lights like detailed geometry, for the cost of one texture lookup. So “making” a normal map means producing that direction data — and there are three honest ways to do it.
Method 1: Make a normal map from an image (fastest)
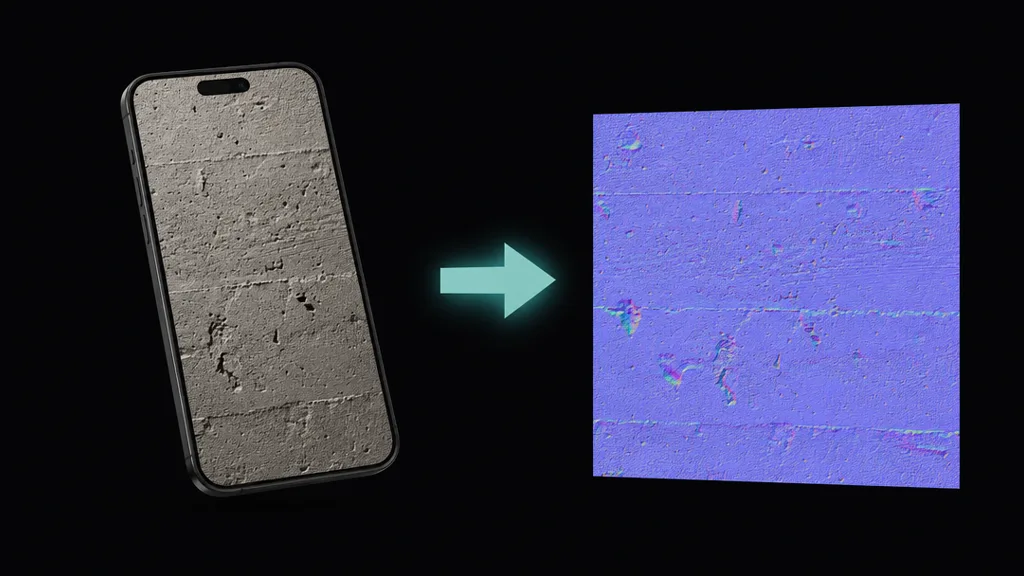
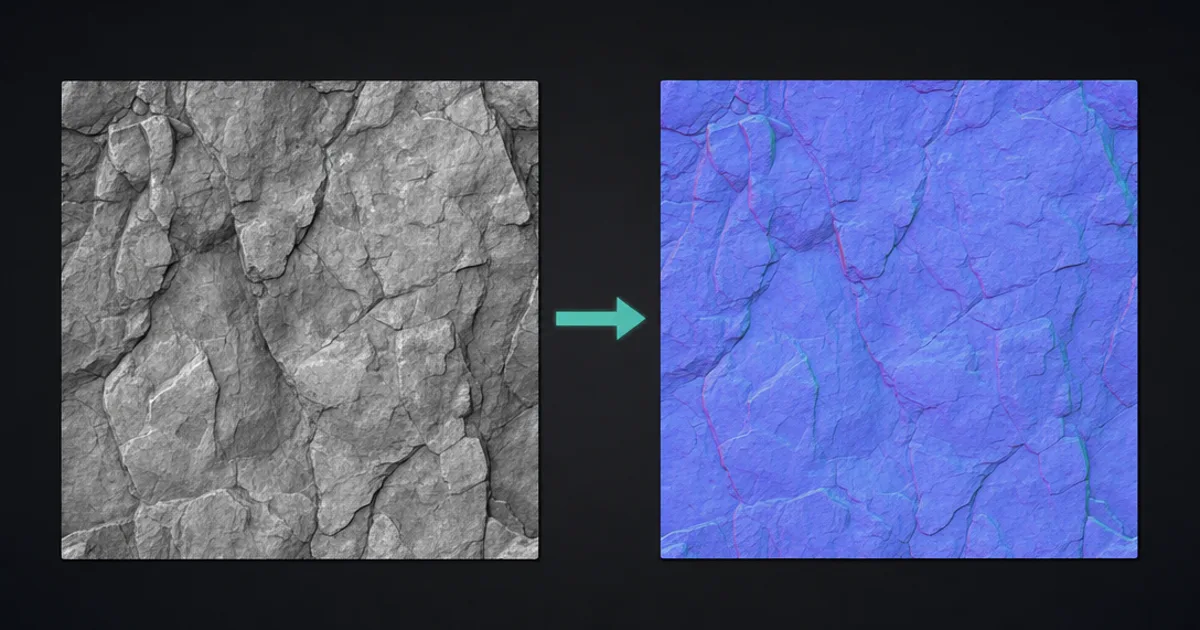
The quickest way to create a normal map is to derive it from an image you already have. The tool reads the image’s brightness as a height field — lighter is raised, darker is recessed — then runs a Sobel gradient to measure the slope at every pixel and encodes that as a normal.
You can do this free, right now, in your browser with the CraftPBR normal map generator: drop in a texture, drag the strength slider, pick OpenGL or DirectX, download the PNG. Nothing uploads; it all runs on your machine.
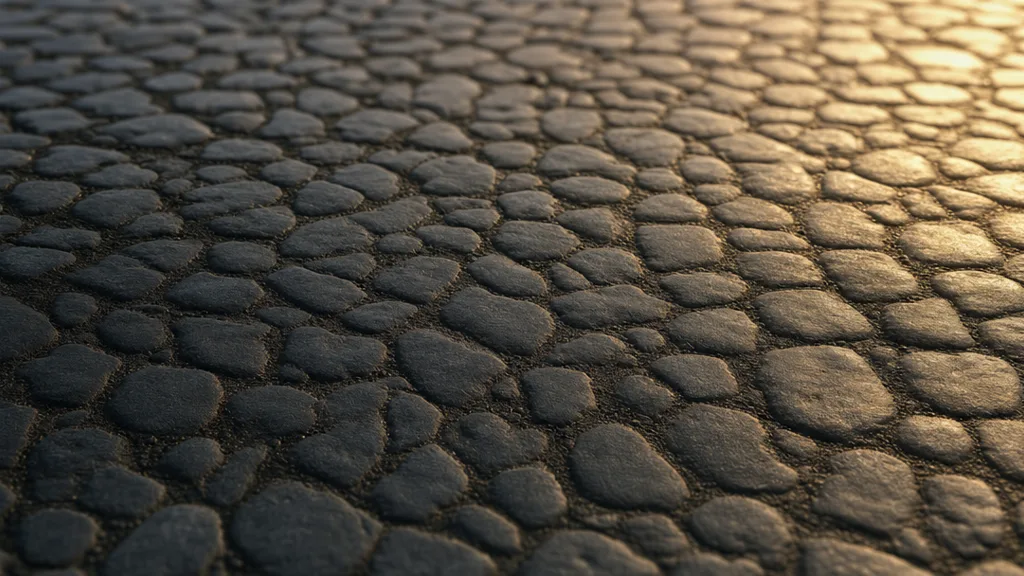
When it works: evenly lit, matte surfaces — brick, concrete, fabric, wood grain, stone. When it doesn’t: glossy or strongly shadowed photos, where brightness comes from reflections, not depth. For those, you want one of the next two methods.
Method 2: Bake a normal map from high-poly geometry (highest quality)
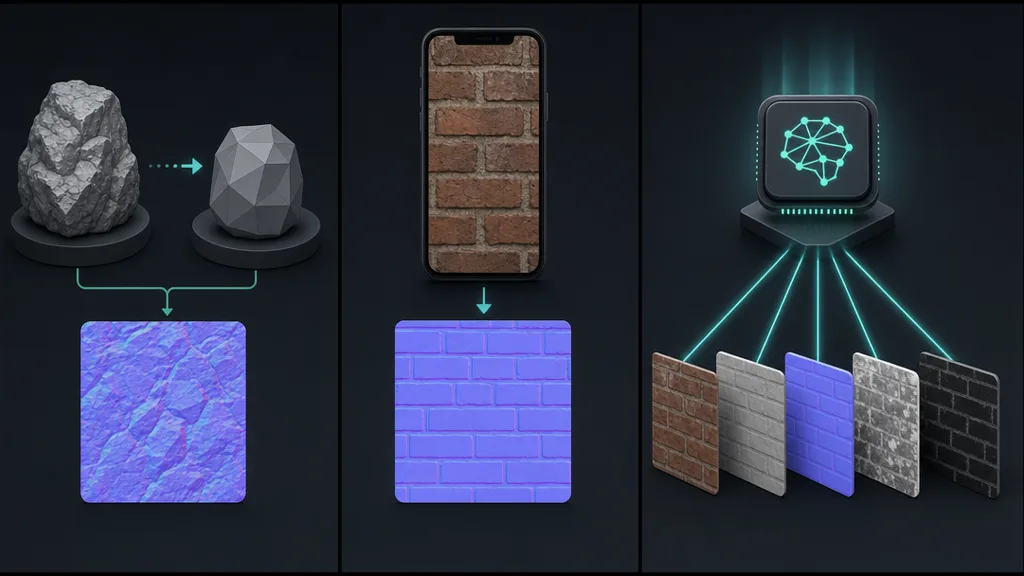
The film-and-AAA method: sculpt or model a high-detail version of your asset, then bake that detail onto the UVs of a low-poly version. The baker shoots rays from the low-poly surface, records which way the high-poly surface faces at each point, and writes that into the normal map.
This gives the best result because the direction data is real, not inferred from luminance. The cost is time — sculpting a single hero asset can eat a day. Tools: Blender, Marmoset Toolbag, Substance Painter, xNormal. Use this for hero props and characters; it’s overkill for a background wall.
Method 3: Generate a normal map with AI (best balance)
The middle path: describe a surface or feed a photo, and an AI crafts a base colour and a matching height field, then derives the normal from it — along with roughness, AO and metalness, so the whole set agrees. This beats luminance-only tools because the height is designed, not guessed from a single photo’s lighting, and it beats baking on speed by roughly a day per asset. For most game and archviz work, this is the sweet spot — see text to texture AI for how it works.
Normal map from a height map: the hidden fourth option
If you already have a height or displacement map, you’re most of the way there — a normal map is literally derived from a height field. Run your height map through the normal map generator (or generate the height first with the height map tool) and you get a matching normal in seconds. This is the cleanest input of all, because height is the depth signal the normal wants.
The one setting everyone gets wrong: OpenGL vs DirectX
However you make it, there’s one setting that wastes more hours than anything else: OpenGL and DirectX disagree on which way the green channel points. OpenGL expects Y up (Blender, Godot, Unity, Substance); DirectX expects Y down (Unreal Engine). Use the wrong one and your bumps read as dents. If a surface looks inverted, flip the green channel — the normal map generator has a one-click OpenGL/DirectX toggle for exactly this. The normal map vs bump map guide has more on why this happens.
How to use a normal map in each engine
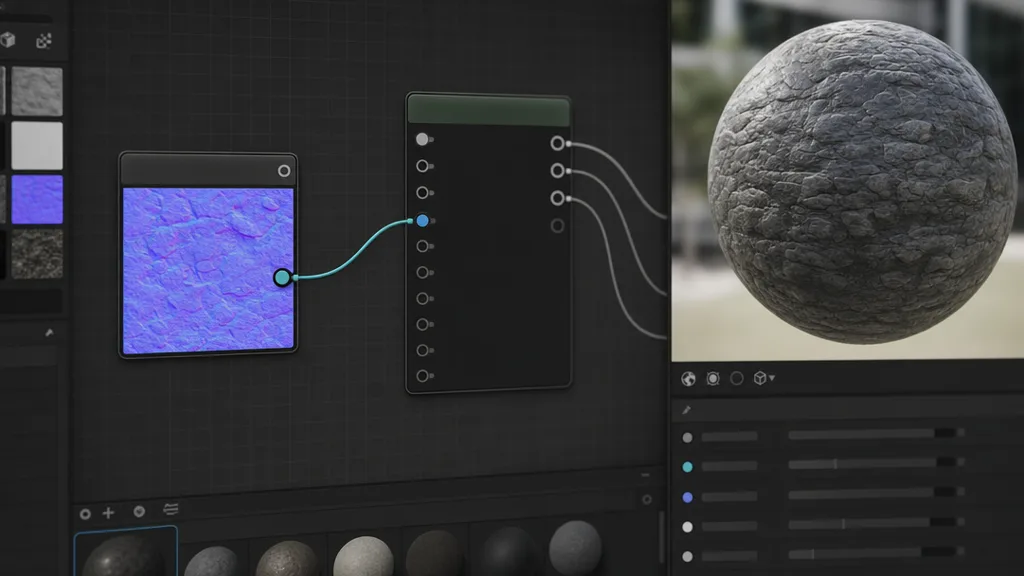
- Make a normal map in Blender — add a Normal Map node between the texture and the Principled BSDF, set the image to Non-Color. Use the OpenGL output.
- Normal map for Unity — set the texture’s import type to Normal Map and assign it to the Normal Map slot. Use OpenGL (Unity converts internally).
- Normal map for Unreal — import, wire a Texture Sample into the Normal pin, leave compression as default normal. Use the DirectX output.
- Normal map for Godot — enable Normal Map on a StandardMaterial3D and assign the texture. Use OpenGL.
Across all of them: import normal maps as linear / Non-Color data, never sRGB, or the engine gamma-corrects your direction vectors and the lighting goes subtly wrong.
So what’s the best way to make a normal map in 2026?
Match the method to the asset. Background surface on a deadline? Derive it from an image in the free generator — two seconds, done. Hero asset that fills the screen? Bake from high-poly. Everything in between — which is most things — generate it with AI so the normal arrives with a matching roughness, AO and metalness instead of being stitched together one map at a time.
Key takeaways
- Three ways to make a normal map: from an image (fastest), baked from high-poly (best quality), or AI-generated (best balance)
- Image-based generation reads brightness as height — great for matte surfaces, weak on glossy photos
- A height map is the cleanest input, since the normal is derived from a height field
- Pick the right OpenGL/DirectX convention or your bumps invert
- Always import normal maps as linear / Non-Color data