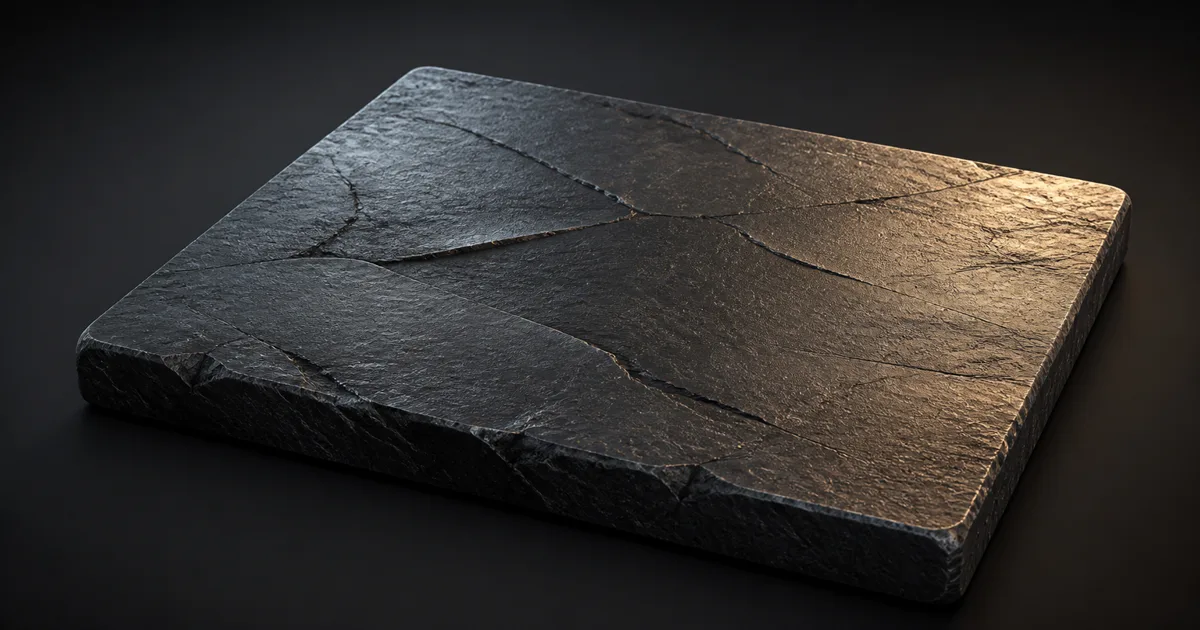
Normal map blending combines two or more surface-direction fields without flattening the large shapes or inventing impossible vectors. That sounds like ordinary image compositing until both source textures look excellent and their average looks like damp cardboard.
A base normal may carry panel dents, folds, or carved stone. A detail normal adds pores, grain, scratches, or hammer marks. The job is not to mix their RGB colors. It is to let the detail perturb the coordinate frame established by the base. The distinction is three words long and has consumed an impressive number of shader graphs.
This guide explains the vector contract, compares practical blend methods, builds a repeatable normal map blending workflow, and shows how to validate the result in Unity, Unreal Engine, and Blender.
Normal map blending is vector composition
A tangent-space normal map stores a direction. After decoding, flat surface data is approximately (0, 0, 1): no sideways tilt and a full outward component. Red and green encode lateral direction; blue mostly carries the outward component. The RGB image is storage, not paint.
When two maps describe different scales of one surface, the base map establishes the larger local slope. The detail map should then bend that already-tilted direction. Correct normal map blending therefore resembles composing rotations or reorienting one vector around another. It does not resemble lowering the opacity of two photographs.
This gives the layers clear jobs:
- Base normal: baked forms, large dents, cloth folds, broad chisel marks, or authored panel deformation.
- Detail normal: skin pores, stone grain, weave, brushed microgrooves, or other repeated high-frequency relief.
- Mask: where a physical cause applies, such as worn coating, exposed pores, or a material boundary.
- Strength control: the amplitude of each layer before composition, not a rescue slider after the vectors are damaged.
All inputs must share a compatible convention. Mixing DirectX and OpenGL green-channel orientation, different tangent bases, color-managed samples, or object-space and tangent-space data will fail before the blend formula gets a vote. The normal map foundation guide covers those contracts in detail.
Why averaging RGB normal maps fails
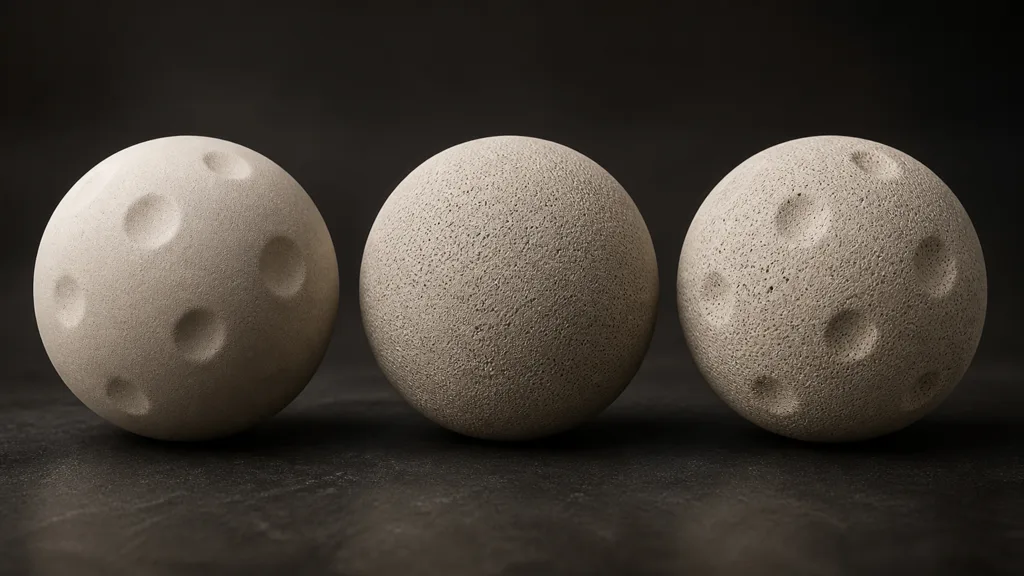
The most tempting method is lerp(base, detail, 0.5) on encoded texture colors. It is also the method most likely to weaken both layers. A midpoint between two stored RGB values is not necessarily the direction produced by applying one surface perturbation over another.
Even if the result is decoded and normalized, linear interpolation answers a different question: which direction lies between A and B? Layered normal maps ask: what does detail B look like on the local surface already described by A? A plain midpoint makes the base slope surrender half its authority whenever detail appears.
Adding decoded vectors and normalizing is only slightly less misleading. Both maps contain an outward Z component, so simple addition overweights flatness. Multiply and Photoshop-style Overlay operations work on color channels, not tangent frames. They may look acceptable on a flat plane under frontal light while failing on curves, at grazing angles, or under rotation.
Common normal map blending artifacts include:
- broad shapes becoming softer wherever detail is enabled;
- highlights snapping at mask boundaries;
- fine grain changing direction across mirrored UVs;
- blue-channel bias producing inflated or dented shading;
- a flat detail map changing the base when it should be neutral;
- vectors losing unit length and changing specular response;
- distant mips turning rough surfaces unexpectedly glossy.
The neutral test is decisive: combining any valid base with a flat detail normal should reproduce the base. If the material changes, the blend does not have a true identity input.
Choose the blend method by layer meaning
There is no prize for using the longest function name. Pick the least complex method that preserves the visual contract.
Reoriented normal mapping (RNM) is the strongest general choice for base-plus-detail composition. It treats the base normal as the new local frame and reorients the detail into it. RNM preserves large slopes well, keeps a flat detail input neutral, and behaves predictably on curved surfaces. It is the default when detail must remain attached to a noticeably tilted base.
Whiteout normal blending adds the lateral XY components while multiplying the Z components, then normalizes. It is cheap, readable, and often strong enough for terrain, rock, and layered procedural materials. Whiteout tends to preserve relief better than a naive average, though RNM generally handles steep base directions more faithfully.
Partial derivative blending converts each normal to a slope-like representation, combines those slopes, and reconstructs a direction. It is useful when the layers truly represent height derivatives and when stable, associative accumulation matters. Near grazing directions, divisions by small Z values need care.
Linear interpolation still has a valid role: choosing between two complete surface states by coverage. If a mud mask replaces dry ground with wet mud, blend the final normals by the coverage model and normalize. That operation is selection, not detail composition. Height-based material transitions may need their own coverage weights before each material response is mixed.
For production, label every operation: compose detail, select coverage, or transition materials. Calling all three “blend” turns the graph into a small fog bank.
Control strength and masks before the combine
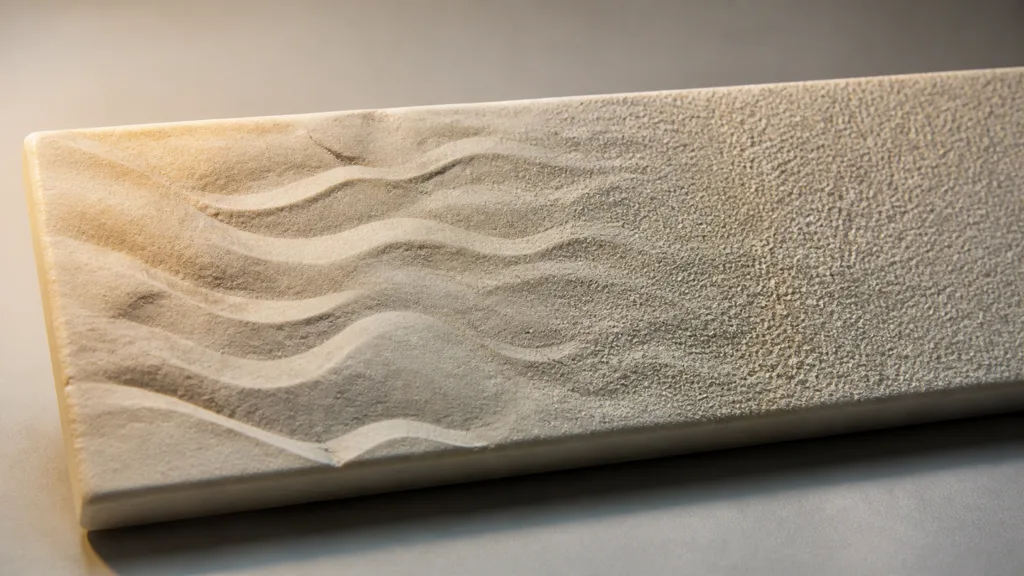
Good detail normal map blending begins with scale. A pore map should not create thumb-sized craters because the UV tiling was inherited from the base. Set real or defensible texel scale for every layer before adjusting strength.
Reduce tangent-space detail strength by scaling its decoded XY components toward zero and reconstructing or renormalizing Z. Better yet, use the engine’s supported normal-strength node so its convention stays consistent with import and sampling. Fading encoded RGB toward black is not strength control; fading a decoded normal toward (0, 0, 1) is.
Apply the physical mask to the detail layer before composition. The neutral side of the masked detail must be flat normal data, not zero vector data. A mask boundary also needs enough width to survive mipmapping. One-pixel transitions can become crawling highlight seams even when the full-resolution graph is mathematically polite.
Coordinate transforms belong before normal map blending too. If a decal, rotated UV island, texture-bombing sample, or triplanar projection rotates the texture coordinates, rotate the decoded tangent components into the destination frame. Sampling a rotated scratch pattern while leaving its vector direction unchanged makes the lighting disagree with the visible grain.
Finally, keep roughness related but independent. Strong micro-normal variance broadens highlights at close range, then disappears in lower mips. Variance-aware roughness filtering can preserve the apparent response at distance. Do not bake that correction by simply brightening or darkening the normal map.
How to blend normal maps in a production graph
A repeatable how to blend normal maps procedure is more useful than a clever one-off function:
- Define layer roles. Mark each input as base shape, repeated detail, coverage replacement, decal, or projected sample.
- Verify conventions. Check tangent space, green-channel direction, UV set, texture type, compression, and linear sampling.
- Set scale. Match the base to the asset and the detail to a real pore, weave, scratch, or aggregate size.
- Decode once. Convert stored RGB to signed normal vectors before vector math; avoid repeated pack/unpack steps.
- Set strength locally. Fade each detail toward flat normal and normalize according to the engine’s normal pipeline.
- Build neutral masks. Outside the mask, the detail input must become
(0, 0, 1). - Compose or select. Use RNM or a tested whiteout method for added relief; use normalized interpolation for coverage between complete surfaces.
- Validate in motion. Rotate the object and light, test grazing angles, inspect lower mips, and compare near and far camera distances.
Keep a debug switch for base only, detail only, combined, and combined without the mask. It saves more time than exposing twelve artistic parameters whose default values nobody remembers.
If multiple detail layers accumulate, test order. RNM composition is not always interchangeable in arbitrary sequences. Put broad structural information first, then medium forms, then microdetail, and lock the order in the shared material function.
Normal map blending in Unity, Unreal Engine, and Blender
For normal map blending Unity projects, Shader Graph includes a Normal Blend node with Default and Reoriented modes. Sample each texture as a normal, apply Normal Strength before the blend, and choose Reoriented when a detail layer must follow a strong base slope. Unity’s Normal Blend documentation also exposes the generated function, which makes custom-code parity easier to audit.
For normal map blending Unreal Engine, use BlendAngleCorrectedNormals for the familiar base-plus-detail case instead of mixing encoded colors. Epic’s human skin material guidance specifically recommends that material function for object and detail normals. Keep each Texture Sample set to the correct normal compression, expose detail intensity before the blend, and feed the result to the tangent-space Normal input.
For normal map blending Blender, each image texture should use Non-Color data and the same intended UV basis. Blender’s Normal Map node decodes an RGB map and provides strength control, but stacking two Normal Map nodes does not automatically create RNM. For simple authored materials, combine bump or height layers before one Bump node when height sources exist. For two tangent-space normal textures, use a tested RNM node group or combine them in the target engine rather than improvising color Mix modes.
Across engines, do not compare screenshots until tangent generation, green-channel convention, imported strength, roughness, light size, exposure, and tone mapping match. A formula cannot repair an importer that quietly flipped one layer.
Validate normal map blending across distance
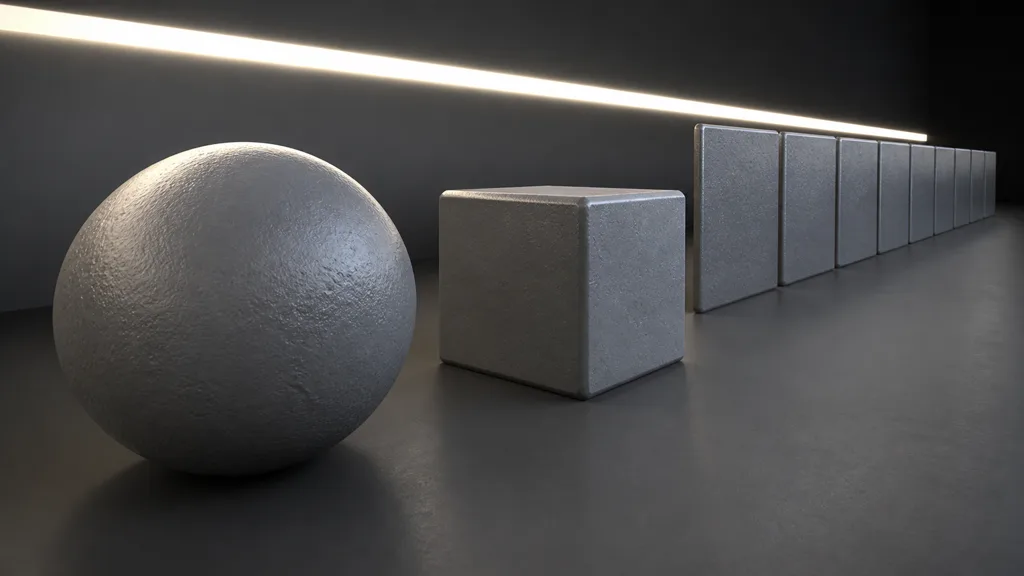
The best normal map blending workflow 2026 is judged under movement, not by a close still. Use a sphere for changing tangent orientation, a beveled block for edge continuity, a flat patch for neutral comparison, and a receding row of tiles for mip behavior.
Start with a broad soft light, then add a narrow grazing light. Rotate both the camera and object. The base silhouette illusion should remain stable while detail rides over it; highlights should not pop when the UV shell changes direction or a mask crosses a bevel.
Run four destructive tests on a copy of the material:
- replace detail with flat normal and confirm the base is unchanged;
- replace base with flat normal and confirm the detail retains its expected direction;
- set the mask to zero and one, then sweep through the transition;
- exaggerate both strengths to expose vector bias, then return to production values.
Inspect every shipped texture tier. BC5-style two-channel normal compression, platform formats, mip generation, and normal renormalization can alter the result. A blend that survives only at mip zero is a portfolio image, not a material system.
Record the chosen method, tangent convention, layer order, strength policy, mask semantics, and compression setting beside the shared shader function. Future artists can then add a detail layer without rediscovering vector algebra through trial, error, and increasingly personal node names.
Try CraftPBR
CraftPBR makes normal map blending easier by giving every layer a coherent material context:
- Text-to-PBR creates aligned base color, normal, roughness, height, AO, and metalness from a material description.
- Photo-to-PBR derives editable surface evidence from a controlled image instead of baking the room light into every map.
- Node workspace lets you inspect tiling, strength, masks, height, and layer order before export.
- Engine export prepares normal orientation, channel packing, names, and target conventions for the destination renderer.
- Free tier lets you build and test a complete material without a purchase decision first.
- CC0 output lets you modify, combine, bake, render, and ship generated textures without attribution.
Blend colors by taste. Blend directions by math.
Build a layered PBR material in CraftPBR →